There is a specific kind of magic found in the nostalgia of a Southern potluck, and nothing captures that essence quite like the Banana Pudding Fudge. This recipe isn’t just a dessert; it is a forensic reconstruction of the classic banana pudding experience, distilled into a dense, creamy, handheld square. Imagine the exact flavor profile of a chilled bowl of pudding, but with the structural integrity of a professional-grade white chocolate ganache.
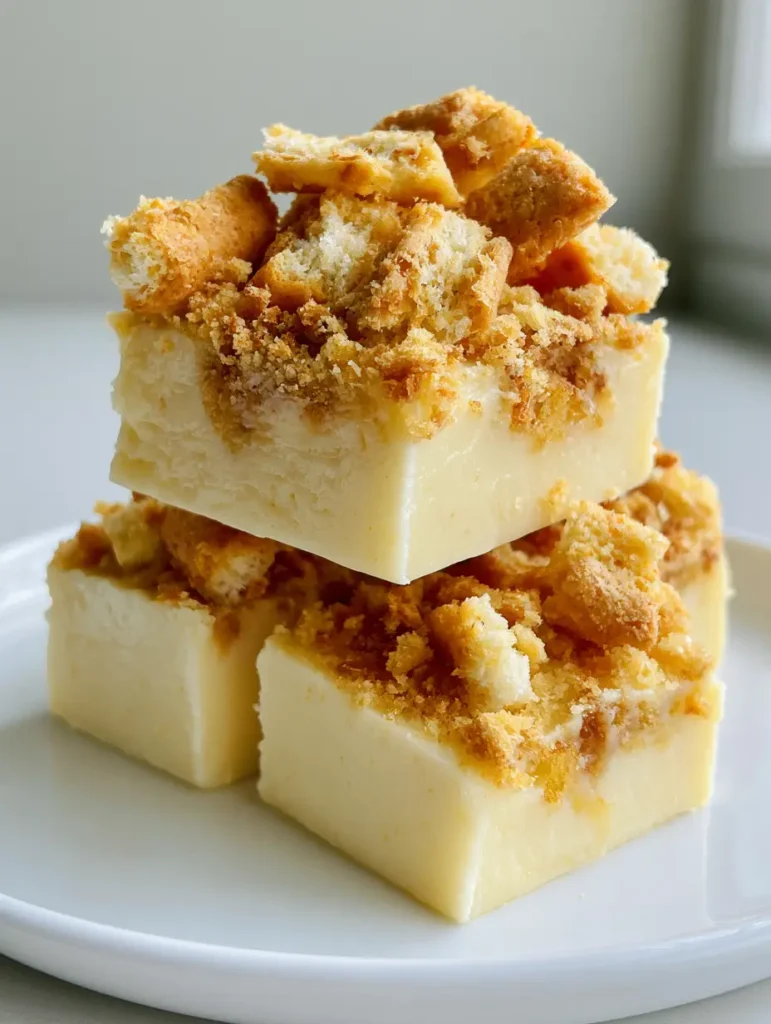
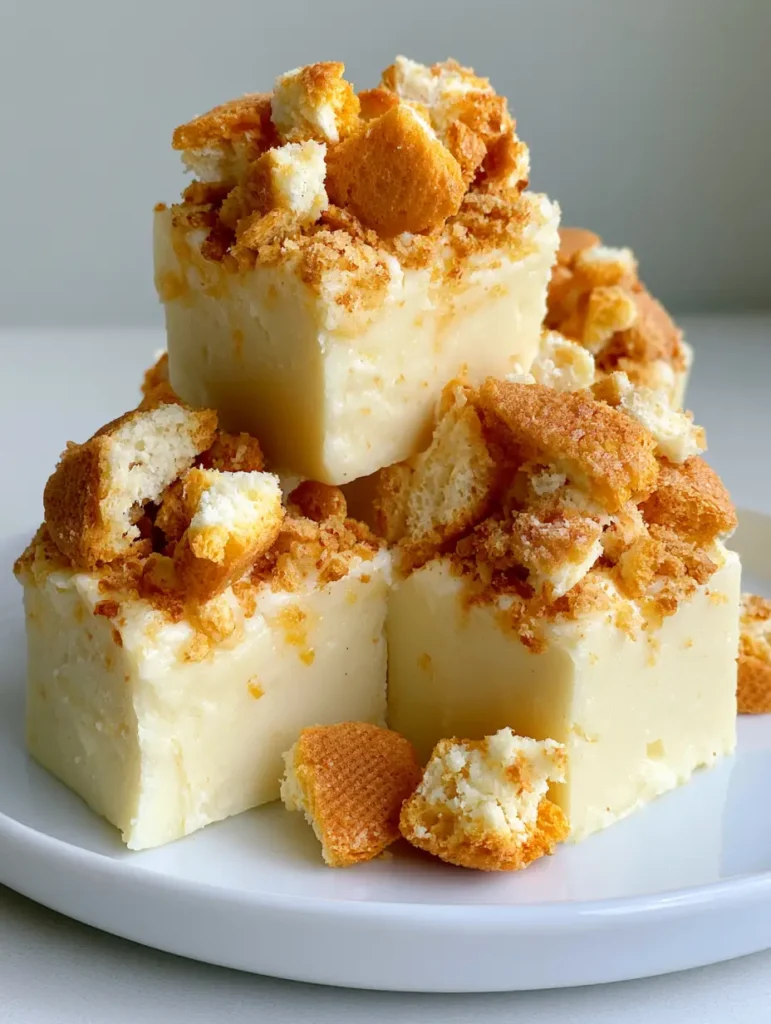
When you look at this fudge, you are greeted by a stunning, creamy pale yellow base that glows with a soft, matte finish. It is topped generously with a textured landscape of broken golden-brown vanilla wafer cookie pieces and fine, sandy cookie crumbs that catch the natural daylight. This is the ultimate treat for those who crave the comfort of traditional flavors but demand the precision of modern confectionery.
Whether you are preparing a spread for a summer gathering or simply want a sweet bite to follow a hearty BBQ chicken rice bowl, this fudge delivers a punch of flavor that is both sophisticated and deeply familiar. It is designed to be the centerpiece of your dessert platter, offering a visual and textural contrast that keeps guests coming back for “just one more piece.”
The Unbeatable Appeal of This No-Bake Southern Delicacy
Creating the perfect Banana Pudding Fudge requires a balance of creamy fats, aromatic extracts, and structural crunch. This recipe has been meticulously developed to ensure it meets the high standards of both professional pastry chefs and home cooks looking for a reliable, “wow-factor” result.
- Visual Precision: The fudge features a signature pale yellow hue that perfectly mimics the look of authentic banana custard, providing an instant visual cue for the flavor.
- Textural Contrast: You get the velvety, “melt-in-your-mouth” sensation from the white chocolate base combined with the satisfying snap of broken golden cookie chunks.
- No-Bake Simplicity: Achieve a professional, matte-sided set without ever needing to turn on your oven or use a candy thermometer.
- High-Impact Flavor: By incorporating instant pudding mix directly into the fudge base, we concentrate the banana essence for a more impactful flavor profile than traditional extracts alone.
This recipe is particularly excellent because it maintains its shape at room temperature while remaining soft enough to bite through easily. It serves as a fantastic follow-up to a light and refreshing shrimp and avocado bowl, providing a decadent conclusion to a balanced meal.
The Essential Pantry Staples for Creamy Banana Fudge
To achieve the specific visual result described in our blueprint—a dense, matte-sided fudge—we must select ingredients that offer both stability and flavor. Each component in this list serves a scientific purpose in the final structure of the Banana Pudding Fudge.
White Chocolate Chips (3 cups / 525g): This acts as our structural foundation. Use a high-quality white chocolate with cocoa butter listed as the first or second ingredient to ensure a smooth melt and a professional matte finish on the sides of your cuts.
Sweetened Condensed Milk (1 can / 14oz / 397g): This is our primary sweetener and softening agent. It prevents the white chocolate from setting too hard, creating that characteristic “fudge” chewiness rather than a brittle chocolate snap.
Instant Banana Pudding Mix (1 box / 3.4oz / 96g): The “secret” ingredient for both color and flavor. The modified cornstarch in the mix helps stabilize the fudge, while the yellow dyes provide that specific pale yellow visual cue seen in the blueprint.
Unsalted Butter (2 tbsp / 28g): We add a small amount of butter to increase the fat content, which creates a silkier mouthfeel and helps the fudge achieve a matte, rather than shiny or oily, appearance.
Vanilla Wafer Cookies (1.5 cups / approx. 120g): These provide the golden cookie chunks. We use them both inside the fudge for internal texture and crushed on top for a visually striking “crumbled” finish.
Vanilla Extract (1 tsp / 5ml): High-quality vanilla rounds out the banana flavor, bridging the gap between the creamy base and the buttery cookies.
Fine Sea Salt (1/4 tsp / 1.5g): A crucial “invisible” ingredient. Salt cuts through the intense sweetness of the white chocolate and condensed milk, making the banana flavor pop.
The Tool Kit: Preparing Your Kitchen for Candy Success
To replicate the handheld smartphone photo aesthetic of perfectly square-cut fudge, you need the right tools. Precision in preparation leads to precision in the final visual presentation.
- 8×8-inch (20x20cm) Square Baking Pan: This size ensures the fudge has the ideal thickness for those iconic “stacked” photos.
- Parchment Paper: Crucial for a “clean release.” Leave an overhang on the sides so you can lift the entire block of fudge out for clean slicing.
- Heavy-Bottomed Saucepan: A thick base prevents the white chocolate from scorching, ensuring the color remains a pure, pale yellow.
- Silicone Spatula: Best for folding in the cookies without crushing them into dust, maintaining those “broken golden chunks” inside the base.
- Sharp Chef’s Knife: To get those smooth, matte sides, you need a single, clean slice. Wiping the knife with a warm, damp cloth between cuts is a pro tip.
Master the Melt: A Step-by-Step Guide to the Perfect Set
Follow these instructions closely to ensure your Banana Pudding Fudge matches the visual blueprint exactly. We are looking for a specific density and a generous topping of crumbs.
Phase 1: Preparing the Foundation
Line your 8×8-inch pan with parchment paper. Ensure the paper is tucked tightly into the corners to keep the fudge edges square. Lightly grease the parchment with a tiny amount of butter or non-stick spray to ensure the matte sides remain perfectly smooth when the paper is peeled away.
Phase 2: The Emulsification Process
In your heavy-bottomed saucepan over low heat, combine the white chocolate chips, sweetened condensed milk, and butter. Stir constantly using a silicone spatula. Visual Cue: Watch for the chips to lose their shape and become a thick, glossy liquid. Do not let it bubble; we want a gentle melt to preserve the pale color.
Phase 3: Integrating the Banana Essence
Once the mixture is smooth, whisk in the dry instant banana pudding mix, vanilla extract, and salt. Continue to stir over low heat for 1-2 minutes. Sensory Cue: You will notice the mixture thickening significantly and turning a beautiful, creamy pale yellow. The scent will become intensely fragrant, reminiscent of classic banana custard.
Phase 4: Folding and Layering
Remove the pan from the heat. Quickly fold in half of your broken vanilla wafer pieces. Pour the mixture into the prepared baking pan, smoothing the top with your spatula. Immediately sprinkle the remaining broken cookie chunks and fine cookie crumbs over the top. Visual Cue: Press the cookies lightly into the surface so they adhere but remain visible on the top layer.
Phase 5: The Cold Cure
Refrigerate the fudge for at least 4 hours, or ideally overnight. This long, cold rest is what creates the dense, creamy texture and allows the flavors to meld. Once set, lift the fudge out using the parchment overhang and slice into clean squares.
Professional Culinary Secrets for the Ultimate Texture
Even a simple no-bake recipe benefit from professional techniques. To ensure your Banana Pudding Fudge is the best it can be, keep these tips in mind.
- Temperature Control: White chocolate is notorious for seizing if it gets too hot. Always use the lowest heat setting possible and be patient. If it starts to look grainy, remove it from the heat immediately and stir vigorously.
- The “Clean Cut” Technique: For those smooth, matte sides seen in the prompt, let the fudge sit at room temperature for 10 minutes before cutting. Use a hot knife (dipped in hot water and dried) to slice through the dense base and crunchy cookie topping.
- Cookie Freshness: Only crush your cookies right before you are ready to top the fudge. This ensures the “golden-brown” pieces stay crunchy rather than absorbing moisture from the fridge.
- Avoid Over-Stirring: Once you add the pudding mix, stir just until combined. Over-working the starch can lead to a rubbery texture rather than a creamy, fudge-like consistency.
Preservation and Serving Strategies
Because this fudge is high in sugar and fat, it has an excellent shelf life. To maintain that “freshly made” appearance, store the squares in an airtight container with parchment paper between layers.
Refrigeration: The fudge will stay fresh and dense in the refrigerator for up to 2 weeks. This is the best way to maintain the structural integrity of the “square-cut” pieces.
Freezing: You can freeze this fudge for up to 3 months. Wrap the entire block or individual squares tightly in plastic wrap and then place them in a freezer bag. Thaw in the refrigerator overnight before serving to prevent condensation from softening the cookie topping.
Room Temperature: While it can sit out on a dessert table for several hours (perfect for parties!), it is best kept in a cool, dry place. If the room is too warm, the white chocolate base may soften slightly, losing that matte side definition.
Curating the Ultimate Dessert Spread
This Banana Pudding Fudge is a star on its own, but it truly shines when paired with complementary flavors. If you are hosting a larger event, consider a variety of textures and colors to delight your guests.
For a whimsical addition to a children’s party, serve this alongside some vibrant unicorn lemonade. The citrus notes in the lemonade provide a sharp contrast to the creamy banana sweetness. If you are looking for a more sophisticated pairing, try serving the fudge as a “chaser” after a savory meal of brisket elote tacos.
For a summer-themed dessert board, place these yellow squares next to a bowl of Hawaiian cheesecake salad. The fruitiness of the salad balances the rich, buttery density of the fudge, creating a well-rounded tasting experience for your guests.
Addressing Your Banana Fudge Inquiries
We know that candy making, even no-bake versions, can lead to questions. Here are the most common queries we see regarding this specific recipe.
We do not recommend adding fresh bananas as their high water content will prevent the fudge from setting and cause it to spoil quickly. Stick to the pudding mix and vanilla wafers for the best texture.
No, you must use instant pudding mix. The instant version contains pre-gelatinized starch which allows the fudge to set correctly without boiling the mixture for an extended period, which would ruin the white chocolate.
While it can sit at room temperature for a few hours, it is best stored in the refrigerator to maintain its dense, creamy texture and keep the cookie topping from becoming soft.
For professional matte sides, use a sharp chef’s knife. Dip the blade in hot water, wipe it completely dry, and make one long downward slice. Repeat the cleaning process for every single cut.
This usually happens if the white chocolate was not melted thoroughly with the condensed milk or if the ratio was off. Ensure you use the full 3 cups of chips and chill for at least 4 hours.
The Ultimate Banana Pudding Fudge Recipe
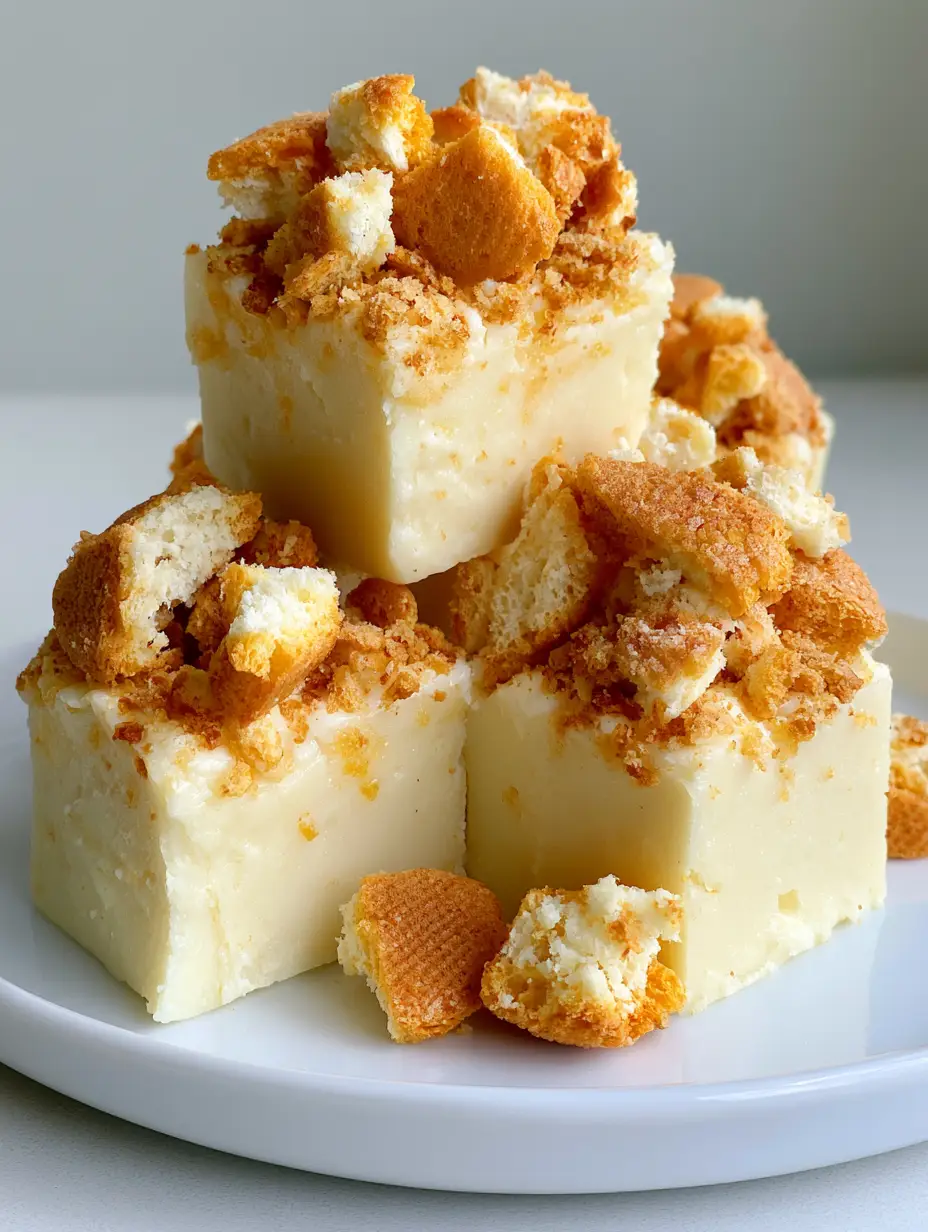
Banana Pudding Fudge with Golden Vanilla Wafer Crumble
Ingredients
Equipment
Instructions
- Line an 8x8-inch pan with parchment paper, leaving an overhang on the sides for easy removal.
- In a heavy-bottomed saucepan over low heat, stir white chocolate chips, condensed milk, and butter until completely smooth.
- Whisk in the dry pudding mix, vanilla, and salt. Stir for 1-2 minutes until the mixture thickens and turns pale yellow.
- Remove from heat and fold in half of the broken vanilla wafers.
- Pour into the pan and immediately top with remaining broken cookies and crumbs, pressing lightly to adhere.
- Refrigerate for at least 4 hours or until completely firm.
Notes
Slice with a warm knife for perfectly smooth edges.
Closing & Call to Action
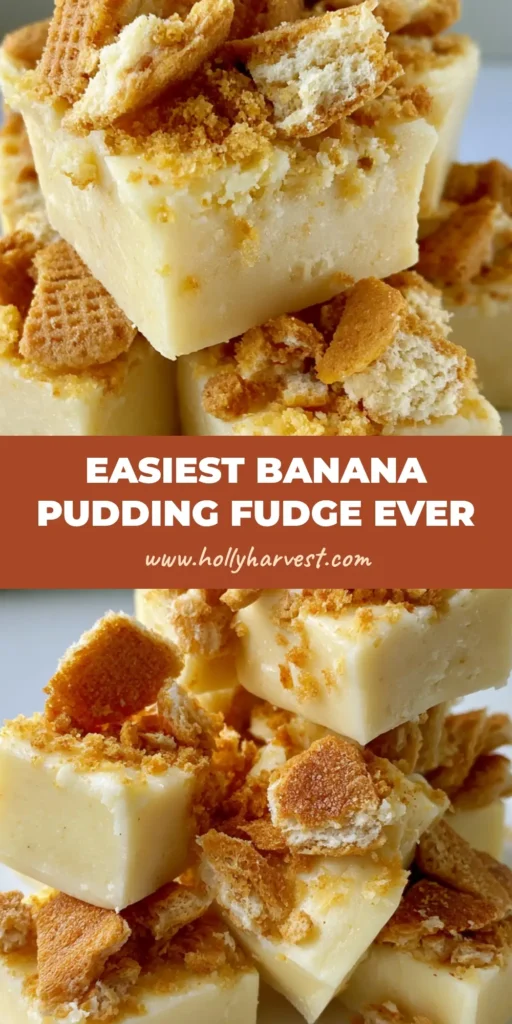
There is nothing quite like the satisfaction of a perfectly set Banana Pudding Fudge. With its creamy pale yellow base and that irresistible golden cookie crunch, it is a recipe that looks as good as it tastes. It perfectly captures the essence of a handheld smartphone photo—authentic, unedited, and absolutely delicious.
We invite you to try this recipe and share your results! Did you get those perfect matte sides? Was the cookie crumble as golden as you hoped? Leave a comment below or share your photos with us. For more nostalgic dessert inspiration and easy-to-follow recipes, be sure to follow us on Pinterest and sign up for our weekly newsletter!