There is a specific, transformative magic that happens when humble butter meets a cast-iron skillet and a steady flame. This Brown Butter Frosting Recipe isn’t just a topping; it is a deep, aromatic experience that elevates the simplest pastry into a gourmet masterpiece. If you have ever felt that traditional American buttercream was too sweet or lacked complexity, this toasted milk solid-infused version is the sophisticated answer you have been searching for.
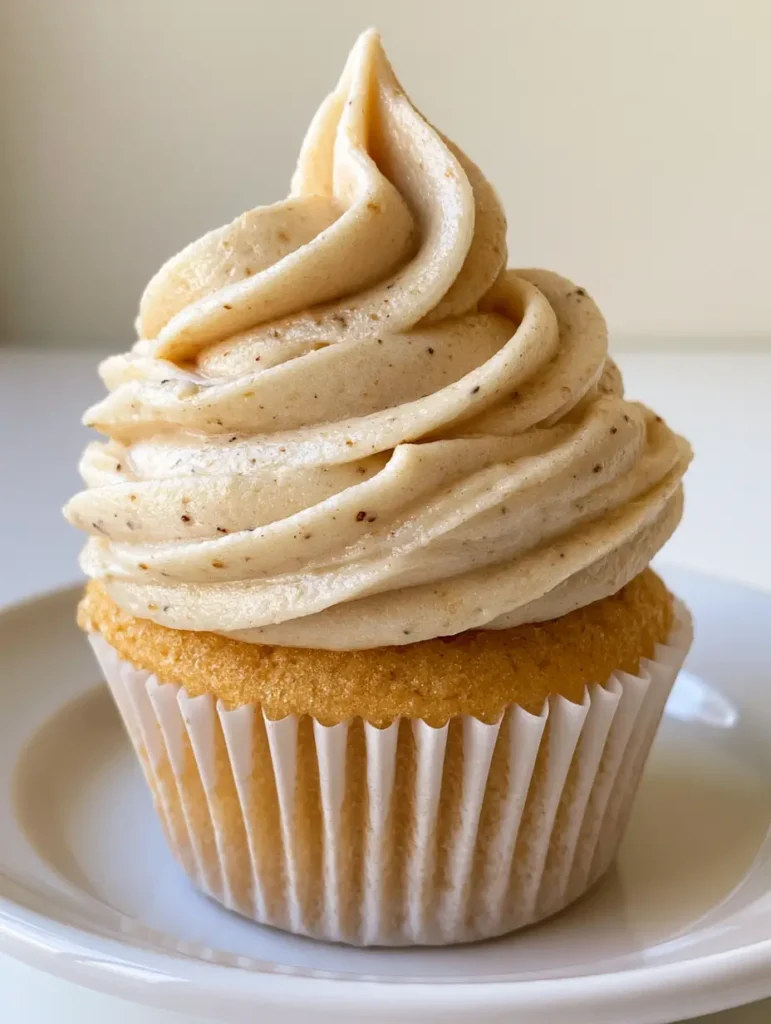
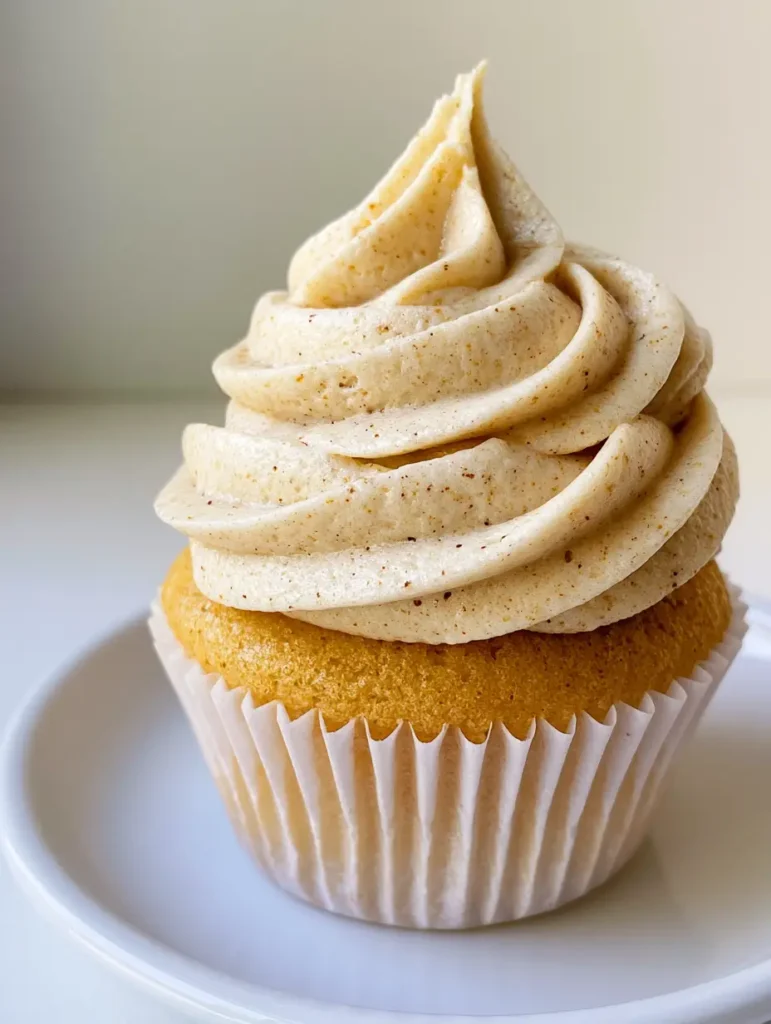
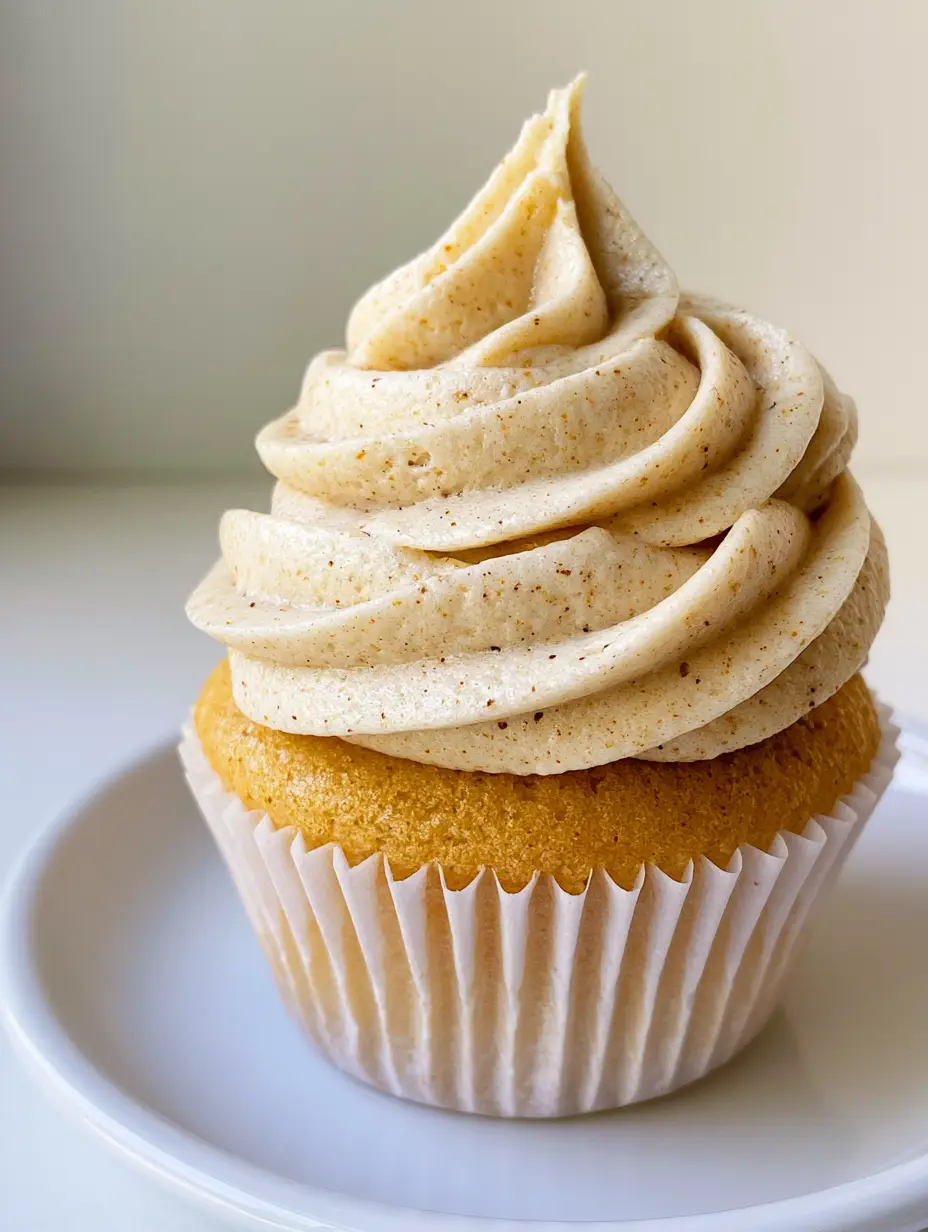
Imagine a thick, luscious swirl of tan buttercream, so creamy it holds soft, rounded ridges with a perfect matte finish. As you look closer, you see the hallmark of quality: tiny, dark specks of toasted milk solids scattered throughout like culinary gold dust. When piped atop a moist, golden vanilla cupcake, the contrast between the nutty, savory notes of the frosting and the sweet sponge is nothing short of legendary. This is the recipe that turns home bakers into neighborhood icons.
Why This Toasted Beurre Noisette Frosting Outperforms Standard Buttercream
- Unmatched Depth of Flavor: By browning the butter, we unlock a “Beurre Noisette” profile, offering notes of toasted hazelnuts and caramel that balance the sugar.
- Visual Sophistication: The visible dark toasted milk solids provide an artisanal, “from-scratch” look that instantly signals high-quality ingredients to anyone viewing the dish.
- Perfect Structural Integrity: Despite its creamy mouthfeel, this frosting is engineered to hold tall, thick swirls that won’t slump at room temperature, making it ideal for professional piping.
- Matte Finish Elegance: Unlike greasy or overly shiny frostings, this recipe achieves a velvety matte finish that looks stunning in natural daylight and handheld photography.
The Essential Components for a Rich Nutty Frosting
Unsalted High-Fat Butter: You will need 1 cup (226g) of high-quality unsalted butter. Using unsalted allows you to control the seasoning, while the high fat content ensures more milk solids for those beautiful toasted specks.
Powdered Confectioners’ Sugar: Use 4 cups (500g) of finely sifted powdered sugar. This provides the bulk and sweetness of the frosting while ensuring a smooth, grit-free texture on the palate.
Heavy Whipping Cream: Add 2-3 tbsp (30-45ml) of heavy cream as needed. This “foundational invisible” ingredient is what transforms a stiff paste into a luscious, spreadable medium with rounded ridges.
Pure Vanilla Bean Paste or Extract: 1 tbsp (15ml) of vanilla is non-negotiable. Using paste adds even more dark specks to complement the toasted milk solids, enhancing the visual “Culinary Forensics” of the dish.
Fine Sea Salt: A mere 1/4 tsp (1.5g) of fine sea salt is the secret weapon. It cuts through the lipid density of the butter and the glucose of the sugar, brightening the entire flavor profile.
Must-Have Equipment for Professional Results
To achieve the visual result seen in our blueprint, you will need a light-colored stainless steel skillet. This is vital so you can accurately monitor the color change of the butter and avoid burning the delicate milk solids. You will also need a high-speed stand mixer equipped with a paddle attachment to aerate the butter once it has cooled and solidified. Finally, a large open star piping tip is required to create those signature thick, luscious swirls with soft ridges.
Mastering the Art of Browning and Whipping
Step 1: The Browning Process (Beurre Noisette)
Place your butter in a light-colored pan over medium heat. Watch for the butter to melt, foam, and eventually begin to “crackle” as the water evaporates. This is the sensory cue to pay close attention.
Stir constantly as you see the foam subside and tiny brown bits begin to form at the bottom of the pan. The aroma will shift from “buttery” to “intense toasted hazelnut.” Once the butter is a deep amber and the milk solids are dark brown, remove from heat immediately to prevent burning.
Step 2: The Critical Cooling Phase
Pour the browned butter, including every single one of those toasted specks, into a heat-proof bowl. You must let this butter return to a softened, solid state—it should look like thick, opaque tan peanut butter. If you try to whip liquid brown butter, the frosting will never hold its shape.
For best results, place the bowl in the refrigerator for 45-60 minutes, stirring every 15 minutes to ensure it cools evenly. You are looking for a consistency that is firm enough to hold an indentation from your finger but soft enough to be pliable.
Step 3: Aerating the Base
Transfer the solidified brown butter to your mixer. Beat on medium-high speed for 2-3 minutes until the butter lightens in color and becomes fluffy. The toasted specks will become more evenly distributed throughout the tan base.
Step 4: Incorporating the Sweetener and Flavor
Reduce the speed to low and gradually add the sifted powdered sugar one cup at a time. Once the sugar is mostly incorporated, add the vanilla bean paste and sea salt. Increase the speed to medium and watch the texture transform.
Step 5: Achieving the Perfect Piping Consistency
Add the heavy cream one tablespoon at a time. Beat on high for another 2 minutes. The frosting should look thick and luscious, capable of holding a “stiff peak” that doesn’t collapse. This ensures your swirls will have those iconic rounded ridges and a soft matte finish.
Expert Tips for Brown Butter Success
- Don’t Strain the Bits: Many recipes suggest straining brown butter, but for this specific visual look, you must keep the solids! Those specks are where the flavor and the “forensic” beauty live.
- The Temperature Sweet Spot: If your frosting feels too soft, chill the entire bowl for 10 minutes and whip again. If it’s too stiff, add a teaspoon of cream at a time.
- Sift Your Sugar: Brown butter is more delicate than regular butter; any lumps in your sugar will be immediately apparent and may clog your piping tip.
- Watch the Maillard Reaction: The browning happens fast. The moment it smells like toasted nuts and looks like a copper penny, it’s done.
Shelf Life, Storage, and Prep-Ahead Advice
This frosting can be made in advance, which is a lifesaver for busy bakers. Store it in an airtight container in the refrigerator for up to 7 days. When you are ready to use it, let it come to room temperature and give it a quick whip with your mixer to restore that creamy, matte texture.
For long-term storage, you can freeze this Brown Butter Frosting Recipe for up to 3 months. Thaw it overnight in the fridge and re-whip before piping onto your golden vanilla cupcakes. Avoid microwaving to soften it, as this will melt the butter and destroy the aeration.
What to Pair with Your Brown Butter Frosting
While we love this frosting on a classic golden vanilla cupcake in a white pleated liner, its nutty profile makes it incredibly versatile. It is the perfect companion for a warm peach cobbler with oatmeal crumble, where the toasted butter notes complement the oats beautifully.
If you are hosting a summer gathering with a spread of bbq chicken rice bowls, this decadent frosting provides the perfect sweet finish to the meal. To balance the richness of the buttercream, serve it alongside a refreshing unicorn lemonade recipe for a fun, colorful contrast that kids and adults will love.
Frequently Asked Questions
You can, but omit the additional sea salt mentioned in the recipe. Note that salted butter may foam more vigorously during the browning process, so watch it closely.
No! Those dark specks are toasted milk solids and contain all the concentrated nutty flavor. Straining them out removes the characteristic look and depth of this specific Brown Butter Frosting Recipe.
The secret is in the temperature and the whipping time. Ensure your butter is cool enough and beat the final frosting on high speed with a splash of heavy cream to create a stable, aerated structure.
If the frosting looks oily, the brown butter was likely still too warm when you started mixing. Chill the bowl for 15 minutes and re-whip to restore the creamy, matte emulsion.
Graininess usually occurs if the powdered sugar wasn’t sifted or if the brown butter didn’t fully solidify before whipping. Ensure the butter is the consistency of soft peanut butter to achieve a smooth, matte finish.
The Ultimate Brown Butter Frosting Recipe Card
Brown Butter Frosting Recipe: How to Make the Ultimate Toasted Buttercream
Ingredients
Equipment
Instructions
- Melt butter in a skillet over medium heat. Cook until it foams, crackles, and smells nutty. Watch for dark toasted milk solids to form at the bottom.
- Pour into a bowl and chill in the fridge for 45-60 minutes until it reaches a soft, solid 'peanut butter' consistency.
- Whip the solidified brown butter for 2-3 minutes until pale and fluffy.
- Gradually add powdered sugar, vanilla, and salt on low speed, then increase to medium.
- Add heavy cream and beat on high until the frosting is thick with rounded ridges and a matte finish.
Notes
Ensure the butter is fully solidified before whipping to maintain structural integrity.
Bring the Bakery Home
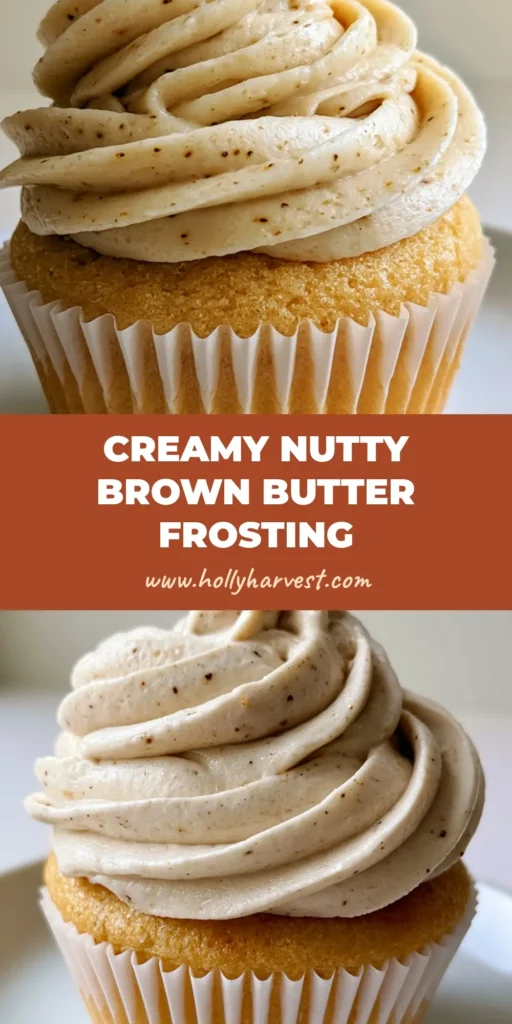
The Brown Butter Frosting Recipe is a testament to how a single technique—browning butter—can completely redefine a classic dessert. Whether you are piping it onto cupcakes for a birthday or spreading it over a layer cake, the visible toasted milk solids and creamy tan hue will make your work look and taste professional. We invite you to share your results with us! Did you achieve those perfect matte ridges? Tag us on Instagram or save this to your favorite boards on Pinterest to ensure you always have the “gold standard” of frosting at your fingertips.