There is nothing quite like the whimsical, airy magic of Homemade Cotton Candy. It is a treat that instantly transports you to summer midways, neon-lit carnivals, and childhood memories of sticky fingers and bright smiles. But achieving that perfect, hand-spun texture at home requires more than just a sweet tooth; it requires a deep understanding of sugar chemistry and the physics of aeration.
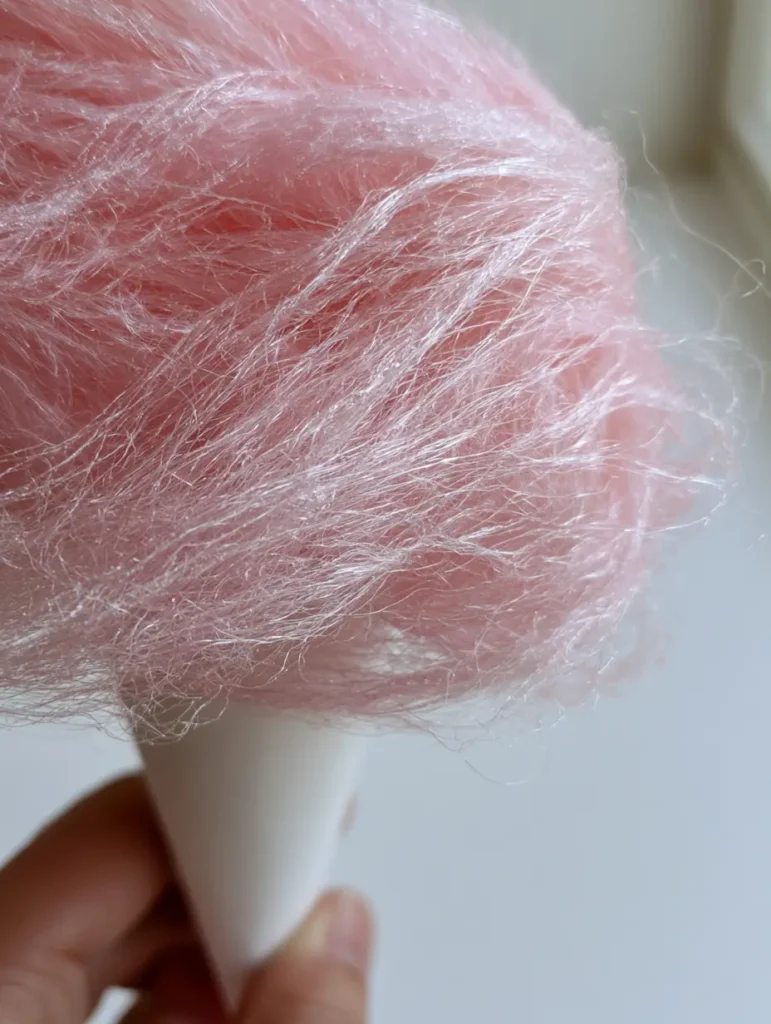
In this comprehensive guide, we are going to master the art of the spin. We aren’t just making a snack; we are creating a cloud-like mass of extremely fine, wispy, and translucent pink sugar threads that catch the light with a delicate crystalline glint. Using a few pantry staples and a bit of technique, you will be holding a white tapered paper cone filled with ethereal sweetness in no time.
Whether you are planning a birthday party or just want to challenge your culinary skills, this Homemade Cotton Candy recipe is designed for success. We will dive into the “hard crack” stage of sugar and learn how to manipulate molten sucrose into the delicate, matted texture seen in professional fairground displays. Get ready to turn your kitchen into a confectionery wonderland.
Why You Will Love This Hand-Spun Sugar Masterpiece
- Authentic Carnival Texture: We focus on creating extremely fine, tangled fibers that provide that signature “melt-in-your-mouth” experience.
- Customizable Aesthetics: By controlling the pink food coloring, you can achieve everything from a pale blush to a vibrant magenta hue.
- Pure Ingredient Profile: Unlike store-bought versions, your Homemade Cotton Candy contains no artificial preservatives or mysterious stabilizers.
- Crystalline Visual Appeal: The final product features a subtle glint from the sugar fibers, making it a stunning centerpiece for any dessert table.
- Skill Building: You will master high-temperature sugar work, a fundamental technique for any aspiring pastry chef or candy maker.
The Essential Chemistry of Your Pink Sugar Clouds
To create the perfect Homemade Cotton Candy, every ingredient serves a scientific purpose. We are essentially creating a glass-like structure that is pulled into microscopic threads before it has a chance to recrystallize into a solid block.
Granulated White Sugar: 1 cup (200g). Pure sucrose is the foundation of this recipe. Its molecular structure allows it to melt into a clear syrup and eventually harden into the fine, translucent threads that give the candy its volume.
Light Corn Syrup: 1/4 cup (60ml). This is our “interfering agent.” It prevents the sucrose from forming large crystals, ensuring the syrup remains smooth and pliable enough to be spun into wisps rather than turning into grainy chunks.
Water: 1/4 cup (60ml). Water acts as the solvent, allowing the sugar to dissolve evenly and heat up at a controlled rate without burning. It will eventually evaporate entirely during the “hard crack” phase.
Pink Food Coloring: 2-3 drops. We use a concentrated gel or liquid to achieve that iconic roseate glow. Just a few drops ensure the translucent threads carry a delicate, airy pink tint throughout the bundle.
Fine Sea Salt: 1/4 tsp (1.5g). While invisible, salt is critical for balancing the intense sweetness of the sugar. It provides a sophisticated depth that keeps the candy from being one-dimensional.
Vegetable Oil (for coating): 1 tsp (5ml). This foundational ingredient is used to lightly coat your spinning tools. It prevents the molten sugar from sticking to your whisk or spoons, allowing for a clean release of threads.
Tools for Crafting the Perfect Tapered Cone
Achieving the look of a handheld smartphone photo at a fair requires specific equipment. You will need a heavy-bottomed saucepan to ensure even heat distribution and prevent the sugar from scorching at the edges. A reliable candy thermometer is non-negotiable, as we must reach exactly 320°F (160°C) to achieve the “hard crack” stage.
For the spinning process, you can use a professional cotton candy machine, but for a true “hand-spun” feel, a modified wire whisk works wonders. By cutting the loops of an old whisk, you create several individual tines that can “throw” the sugar into fine threads. Lastly, you will need white tapered paper cones to catch and hold the matted texture of the sugar cloud.
The Evolution of Sugar Spinning: From Renaissance to Carnival
Before we begin the technical steps, it is fascinating to note that spinning sugar was once a luxury reserved for the European elite. In the 15th century, chefs would spend hours pulling sugar by hand to create elaborate table sculptures. It wasn’t until 1897 that a dentist—ironically enough—co-invented the electric cotton candy machine.
Today, we bridge that gap by using modern temperature control with traditional manual spinning techniques. This ensures your Homemade Cotton Candy has that artisanal, tangled look that machines sometimes make too uniform. We want the wispy, slightly irregular beauty of hand-crafted confectionery.
The Art of Spinning Pink Sugar Clouds: Step-by-Step
1. Preparing the Sugar Foundation
In your heavy-bottomed saucepan, combine the 1 cup (200g) of granulated sugar, 1/4 cup (60ml) of light corn syrup, 1/4 cup (60ml) of water, and 1/4 tsp (1.5g) of salt. Stir the mixture gently over medium heat until the sugar has completely dissolved and the liquid is clear.
Once dissolved, stop stirring. This is vital to prevent crystallization. Increase the heat to medium-high. Use a wet pastry brush to wash down any sugar crystals that may have formed on the sides of the pan, ensuring a perfectly smooth syrup.
2. Reaching the Hard Crack Stage
Insert your candy thermometer. Watch as the temperature rises through the “soft ball” and “hard ball” stages. You are looking for the syrup to reach 320°F (160°C). At this precise temperature, the water has evaporated, and the sugar will set into a brittle, glass-like state upon cooling.
As the temperature nears 310°F (154°C), stir in your 2-3 drops of pink food coloring. You will see the syrup transform into a vibrant, translucent liquid. Remove the pan from the heat immediately once it hits 320°F to prevent the sugar from browning or taking on a burnt caramel flavor.
3. The Hand-Spinning Technique
While the sugar cools slightly (you want it to be the consistency of thick honey), prepare your spinning station. Place two long wooden spoons or dowels on your counter, weighted down so they hang over the edge. Place parchment paper on the floor and walls to catch any stray sugar “webs.”
Dip your modified whisk into the pink sugar syrup. Hold it over the dowels and flick your wrist rapidly back and forth. You will see extremely fine, wispy threads begin to form and drape over the dowels. The sugar should look like tangled silk with a crystalline glint as it catches the light.
4. Catching the Cloud
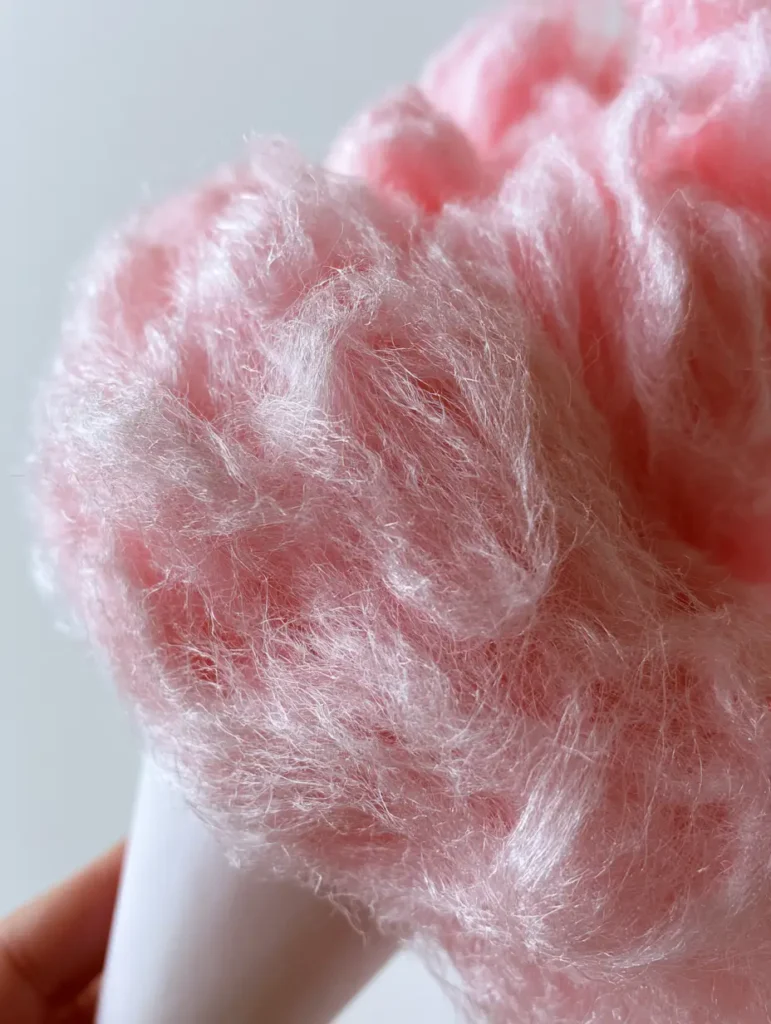
As the threads accumulate on the dowels, take your white tapered paper cone. Rotate the cone through the threads, catching them and wrapping them around the paper. Use a gentle hand to maintain the airy, cloud-like mass without crushing the delicate fibers.
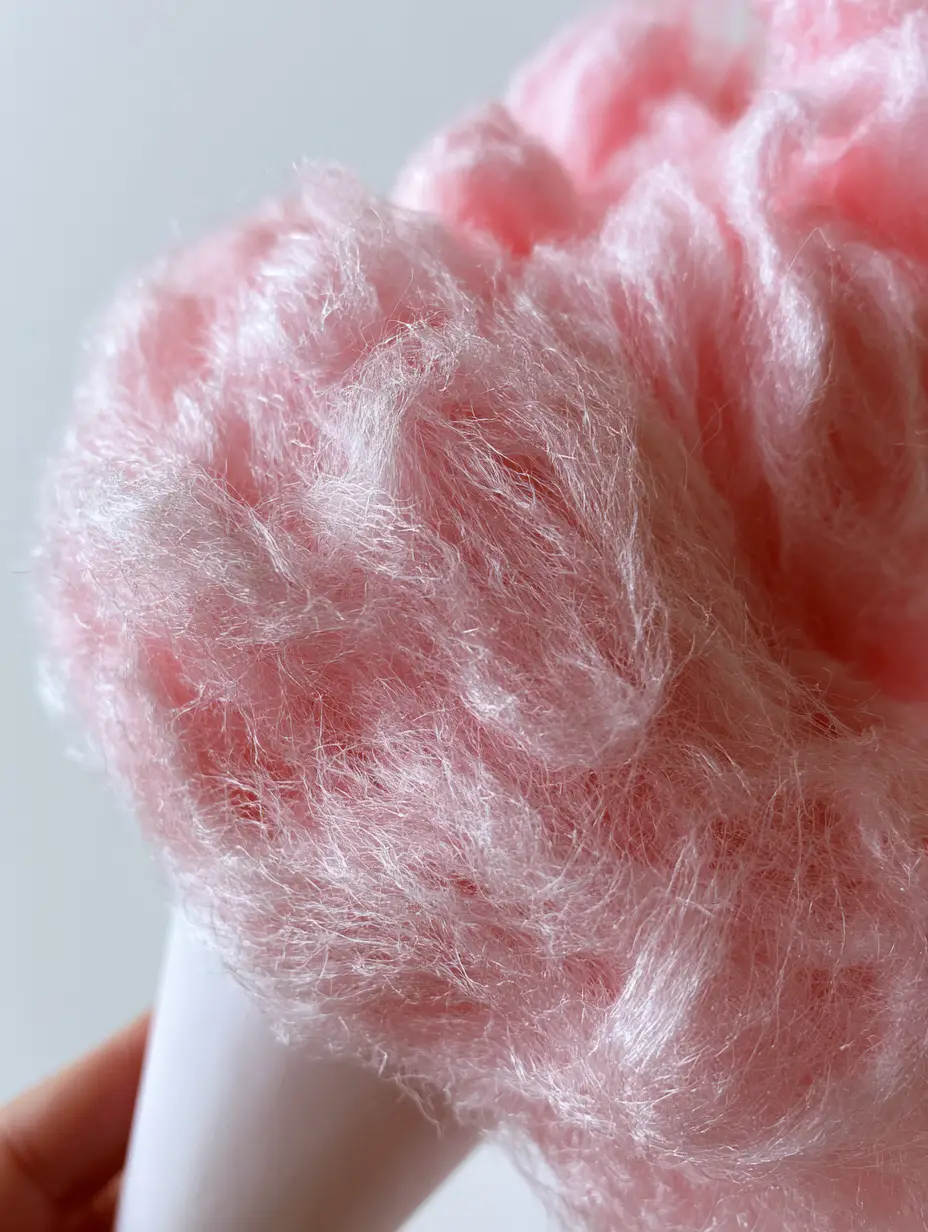
Continue this process until you have a large, matted bundle of Homemade Cotton Candy. The result should be a delicate, translucent mass that looks exactly like the artisanal treats found at high-end confectioneries. The texture will be slightly matted but still incredibly light and wispy.
Professional Secrets for Crystalline Perfection
- Watch the Humidity: Sugar is hygroscopic, meaning it absorbs moisture from the air. Only make Homemade Cotton Candy on dry days, or your threads will turn into a sticky, syrupy mess within minutes.
- Temperature Precision: Even a 5-degree difference can change the texture. If the sugar is too cool, the threads will be thick and crunchy; too hot, and the sugar will burn and turn bitter.
- The “Flick” Motion: Success lies in the wrist. Use a rapid, rhythmic motion to ensure the threads are pulled as thin as possible before they solidify in the air.
- Clean Tools: If your whisk develops a build-up of hardened sugar, clean it in hot water and dry it thoroughly before continuing. Any solid bits will ruin the “wispy” texture.
Shelf Life and Storage Advice
Homemade Cotton Candy is best enjoyed immediately. Because of its high surface area and lack of preservatives, it begins to deflate and crystallize almost as soon as it is spun. If you must store it, place the bundles in an airtight container or a heat-sealed plastic bag with a silica gel pack to absorb moisture.
Never refrigerate or freeze your cotton candy. The humidity inside a fridge will cause the sugar threads to dissolve instantly. Keep it in a cool, dark, and—most importantly—dry cupboard if you are waiting a few hours to serve it.
Perfect Pairings for Your Sweet Celebration
While this candy is a star on its own, it works beautifully as part of a larger dessert spread. For a summer party, serve it alongside peach crumble bars to provide a textural contrast between the crunchy topping and the airy sugar.
If you are hosting a backyard movie night, pair your pink clouds with a refreshing campfire cola dirty soda. The carbonation cuts through the intense sweetness of the sugar perfectly. For those who enjoy a “salty and sweet” combo, serving these after a meal featuring cowboy butter ranch dressing on wings or veggies creates a nostalgic, fairground-inspired menu. You can even use small wisps of the candy to garnish a peach burrata salad for a sophisticated, molecular gastronomy twist.
Frequently Asked Questions
Yes! By using a modified whisk (with the ends cut off) and flicking a 320°F sugar syrup over dowels, you can create hand-spun threads manually.
No. Granulated white sugar is necessary because of its specific sucrose concentration and lack of impurities, which allow for clear, translucent threads.
Gel food coloring is best because it is highly concentrated and won’t add excess moisture to the syrup, though standard liquid drops also work well.
This is the ‘hard crack’ stage. At this temperature, almost all water has evaporated, allowing the sugar to set into brittle, fine threads instantly when spun.
Sugar is highly sensitive to humidity. If the air is moist, the sugar threads absorb water and collapse back into a syrup. Always make cotton candy on a dry day.
The Ultimate Homemade Cotton Candy Recipe
Homemade Cotton Candy: The Ultimate Guide to Crystalline Pink Sugar Clouds
Ingredients
Equipment
Instructions
- In a heavy saucepan, combine sugar, corn syrup, water, and salt. Heat over medium while stirring until the mixture is clear and sugar is dissolved.
- Stop stirring. Increase heat and monitor with a thermometer until it reaches 320°F (160°C). Add pink coloring at 310°F.
- Dip a modified whisk into the syrup and flick it rapidly over weighted wooden spoons to create fine, wispy pink threads.
- Rotate a white paper cone through the hanging threads to gather a cloud-like mass of spun sugar.
Notes
Use a rapid flicking motion to ensure threads are translucent and fine.
Bringing the Carnival Home
Mastering Homemade Cotton Candy is a rite of passage for any home cook who loves the science of sweets. It requires patience, precision, and a bit of a mess, but the reward of holding that fluffy pink cloud is well worth the effort. The way the translucent threads melt on your tongue is a sensory experience that store-bought versions simply cannot replicate.
We hope this guide inspires you to get into the kitchen and start spinning. If you enjoyed this recipe, please leave a comment below and share your results! Don’t forget to follow us on Pinterest for more whimsical dessert inspiration and culinary deep-dives. Happy spinning!