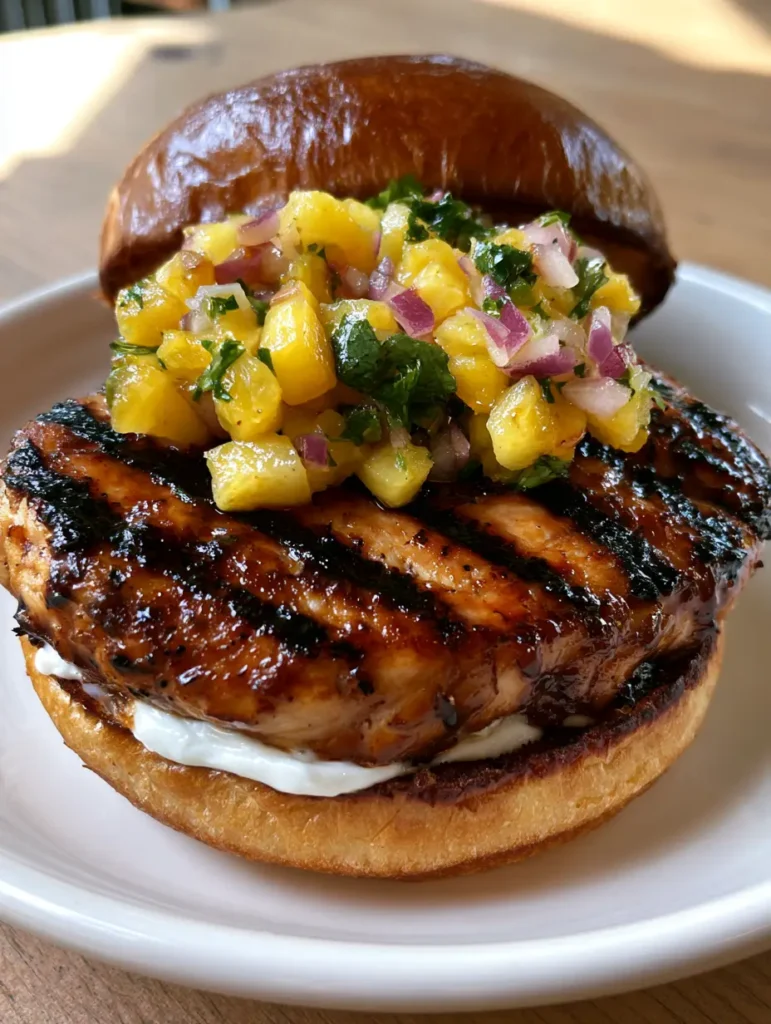
The Hawaiian Chicken Sandwich is more than just a meal; it is a sensory escape to a sun-drenched tropical coastline. Imagine the first bite through a buttery, toasted brioche bun, immediately meeting a layer of thick, creamy mayonnaise that balances the sweet heat of the dish.
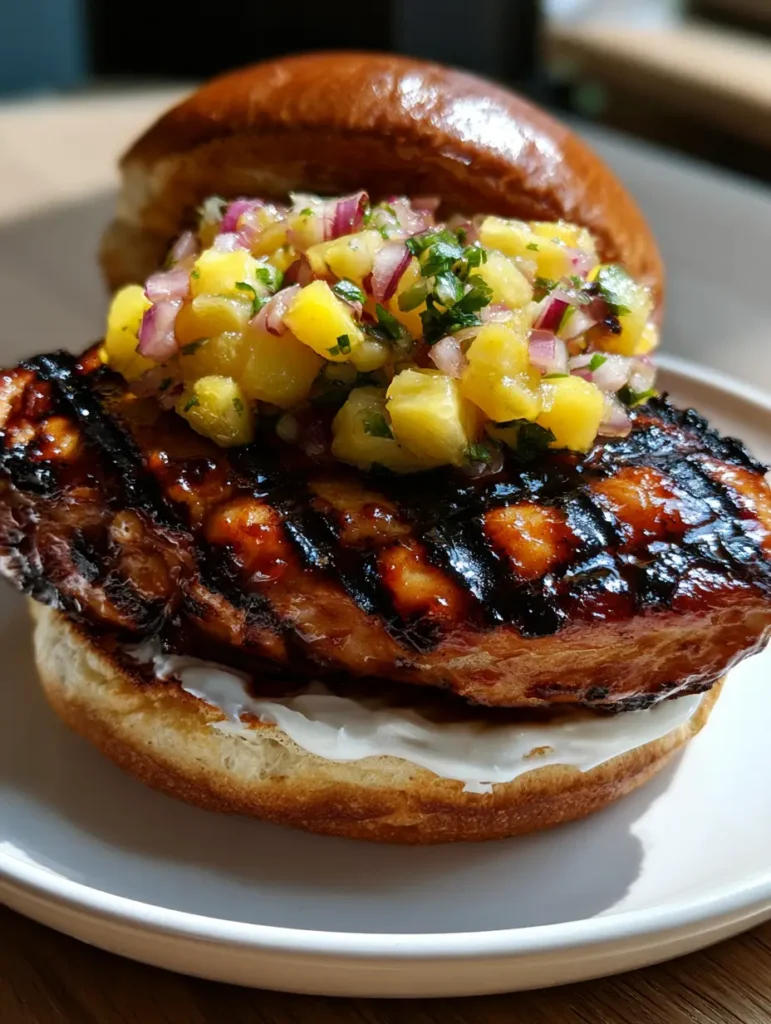
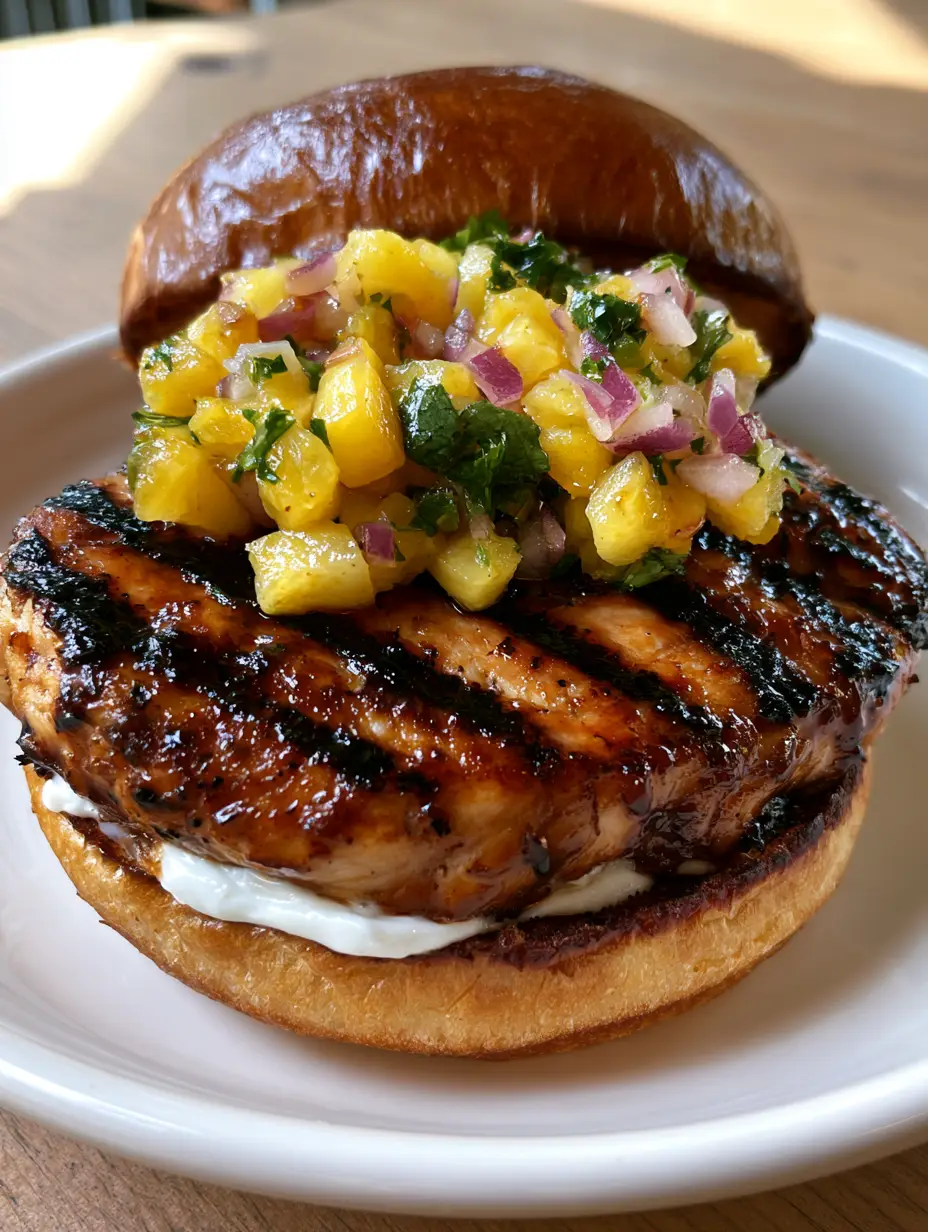
The star of the show is a succulent chicken breast, glistening with a deep teriyaki glaze and marked by those iconic, dark diagonal char marks that only a screaming-hot grill can provide. This isn’t just a sandwich; it’s a masterclass in contrasting textures and vibrant flavors.
Captured in the soft, natural daylight of a lazy afternoon, this Hawaiian Chicken Sandwich looks exactly like the one you would find at a high-end seaside shack. Each component—from the chunky pineapple salsa to the flecks of fresh green cilantro—is designed to pop against the simple elegance of a white ceramic plate.
Why This Tropical Masterpiece Works So Well
- The Flavor Contrast: The salty, umami-rich teriyaki glaze acts as the perfect foil to the bright, acidic sweetness of the hand-diced pineapple salsa.
- Visual Sophistication: Distinct, dark diagonal grill marks aren’t just for show; they provide a concentrated smoky flavor that elevates the chicken.
- Textural Harmony: Between the soft, toasted brioche bun and the crunch of the finely chopped red onion, every bite offers a satisfying structural variety.
- Simplicity at its Best: This recipe uses accessible ingredients to achieve a result that looks like a professional food photograph taken on a handheld smartphone.
The Essential Components for an Island-Inspired Feast
Boneless Skinless Chicken Breasts: Look for even thickness so the meat cooks uniformly. You will need 2 large breasts (approx. 1 lb (450g)), which we will slice horizontally into four thin cutlets to ensure maximum surface area for that glistening glaze.
Brioche Buns: These are non-negotiable for the authentic experience. The high butter and egg content in a brioche bun allows it to toast to a perfect golden brown, providing a sturdy yet soft base for the heavy toppings.
Teriyaki Glaze: Use a high-quality, thick glaze rather than a thin marinade. You’ll need about 1/2 cup (120ml). This ensures the sauce clings to the chicken during the final moments of grilling, creating that signature shiny finish.
Fresh Pineapple: For the salsa, use 1 cup (165g) of fresh, bright yellow pineapple. Fresh fruit provides a firm texture and a tartness that canned pineapple simply cannot replicate.
Red Onion: Finely chopped red onion (about 1/4 cup (40g)) adds a sharp, pungent bite and a beautiful purple hue to the salsa. It cuts through the richness of the mayo and the sweetness of the fruit.
Fresh Cilantro: Small green flecks of cilantro (about 2 tbsp (5g)) are essential for both the visual appeal and the herbal aroma that ties the salsa together.
Creamy Mayonnaise: You’ll want 1/4 cup (60ml) of a thick, high-quality mayo. Spread it generously on the bottom bun to create a moisture barrier and a rich mouthfeel.
Invisible Essentials: Don’t forget 1 tbsp (15ml) of a high-smoke point oil (like avocado or canola oil) for the grill and a pinch of kosher salt to season the chicken before the glaze is applied.
Essential Kitchen Tools for Professional Results
To achieve the “meticulously detailed” look of the sandwich in our photos, you will need a heavy-duty outdoor grill or a high-quality cast-iron grill pan. The weight of the cast iron helps produce those deep, diagonal char marks that define the aesthetic.
A sharp chef’s knife is critical for dicing the pineapple and red onion into uniform pieces. This ensures the salsa stays on the sandwich rather than falling off in large chunks. A silicone basting brush is also necessary to apply the teriyaki glaze without wiping off the beautiful grill marks you’ve worked so hard to create.
The Step-by-Step Path to Grilled Perfection
Preparing the Chicken and the “Diagonal” Strategy
Start by slicing your chicken breasts horizontally to create four even cutlets. Pat them completely dry with paper towels; moisture is the enemy of a good sear.
Lightly coat the chicken with your high-smoke point oil and a sprinkle of salt. Pre-heat your grill to medium-high heat (about 400°F (200°C)).
Place the chicken on the grates at a 45-degree angle. Do not touch it for 3-4 minutes. This patience is what creates those dark, distinct diagonal char marks visible in our visual blueprint.
The Glazing Phase: Achieving the Glistening Finish
Flip the chicken. Once flipped, immediately use your basting brush to coat the seared side with the teriyaki glaze. The heat will cause the sugars in the glaze to caramelize and thicken.
Repeat the glazing on the other side during the last minute of cooking. You are looking for an internal temperature of 165°F (74°C). The chicken should look wet and shiny, catching the light like a professional food photo.
Crafting the Vibrant Pineapple Salsa
In a small glass bowl, combine your diced pineapple, finely chopped red onion, and chopped cilantro. If you have any lime juice on hand, a small squeeze adds a wonderful brightness, though the pineapple provides plenty of natural acid.
Toss the mixture gently. The colors should be bright and contrasting—yellow, purple, and green. This salsa provides the “generous mound” of texture that sits atop the grilled breast.
Toasting the Brioche to Golden Perfection
Split your brioche buns and lightly butter the cut sides. Place them cut-side down on the grill for about 30-60 seconds.
Watch for a uniform golden-brown color. A toasted bun is structurally sounder and prevents the mayonnaise from soaking into the bread and making it soggy.
Assembling Your Hawaiian Masterpiece
Lay the toasted brioche bun bottoms on a simple white plate. Spread a thick, even layer of creamy white mayonnaise over the entire surface of the bottom bun.
Place one glistening, glazed chicken breast on each bun, ensuring the diagonal char marks are oriented the same way for a professional look. Top the chicken with a generous mound of the pineapple salsa.
Finally, place the shiny, toasted brioche top bun over the salsa. The sandwich should look tall, vibrant, and incredibly fresh. Serve immediately while the chicken is hot and the salsa is cold.
Expert Tips for Success
- The “No-Move” Rule: To get those perfect char marks, do not move the chicken once it hits the grill. If it sticks, it’s not ready to flip.
- Cold Salsa, Hot Chicken: Keep the pineapple salsa in the refrigerator until the very moment of assembly. The temperature contrast is part of the eating experience.
- Sauce Selection: If your teriyaki sauce is too thin, simmer it in a small saucepan for 5 minutes before using it as a glaze to concentrate the sugars.
- Bun Protection: If you are serving these at a party, spread the mayo all the way to the edges of the bun to create a seal against the juices of the pineapple.
How to Keep Your Tropical Leftovers Fresh
If you have leftover components, store the chicken and the salsa in separate airtight containers in the refrigerator. The chicken will stay succulent for up to 3 days, while the salsa is best within 24 hours as the pineapple will eventually release its juices.
To reheat the chicken, use a toaster oven or a skillet over medium heat. Avoid the microwave if possible, as it can make the chicken rubbery and the glaze messy. Re-toast a fresh bun for the best results.
What to Serve with Your Hawaiian Chicken Sandwich
This sandwich is a heavy hitter, so it pairs beautifully with light, vibrant sides. A classic choice would be a creamy macaroni salad to lean into the Pacific island theme.
For something with a bit more crunch, consider serving it alongside an Amish pasta salad. If you want to keep the fruit flavors flowing, a peach and burrata salad provides a sophisticated touch to your summer lunch.
If you love the flavor profile of the chicken, you might also enjoy our sweet and savory grilled pork chops for your next BBQ. For those who want more fruit-forward protein, check out our honey lime chicken stacks.
Your Pressing Sandwich Questions Answered
It is best served fresh. However, you can prep the pineapple salsa and marinate the chicken up to 24 hours in advance. Assemble just before eating to keep the bun crisp.
While you can use canned pineapple tidbits in a pinch, fresh pineapple is highly recommended for its firm texture and vibrant color. Canned pineapple is often much softer and may make the sandwich soggy.
The secret is a very hot grill and patience. Place the chicken at a 45-degree angle to the grates and do not move or flip it for at least 3-4 minutes. This allows the proteins to sear and the char to develop.
If you don’t have teriyaki, a thick BBQ sauce or a mixture of soy sauce, honey, and cornstarch (simmered until thick) can work, though it will change the flavor profile.
Lightly butter the cut side and place them on the grill or a pan for about 30-60 seconds. Brioche has high sugar and fat content, so watch them closely as they can go from golden to burnt very quickly.
The Ultimate Hawaiian Chicken Sandwich Recipe Card
Hawaiian Chicken Sandwich with Fresh Pineapple Salsa and Teriyaki Glaze
Ingredients
Equipment
Instructions
- Slice chicken breasts horizontally into cutlets. Pat dry, coat with oil and salt.
- Place on a 400°F (200°C) grill at a 45-degree angle. Sear for 4 minutes without moving to create dark diagonal char marks.
- Flip the chicken and generously brush with teriyaki glaze. Cook until internal temp reaches 165°F (74°C).
- Combine diced pineapple, red onion, and cilantro in a bowl.
- Butter and toast brioche buns until golden brown.
- Spread mayo on the bottom bun. Add the glazed chicken and a generous mound of pineapple salsa. Top with the toasted bun top.
Notes
Use fresh pineapple rather than canned for the best texture and visual appeal.
Closing & Call to Action
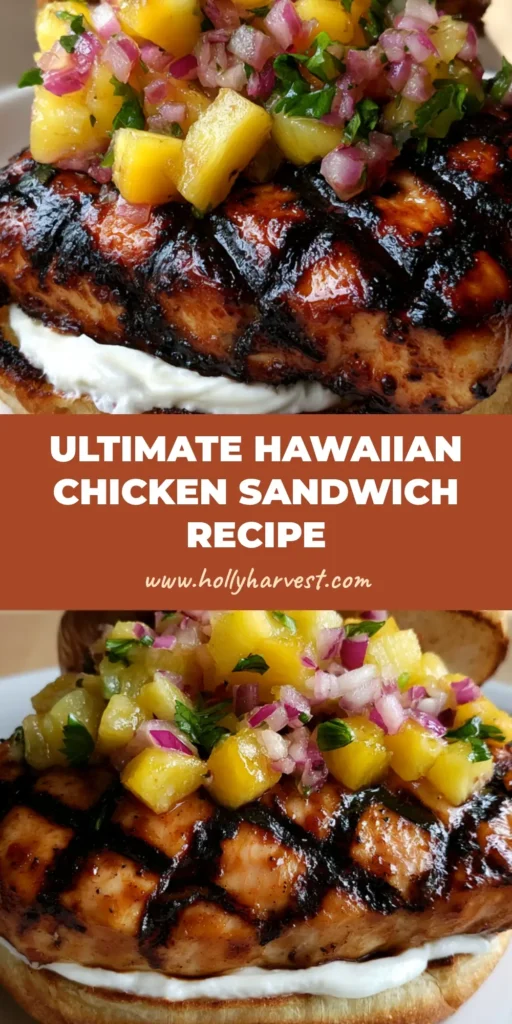
The Hawaiian Chicken Sandwich is a testament to how a few fresh ingredients can create a meal that looks and tastes like a tropical vacation. Whether you’re grilling in your backyard or using a stovetop pan, the key is the contrast between the charred, glistening chicken and the zesty, cold fruit salsa.
If you loved this recipe, please leave a comment below and tell us how your grill marks turned out! Don’t forget to follow us on Pinterest for more culinary inspiration and share your photos with the Holly Harvest community.