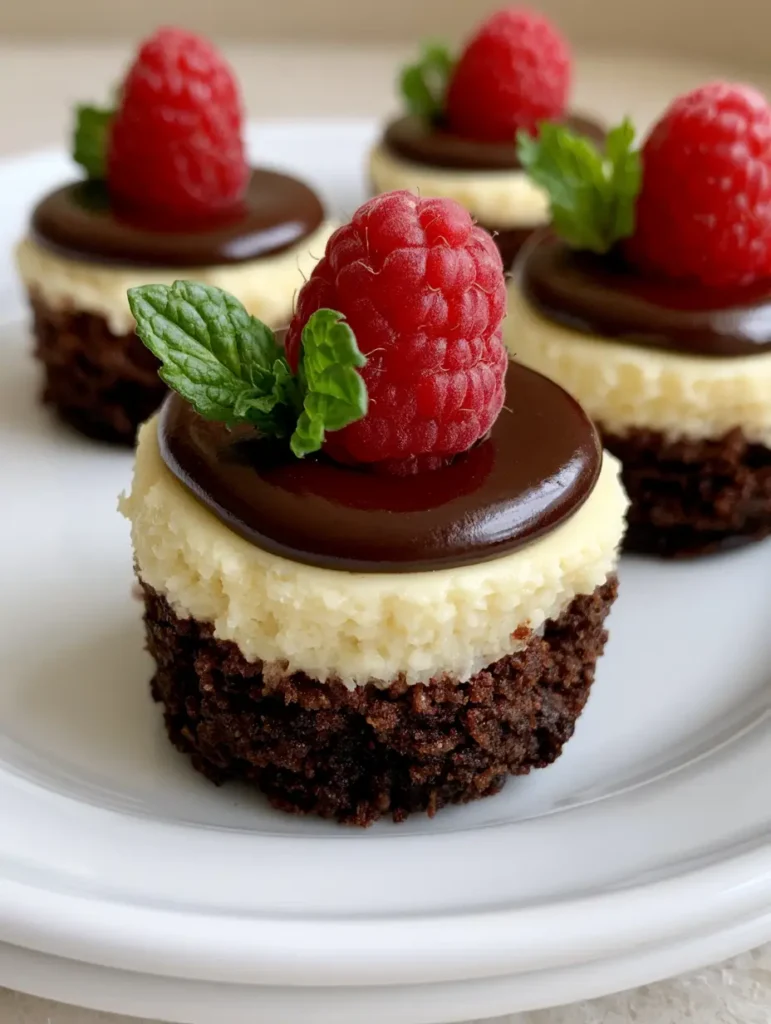
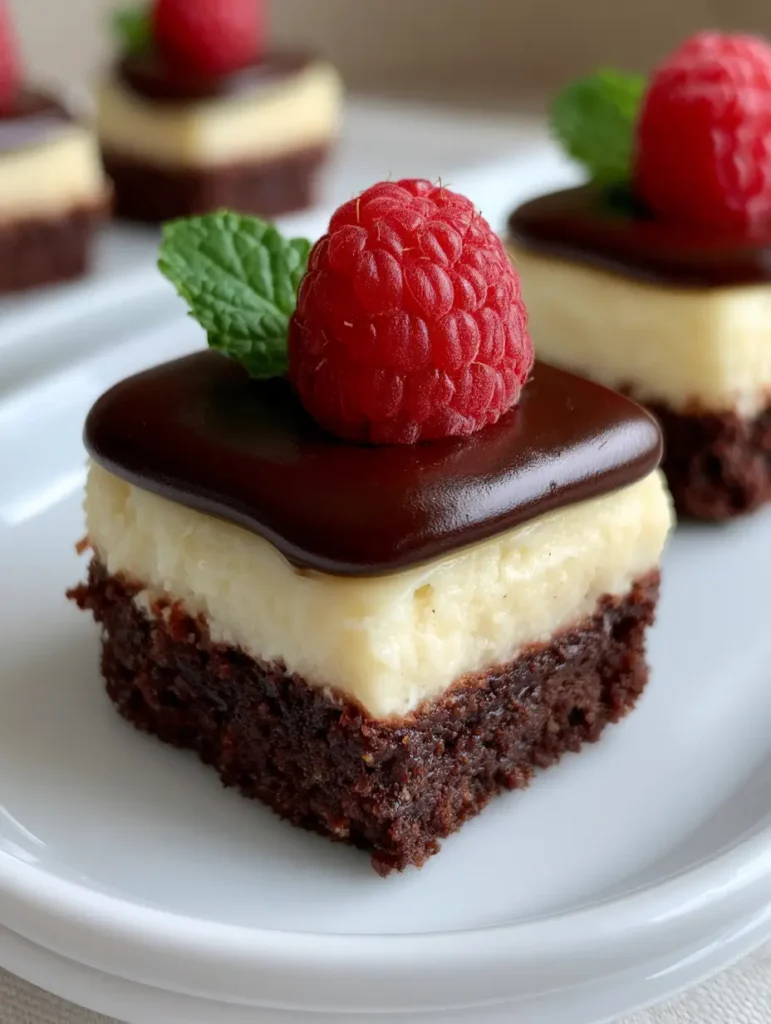
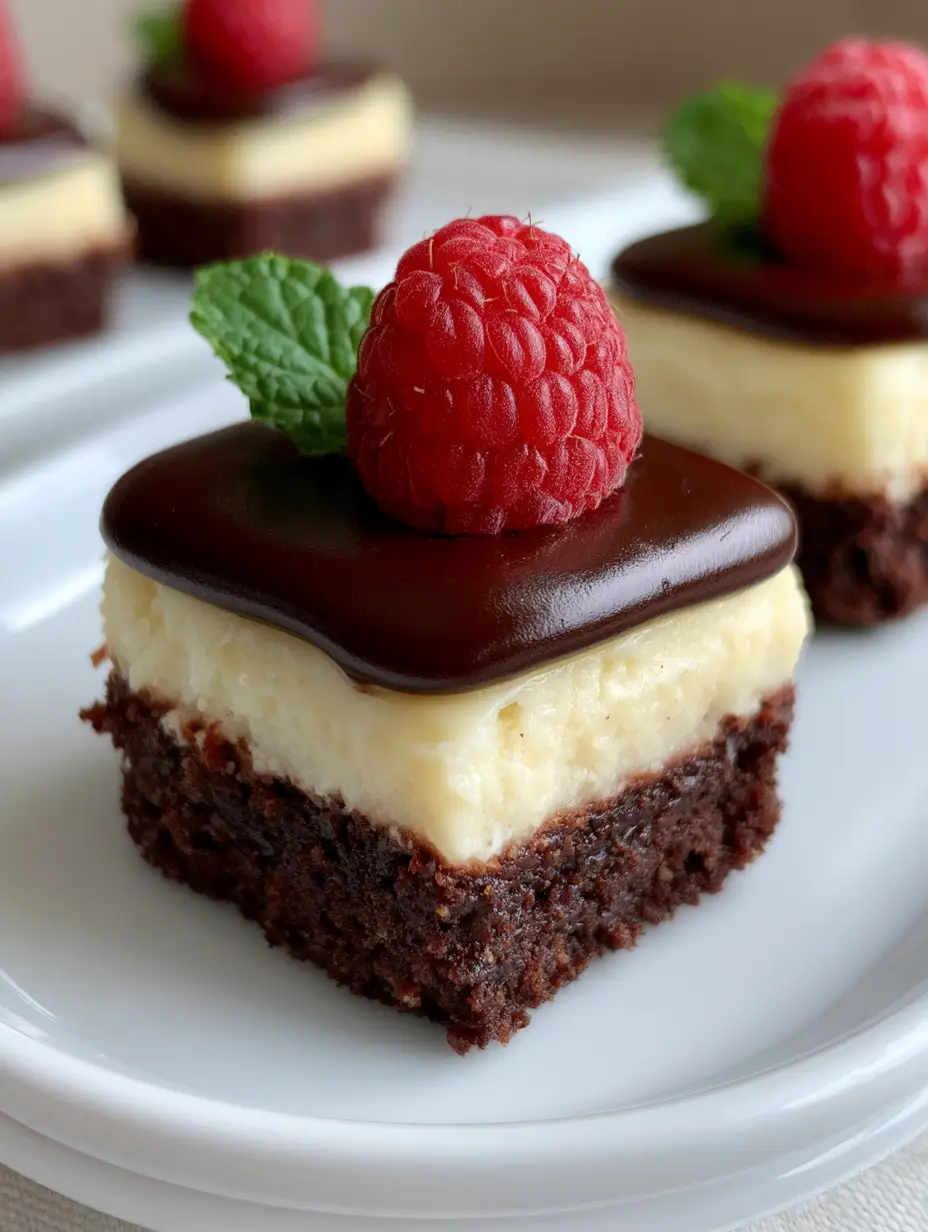
There is something undeniably sophisticated about a handheld dessert that looks as good as it tastes. These Brownie Bottom Mini Cheesecakes are the pinnacle of dessert architecture, combining a dense, dark chocolate foundation with a cloud-like ivory filling. When you pull these out of the oven, the contrast between the dark base and the pale cheesecake is visually stunning.
Every bite offers a transition of textures: the chew of a fudgy brownie, the silkiness of baked cheesecake, and the snap of a glossy chocolate ganache. Topped with a vibrant red raspberry and a tiny sprig of mint, they are the perfect centerpiece for a clean white ceramic plate. Whether you are hosting a formal dinner or a casual get-together, these bites are designed to impress.
The Irresistible Allure of This Three-Layer Dessert
- Visual Contrast: The stark transition from the dark, fudgy brownie to the velvety ivory cheesecake creates a professional bakery aesthetic.
- Perfect Portions: These individual bites are naturally portion-controlled, making them ideal for parties and dessert buffets.
- Textural Harmony: You get the dense “bite” of a brownie paired with the melt-in-your-mouth quality of a classic baked cheesecake.
- Gourmet Finish: The addition of a glossy dark chocolate ganache and fresh fruit elevates these from simple treats to high-end patisserie.
The Essential Components for a Fudgy Brownie Foundation
To achieve that specific “fudgy” texture described in the visual blueprint, we avoid leavening agents like baking powder. This ensures the base remains dense and rich rather than cakey.
Unsalted Butter: 1/2 cup (115g) of melted butter provides the fat necessary for a moist, tender crumb. It carries the flavor of the cocoa throughout the base.
Dutch-Processed Cocoa Powder: 1/3 cup (30g) of high-quality cocoa gives the brownie its dark, intense color. Dutch-processing reduces acidity, resulting in a smoother chocolate profile.
Granulated Sugar: 3/4 cup (150g) of sugar sweetens the base and helps create those slightly crisp, chewy edges. It also aids in the structural stability of the brownie.
Large Egg: 1 egg at room temperature binds the ingredients together. A single egg keeps the brownie dense and prevents it from becoming too airy.
All-Purpose Flour: 1/2 cup (65g) provides just enough structure to hold the cheesecake layer above it. We keep the flour content low to maintain that fudge-like consistency.
The Secrets to a Velvety Ivory Cheesecake Layer
Achieving a perfectly “ivory” and smooth filling requires gentle mixing and quality dairy. Avoid overbeating, as excess air can cause the cheesecakes to puff and crack.
Full-Fat Cream Cheese: 8 oz (226g) of softened cream cheese is the heart of the filling. Ensure it is at room temperature to avoid any unappealing lumps in your batter.
Sour Cream: 1/4 cup (60g) adds a subtle tang and contributes to the “velvety” mouthfeel. It softens the texture of the cream cheese for a more delicate finish.
Granulated Sugar: 1/4 cup (50g) provides a balanced sweetness that doesn’t overpower the tang of the cheese. It dissolves during baking for a perfectly smooth result.
Vanilla Extract: 1 tsp (5ml) of pure vanilla enhances the ivory aesthetic and adds a classic floral aroma. It bridges the gap between the chocolate and the cream.
Large Egg: 1 egg (room temperature) acts as the setting agent. It ensures the cheesecake layer holds its shape when the paper liners are removed.
Must-Have Tools for Miniature Perfection
To replicate the handheld smartphone photo style, you need the right equipment for precision. A standard 12-cup muffin tin is the traditional choice, but for smaller “bites,” a mini muffin tin works beautifully.
Using paper liners is essential for easy removal without damaging the delicate cheesecake walls. A small offset spatula will help you spread the glossy ganache with professional precision. Finally, have a clean white ceramic plate ready for serving to let the colors of the raspberry and mint pop against the neutral background.
How to Construct These Brownie Bottom Mini Cheesecakes
Phase 1: Preparing the Dark Fudgy Base
Preheat your oven to 325°F (165°C) and line your muffin tin with paper liners. In a medium bowl, whisk the melted butter and sugar until well combined and slightly gritty.
Add the egg and vanilla, whisking vigorously until the mixture looks glossy and smooth. Sift in the cocoa powder and salt, then gently fold in the flour until no white streaks remain.
Distribute about 1 tablespoon (15ml) of brownie batter into each liner. Bake for 10 minutes until the edges are set but the center is still slightly soft; this ensures the base stays dense.
Phase 2: Crafting the Silky Cheesecake Center
While the brownie bases take their first trip to the oven, prepare the cheesecake filling. Beat the room-temperature cream cheese and sugar until completely smooth and creamy.
Add the sour cream and vanilla, mixing on low speed to avoid incorporating air bubbles. Finally, add the egg and mix just until incorporated—over-mixing is the enemy of a flat, velvety top.
Spoon the ivory mixture over the pre-baked brownie bases, filling them nearly to the top. Bake for an additional 15-18 minutes until the edges are set but the centers have a slight, uniform jiggle.
Phase 3: The Glossy Ganache and Finishing Touches
Once the cheesecakes have cooled completely and chilled in the refrigerator for at least 2 hours, prepare the ganache. Heat 1/4 cup (60ml) of heavy cream until steaming, then pour over 1/2 cup (90g) of dark chocolate chips.
Let it sit for 2 minutes, then whisk gently until a smooth, glossy chocolate ganache forms. Spoon a small amount onto each cheesecake, allowing it to spread to the edges for a mirror-like finish.
Top each bite with one fresh red raspberry and a small green mint leaf. The vibrant colors against the dark chocolate create a stunning visual contrast that looks incredible on a white ceramic plate.
Pro Tips for Professional Results
- Room Temperature is Key: Ensure your egg, cream cheese, and sour cream are all at room temperature. This is the only way to achieve a perfectly smooth, lump-free cheesecake texture.
- The Tap Method: After filling the liners with cheesecake batter, gently tap the tin on the counter. This releases trapped air bubbles that could cause surface pits.
- Avoid Over-Baking: Remove the cheesecakes when they still have a slight “wobble” in the very center. They will continue to set as they cool, ensuring a velvety rather than rubbery texture.
- The Clean Cut: If you are making these as bars instead of rounds, dip your knife in hot water and wipe it clean between every single cut for those razor-sharp layers.
Creative Pairings and Serving Suggestions
These mini cheesecakes are rich and indulgent, making them the perfect finale to a variety of meals. If you’ve enjoyed a lighter dinner like mediterranean baked salmon, these provide a decadent contrast.
For a summer-themed dessert spread, serve these alongside peach crumble bars for a mix of chocolate and fruit-forward options. If you’re looking for more fun “bite-sized” inspirations, they pair wonderfully with the whimsical nature of homemade cotton candy.
For those who love a full meal experience, these cheesecakes are the ideal reward after a comforting bowl of one-pot creamy garlic pasta. The creamy pasta followed by the velvety cheesecake is a texture-lover’s dream.
Frequently Asked Questions About Mini Cheesecakes
Yes! These freeze beautifully. Freeze them without the ganache and fruit for up to 3 months. Thaw in the fridge overnight before adding the final toppings.
Yes, you can use a store-bought fudgy brownie mix, but ensure you only fill the liners about 1/3 of the way up to leave room for the cheesecake layer.
To avoid cracks, ensure all ingredients are at room temperature and avoid over-beating the batter, which incorporates too much air. Baking at a lower temperature like 325°F also helps.
Stored in an airtight container in the refrigerator, these cheesecakes will stay fresh and delicious for up to 5 days. For the best visual, add the raspberry and mint just before serving.
An ivory color comes from using high-quality cream cheese and pure vanilla extract. Using too many egg yolks or a very dark vanilla can tint the filling, so stick to the recipe ratios provided.
The Master Recipe for Brownie Bottom Mini Cheesecakes
Brownie Bottom Mini Cheesecakes: The Ultimate Fudgy and Velvety Indulgence
Ingredients
Equipment
Instructions
- Preheat oven to 325°F (165°C). Whisk melted butter, sugar, and cocoa. Add egg and vanilla, then fold in flour.
- Spoon 1 tbsp batter into liners. Bake 10 mins until the surface is set but fudgy.
- Beat cream cheese and sugar until smooth. Mix in sour cream and egg on low speed until velvety ivory color appears.
- Pour over brownie bases. Bake 15-18 mins. Cool and chill for 2 hours.
- Melt cream and chocolate together until glossy. Spoon over cheesecakes. Top with one raspberry and a mint leaf.
Notes
Do not over-mix the cheesecake batter to prevent air bubbles.
Share Your Dessert Masterpiece!
These Brownie Bottom Mini Cheesecakes are more than just a recipe; they are a guaranteed way to bring a touch of elegance to your kitchen. The combination of fudgy chocolate and silky cheesecake is a timeless classic that never fails to delight guests. We would love to see your creations!
If you made these, please leave a comment below and tell us how they turned out. Don’t forget to snap a photo and share it with us! Be sure to follow our latest culinary adventures on Pinterest for more inspiration and dessert tips.