Pink Coconut Snowball Cake Bars: A Triple Layer Dessert Delight
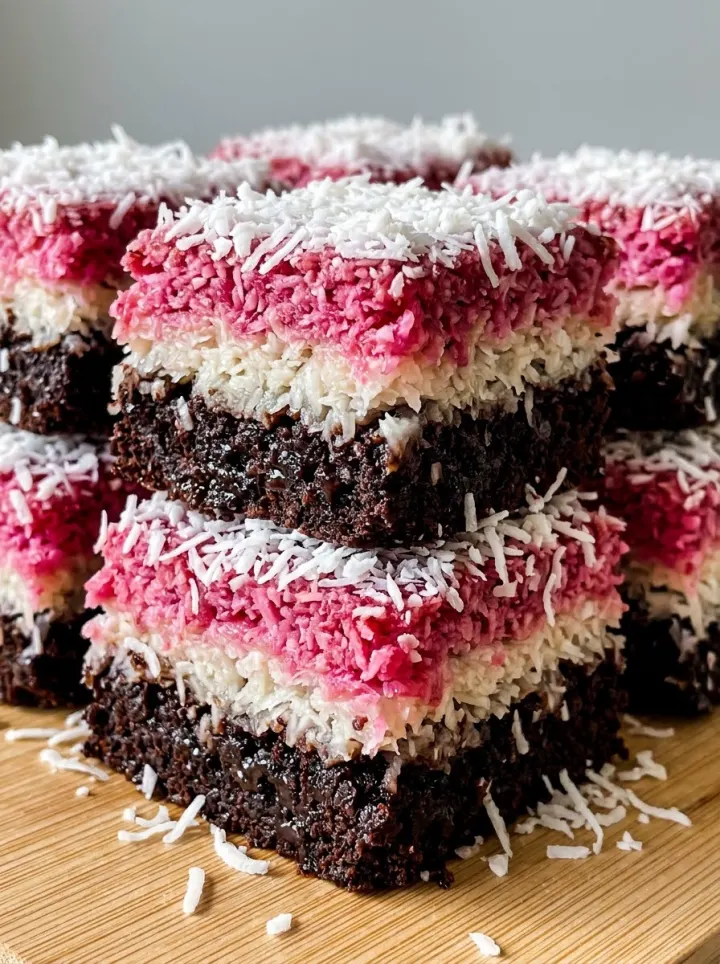
Looking for a stunning treat that is simple to make? These Pink Coconut Snowball Cake Bars feature a rich, fudgy chocolate base topped with a luscious double layer of creamy white and vibrant pink coconut. Perfect for Christmas baking, birthday parties, or a cozy afternoon, these decadent sweets are always a crowd-pleaser. They are quick to assemble, beautiful to serve, and melt-in-your-mouth delicious! Tap for the full printable recipe and start your baking adventure today!
By Rachel Nolan ·
Prep
20 mins
Cook
25 mins
Total
45 mins
Servings
16 bars
Calories
285 kcal
Ingredients
Chocolate Base
1 1/2 cups (190g) All-purpose flour
1/2 cup (45g) Unsweetened cocoa powder, Dutch-processed preferred
1 cup (200g) Granulated sugar
1 tsp (5ml) Baking soda
1/2 tsp (2.5ml) Salt
1/3 cup (80ml) Vegetable oil
1 cup (240ml) Warm water or coffee
Coconut Layers
4 cups (400g) Sweetened shredded coconut, Divided for white and pink layers
1 can (14oz) Sweetened condensed milk
1 drop Pink gel food coloring
1/2 cup (50g) Fine white shredded coconut, For garnish
Instructions
Prep. Preheat oven to 350°F (175°C). Grease an 8x8 inch baking pan.
Mix and Bake. Whisk dry ingredients, add oil and warm water/coffee. Pour into pan and bake for 22-25 minutes. Cool completely.
Combine. Mix shredded coconut and condensed milk until dense and chunky.
Color. Divide mixture in half. Add pink gel coloring to one half and stir until vibrant.
Layering. Press the white coconut layer onto the cake, then the pink layer. Top with fine white coconut garnish.
Chill. Refrigerate for at least 4 hours before cutting into clean squares.
Notes
Use a hot, wet knife for the cleanest cuts. Ensure the chocolate base is completely cool before adding coconut layers to prevent melting.
Pink Coconut Snowball Cake Bars are the triple-layered dessert your Pinterest boards have been waiting for.
By Rachel NolanRachel NolanHolly Harvest is all about easy recipes that fit real family life. I share simple, flavorful meals made with everyday ingredients to help you cook with less stress and more joy, so you can spend more time around the table together.About Rachel NolanUpdated on
Pink Coconut Snowball Cake Bars are the ultimate nostalgic treat, reimagined into a sophisticated, triple-layered masterpiece. If you grew up loving those classic pink marshmallow-covered snack cakes, these bars are about to become your new obsession. We have combined a moist chocolate cake base with a thick, dense coconut center and a vibrant pink topping to create a dessert that is as visually stunning as it is delicious.
The beauty of the Pink Coconut Snowball Cake Bars lies in the contrast of textures. From the soft, dark chocolate sponge to the chunky, moist shredded coconut layers, every bite offers a symphony of flavors. Whether you are hosting a spring garden party or just looking for a fun weekend baking project, these bars are guaranteed to stop the scroll on Pinterest.
The vibrant pink color makes these bars pop, while the fine coconut dusting adds that classic 'snowball' look.
Why You Will Crave These Pink Coconut Snowball Cake Bars
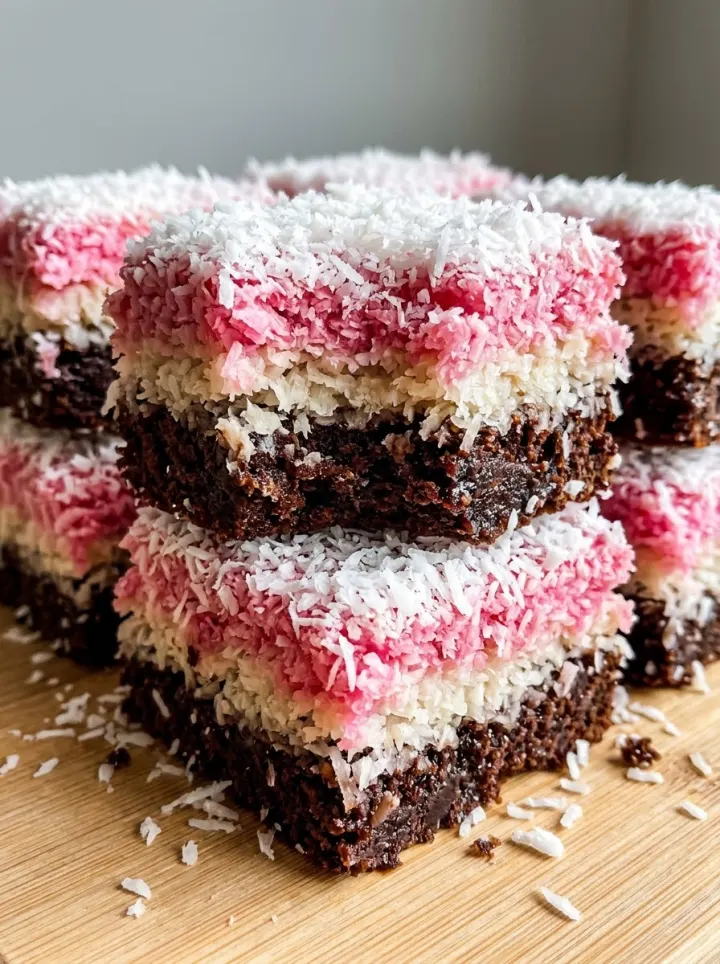
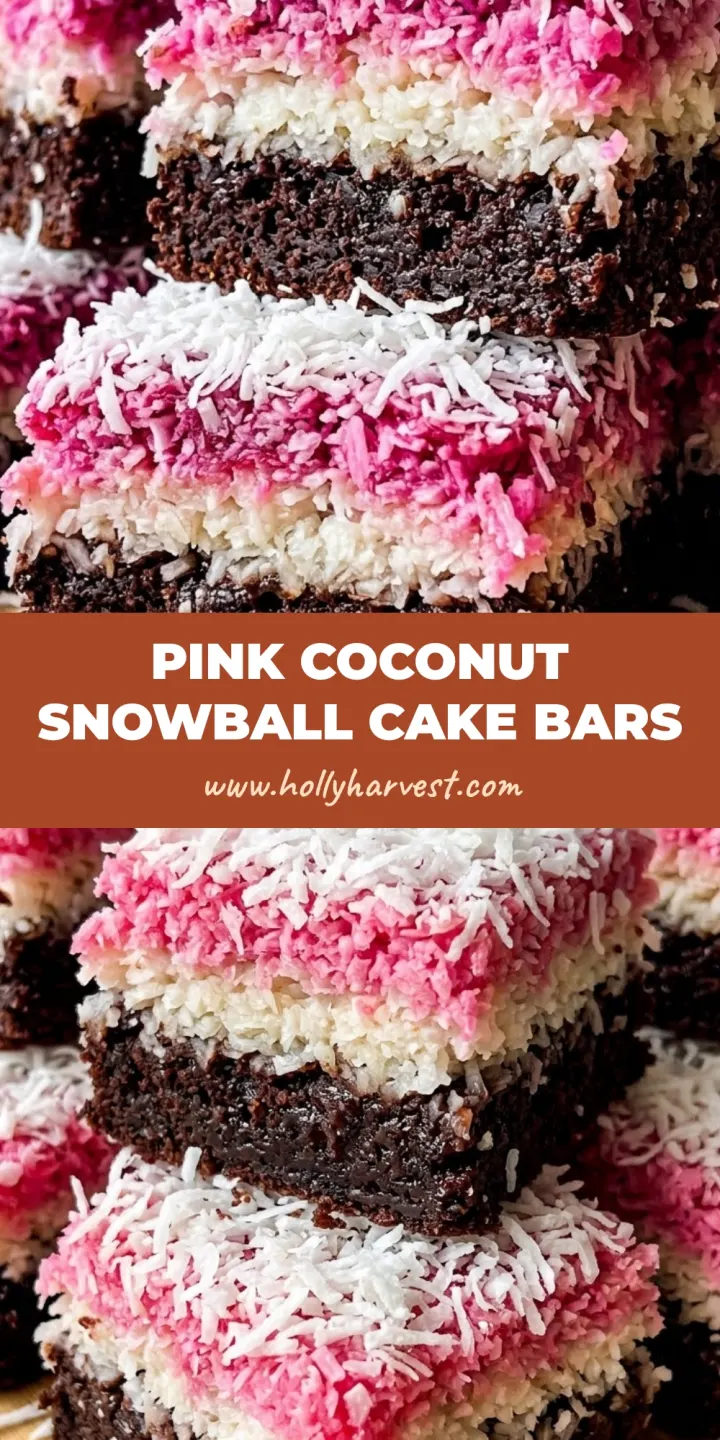
Visual Perfection: The distinct horizontal layers—dark brown, bright white, and vibrant pink—look professional yet are easy to achieve at home.
Texture Heaven: You get a moist dark brown chocolate sponge foundation topped with a "chunky and moist" coconut mixture that mimics the classic snowball center.
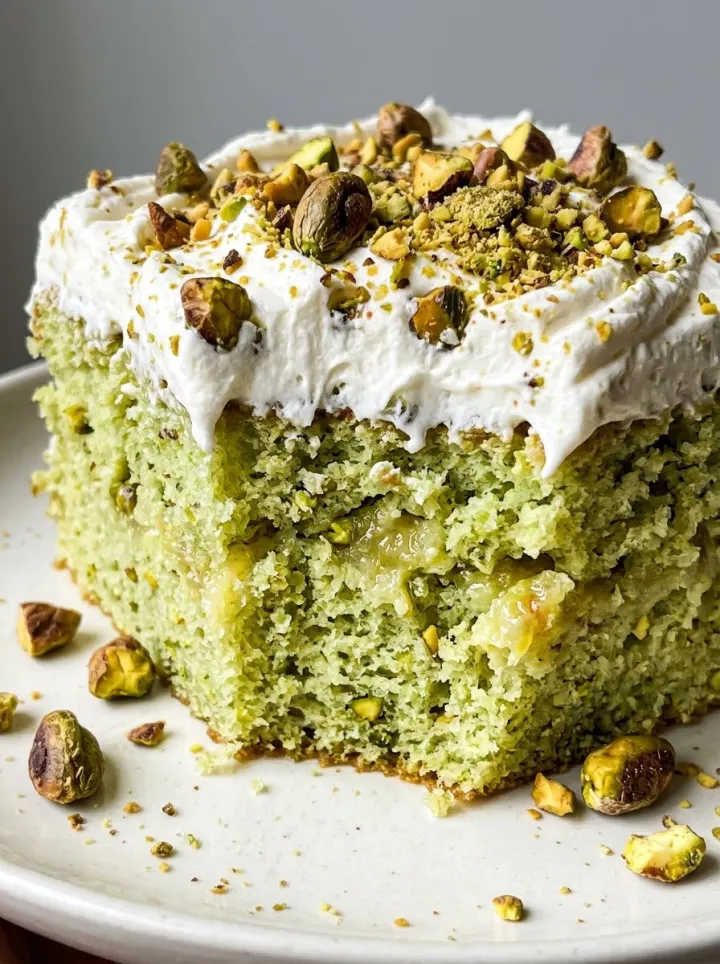
Pinterest Ready: Just like our popular Pistachio Pineapple Cake, these bars are designed for maximum aesthetic impact.
Make-Ahead Friendly: These bars actually taste better after a few hours in the fridge, making them perfect for busy hosts.
Essential Ingredients for the Ultimate Snowball Bars
To achieve the forensic visual accuracy required for these bars, we need specific ingredients that provide both color and structural integrity. Here is what you will need for your Pink Coconut Snowball Cake Bars.
For the Chocolate Foundation:
1 ½ cups (190g) All-Purpose Flour: Provides the structure for our moist base.
½ cup (45g) Unsweetened Cocoa Powder: Use a high-quality Dutch-processed cocoa for that dark brown chocolate sponge look.
1 cup (200g) Granulated Sugar: For the perfect level of sweetness.
1 tsp (5ml) Baking Soda & ½ tsp (2.5ml) Salt: Essential for lift and flavor balance.
1 cup (240ml) Warm Water or Coffee: Coffee intensifies the chocolate flavor significantly.
1/3 cup (80ml) Vegetable Oil: Keeps the cake foundation incredibly moist even after chilling.
For the Iconic Coconut Layers:
4 cups (400g) Sweetened Shredded Coconut: This creates the "chunky and moist" texture specified in our blueprint.
1 can (14oz/396g) Sweetened Condensed Milk: The "glue" that creates a dense white coconut layer.
Pink Gel Food Coloring: Provides the vibrant pink coconut topping without thinning the mixture.
½ cup (50g) Fine White Shredded Coconut: Specifically for the "snowy" garnish on the very top surface.
Mastering the Triple-Layer Construction
Building the Pink Coconut Snowball Cake Bars requires a bit of patience, but the process is straightforward. We are aiming for clean, horizontal lines that look sharp when cut.
Step 1: Preparing the Dark Chocolate Foundation
Preheat your oven to 350°F (175°C) and grease an 8x8 inch (20x20cm) square baking pan. In a large bowl, sift together your flour, cocoa powder, sugar, baking soda, and salt. Whisking the dry ingredients ensures no clumps of cocoa remain in your sponge.
Add the oil, warm water (or coffee), and a dash of vanilla. Mix until just combined. Pour the batter into your prepared pan and bake for 22-25 minutes. You want the base to be firm but still moist and springy to the touch. Let this cool completely before adding the coconut layers.
Step 2: Mixing the Dense Coconut Filling
While the cake cools, prepare the coconut heart of the recipe. In a medium bowl, combine the 4 cups (400g) of sweetened shredded coconut with the entire can of sweetened condensed milk. Stir until every flake is coated and the mixture is thick and dense.
Divide this mixture exactly in half into two separate bowls. One will remain pure white, and the other will become our vibrant pink topping.
Step 3: Creating the Vibrant Pink Layer
Take one of your coconut bowls and add a tiny drop of pink gel food coloring. Use a spatula to fold the color in until it is uniform. You are looking for a "vibrant" shade—think of the classic neon-pink snack cakes of your childhood.
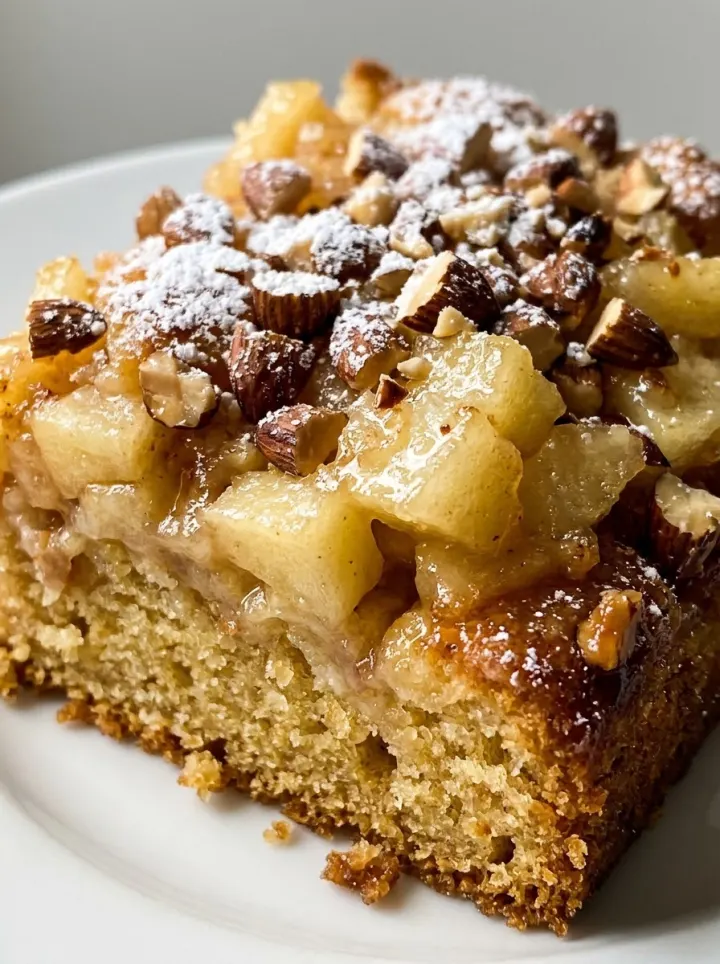
If you love the flavor profile of coconut and fruit, you might also enjoy our Swedish Apple Cake Recipe for your next baking session!
Step 4: Assembly for Visual Impact
Now, let's build the layers. Spread the plain white coconut mixture over the cooled chocolate cake. Use an offset spatula to press it down firmly. This creates that middle layer of thick, dense white coconut seen in the visual blueprint.
Next, carefully spread the pink coconut mixture over the white layer. Again, press down firmly to ensure the layers bond together. Finally, heavily dust the very top surface with the fine, dry white shredded coconut flakes to give it that "snowball" finish.
Pro Tips for Pinterest-Perfect Cake Bars
The Chill Factor: Chill the bars for at least 4 hours (or overnight) before cutting. This sets the condensed milk and allows for those "cleanly cut edges."
Knife Technique: Use a long, sharp knife dipped in hot water and wiped dry between every single cut. This prevents the pink layer from bleeding into the white layer.
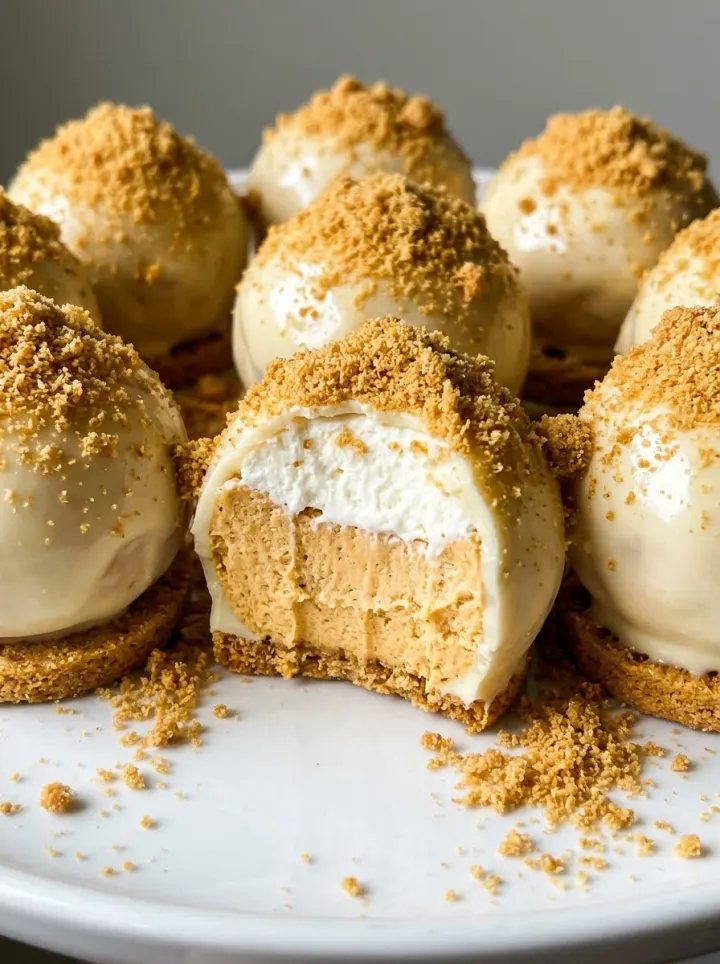
Avoid Overbaking: Since we are layering, a dry cake base will crumble. Keep it moist! If you enjoy moist, easy desserts, check out our no-bake pumpkin cheesecake balls.
Gel over Liquid: Always use gel coloring for the pink layer. Liquid food coloring can make the coconut too wet, ruining the dense, chunky texture.
How to Store and Serve Your Snowball Bars
To maintain the moist chocolate cake base, store these bars in an airtight container in the refrigerator. They will stay fresh and delicious for up to 5 days. If you are stacking them, place a piece of parchment paper between the layers to keep the fine white shredded coconut garnish intact.
These bars can also be frozen! Wrap individual squares in plastic wrap and store them in a freezer bag for up to 3 months. Thaw in the fridge before serving to maintain the textural integrity of the Pink Coconut Snowball Cake Bars.
What to Serve with Pink Coconut Snowball Cake Bars
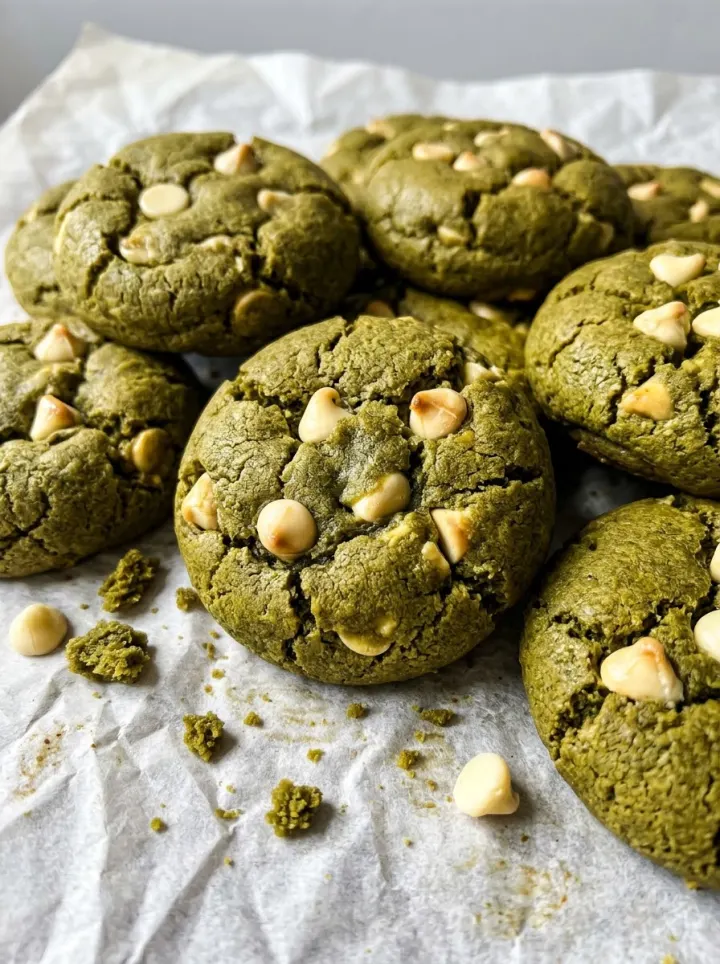
These bars are rich and sweet, so they pair beautifully with a cup of bitter black coffee or a cold glass of milk. If you are serving them as part of a larger dessert spread, they look stunning next to matcha white chocolate cookies for a color contrast of pink and green.
For a full "Pinterest-style" brunch, consider starting with something savory like our air fryer breakfast wrap before moving on to these sweet, coconut-laden treats.
Frequently Asked Questions
Can I use unsweetened shredded coconut for these bars?
You can, but since the recipe relies on the moisture of sweetened coconut and condensed milk, you may need to add 2-3 tablespoons of extra condensed milk to maintain the dense, chunky texture.
How do I get perfectly clean layers when cutting?
The secret is a long chill time (at least 4 hours) and using a hot, clean knife. Dip the knife in hot water and wipe it completely dry between every single cut to prevent color bleeding.
Does the pink layer taste different from the white layer?
No, both layers are made from the same coconut and condensed milk mixture. The pink layer is purely for visual appeal to mimic the classic snowball snack cake look.
Can I make these Pink Coconut Snowball Cake Bars gluten-free?
Yes! Simply swap the all-purpose flour in the chocolate base for a 1:1 gluten-free baking flour blend. The coconut layers are naturally gluten-free.
Why is my coconut layer falling off the cake base?
This usually happens if the cake base is too dry or if the coconut mixture isn't pressed down firmly enough. Ensure your cake is moist and use an offset spatula to pack the coconut layers tightly.
The Official Pink Coconut Snowball Cake Bars Recipe
Recipe
Pink Coconut Snowball Cake Bars: A Triple Layer Dessert Delight
Only numeric ingredient quantities scale. Package sizes, ingredient notes, directions, pan sizes and cooking times remain for the original batch. Adjust these separately; use partial ingredients where needed. Quantities written as ranges or words stay unchanged.
Recipe by Rachel Nolan, Holly Harvest. Source: https://hollyharvest.com/pink-coconut-snowball-cake-bars
Ingredients
Chocolate Base
Coconut Layers
Directions
Prep
Preheat oven to 350°F (175°C). Grease an 8x8 inch baking pan.
Mix and Bake
Whisk dry ingredients, add oil and warm water/coffee. Pour into pan and bake for 22-25 minutes. Cool completely.
Combine
Mix shredded coconut and condensed milk until dense and chunky.
Color
Divide mixture in half. Add pink gel coloring to one half and stir until vibrant.
Layering
Press the white coconut layer onto the cake, then the pink layer. Top with fine white coconut garnish.
Chill
Refrigerate for at least 4 hours before cutting into clean squares.
*The % Daily Value tells you how much a nutrient in a food serving contributes to a daily diet. 2,000 calories a day is used for general nutrition advice. Nutrition values are estimates.
Join the Holly Harvest Kitchen!
Did these Pink Coconut Snowball Cake Bars bring back all the childhood memories? We want to see your gorgeous triple-layered creations! Please save this recipe to your Favorite Desserts board on Pinterest so you never lose it.
If you made these, leave a 5-star rating in the recipe card below and upload a photo of your bars in the comments. Your feedback helps our community grow and inspires other home cooks to get into the kitchen. Happy baking!
The perfect handheld treat: Pink Coconut Snowball Cake Bars featuring three distinct, delicious layers.
Reviews
Please keep reviews kind and about the recipe — thank you for sharing.
 By