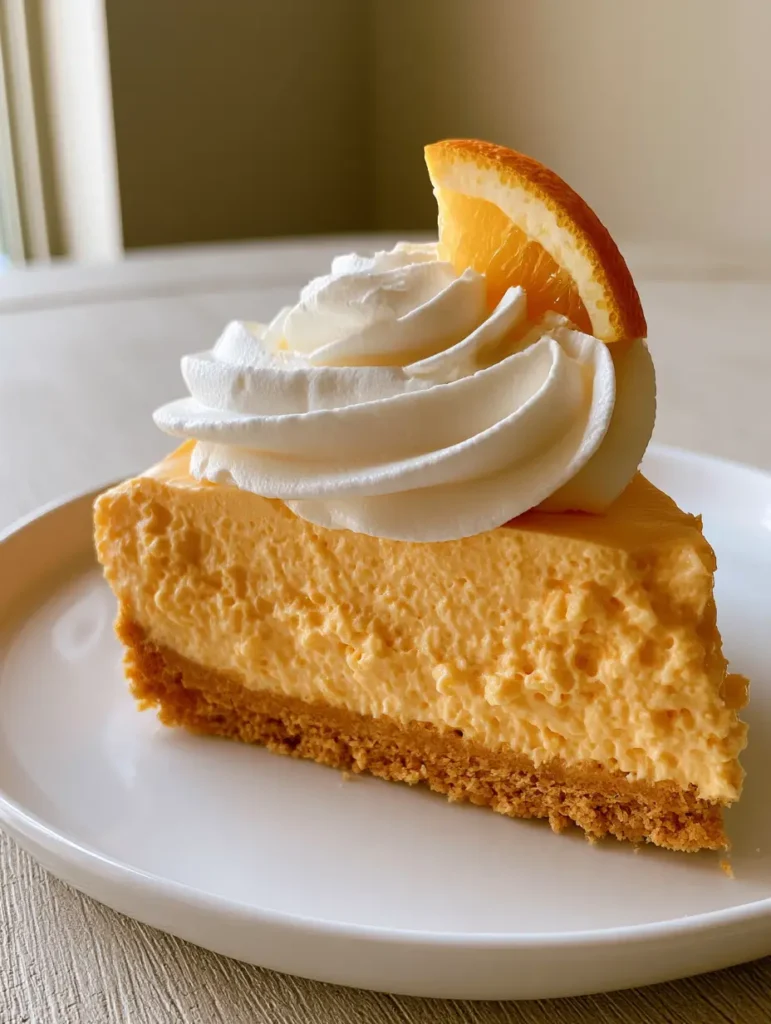
The Orange Creamsicle Pie is more than just a dessert; it is a shimmering, pastel-hued trip down memory lane. Capturing the exact essence of those iconic summer ice cream bars, this recipe delivers a sophisticated twist on a childhood classic. Imagine a thick, textured golden-brown crushed cookie crust providing a buttery foundation for a vibrant, light, and airy orange mousse.
This isn’t your average gelatin dessert. By using professional folding techniques and high-quality citrus elements, we achieve a consistency that is simultaneously stable and cloud-like. Every bite offers a contrast between the crunch of the golden crust and the velvety smoothness of the citrus-infused filling.
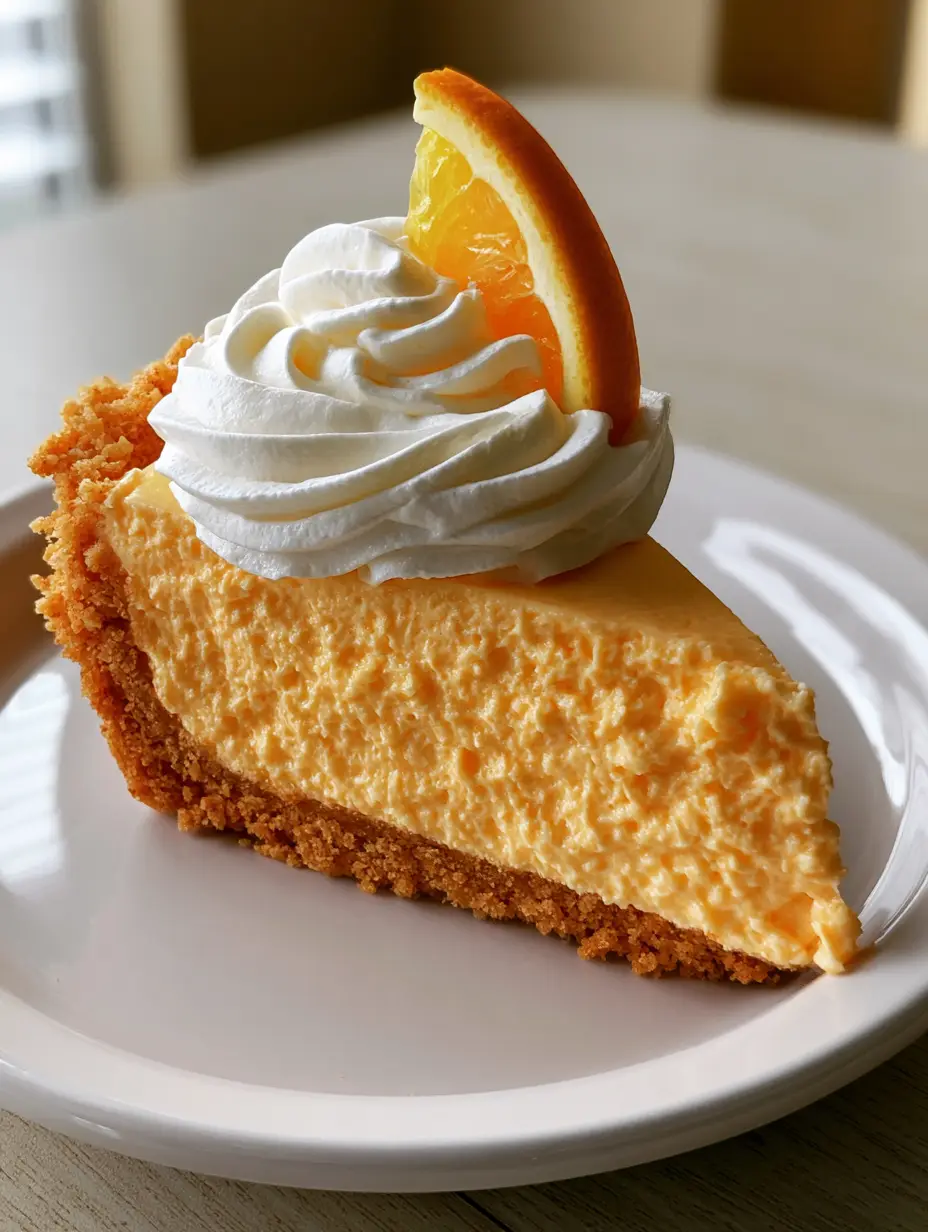
Visually, this pie is a showstopper. From the thick, piped swirls of smooth white whipped cream to the delicate semi-circle orange slices tucked into the peaks, it looks like it stepped right out of a high-end pâtisserie. Whether you are hosting a summer soirée or simply craving a refreshing treat, this pie is the ultimate solution.
Why This Citrus Mousse Tart Will Be Your New Favorite Obsession
- Vibrant Pastel Visuals: The striking orange mousse layer provides a stunning pop of color that looks incredible on any dessert table.
- Perfect Textural Contrast: We pair a heavy, buttery golden cookie base with a mousse that is engineered for a light and airy mouthfeel.
- No-Bake Simplicity: Achieve professional-grade results without ever turning on your oven, making it the perfect companion to a 10-minute creamy garlic pasta dinner.
- Piped Perfection: The recipe focuses on structural integrity, allowing for those beautiful, thick whipped cream swirls that hold their shape.
The Anatomy of a Perfect Golden Cookie Crust
Golden Sandwich Cookies: 2 cups (200g) of finely crushed cookies. These provide the “thick, textured golden-brown” foundation described in our visual blueprint, offering a vanilla-forward flavor that complements the orange.
Unsalted Butter: 6 tbsp (85g) of melted butter. This acts as the structural glue, ensuring your crust doesn’t crumble when you lift that first glorious slice onto a ceramic plate.
Granulated Sugar: 1 tbsp (12g). While the cookies are sweet, a touch of extra sugar helps with the caramelization feel of the crust, even in a no-bake setting.
Fine Sea Salt: 1/4 tsp (1.5g). Salt is the “invisible” ingredient that cuts through the sweetness and heightens the aromatic notes of the golden cookies.
Essential Ingredients for the Vibrant Orange Mousse Filling
Orange Gelatin Mix: One 3oz (85g) package. This is the primary driver of both the “vibrant, pastel orange” color and the structural setting power of the mousse.
Boiling Water: 1 cup (240ml). Essential for fully hydrating the gelatin granules to ensure a smooth, grit-free consistency in the final pie.
Ice Cold Water: 1/2 cup (120ml). This rapid cooling step begins the setting process without allowing the mixture to become too firm before folding.
Heavy Whipping Cream: 2 cups (480ml), divided. You will use half to create the airy mousse texture and the other half for the thick, piped swirls on top.
Pure Vanilla Extract: 1 tsp (5ml). This is the “cream” in the creamsicle, providing that nostalgic, floral aroma that balances the sharp citrus.
Fresh Orange Zest: 1 tbsp (6g). Adding fresh zest introduces natural oils that provide a bright, sophisticated flavor that boxed gelatin alone cannot achieve.
Fresh Orange Slices: 3-4 thin semi-circles. These are used as the final garnish, tucked into the whipped cream to show off the visible pulp and fresh aesthetic.
Professional Tools for a Picture-Perfect Finish
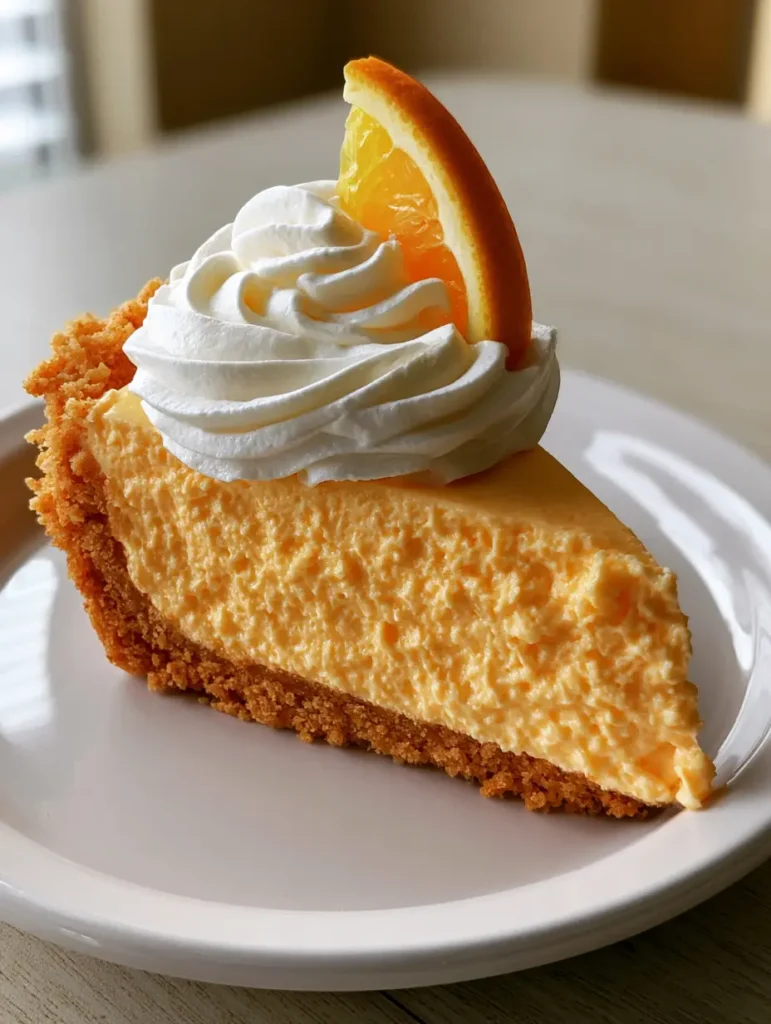
To achieve the handheld smartphone photo aesthetic of a professional food blogger, you will need a 9-inch (23cm) deep-dish pie plate. A food processor is highly recommended to achieve the “textured crushed cookie” look rather than a fine powder.
For the topping, a piping bag fitted with a large star tip (like a 1M or 2D) is essential for those thick, smooth white swirls. Using a simple spatula won’t give you the height and definition required for this specific visual blueprint.
Step 1: Constructing the Golden Cookie Foundation
Processing the Cookies
Place your golden sandwich cookies into a food processor. Pulse until you have a mixture of fine crumbs and small, pea-sized bits to ensure that “thick, textured” look.
Transfer the crumbs to a bowl and stir in the melted butter and salt. The mixture should feel like wet sand and hold its shape when pressed between your fingers.
Setting the Base
Firmly press the mixture into the bottom and up the sides of your pie dish. Use the bottom of a flat measuring cup to ensure the crust is even and packed tightly, which prevents it from getting soggy once the mousse is added.
Place the crust in the freezer for at least 20 minutes. This “cold-setting” technique creates a moisture barrier, ensuring the golden-brown crust stays crisp under the moist mousse.
Step 2: Engineering the Airy Orange Mousse
Dissolving the Gelatin
In a large heat-proof bowl, whisk the orange gelatin with the boiling water for at least 2 minutes. You must ensure every crystal is dissolved to avoid a grainy texture in your vibrant pastel mousse.
Stir in the ice water and the orange zest. This cools the mixture down to room temperature. Let it sit for about 10-15 minutes until it slightly thickens to the consistency of unbeaten egg whites.
Achieving the Mousse Consistency
In a separate chilled bowl, whip 1 cup (240ml) of heavy cream with the vanilla until stiff peaks form. When you lift the whisk, the cream should stand straight up without drooping.
Gently fold the whipped cream into the thickened gelatin mixture using a rubber spatula. Use a “cut and fold” motion to keep as much air in the mixture as possible, resulting in that light, airy, and creamy consistency.
Step 3: The Final Assemble and Chill
Pouring the Filling
Pour the pastel orange mousse into the chilled cookie crust. Smooth the top with an offset spatula, though it doesn’t need to be perfect since it will be covered with piped cream.
Refrigerate the pie for at least 4 hours, or ideally overnight. This time allows the gelatin to fully cross-link, giving the pie enough structural integrity to be sliced cleanly, much like a slice of refreshing pasta salad at a picnic.
Piping the Cream Swirls
Whip the remaining 1 cup (240ml) of heavy cream with a tablespoon of powdered sugar until very stiff. Transfer to your piping bag.
Pipe large, thick swirls around the border of the pie or one massive swirl in the center of each slice. The goal is a smooth, opaque white contrast against the vibrant orange.
Step 4: The Finishing Visual Touches
Garnishing for Impact
Take your thin semi-circle orange slices and gently tuck them into the piped cream. Ensure the pulp is visible to the viewer, as this adds a “fresh-from-the-garden” feel to the dessert.
If you are looking for more summer inspiration, this pie pairs beautifully after a meal of marinated shrimp or a light peach and burrata salad.
Expert Tips for the Ultimate Orange Creamsicle Pie
- Temperature Control: Ensure your heavy cream is ice cold before whipping. Cold fat globules hold air much better, leading to a more stable mousse.
- Zest First: Always zest your orange before slicing it for the garnish. It is nearly impossible to zest a sliced orange!
- The Clean Slice: To get a perfect slice like the one on the white ceramic plate, dip your knife in hot water and wipe it dry between every single cut.
- Cookie Choice: If you can’t find golden sandwich cookies, graham crackers work, but you will lose that specific “thick golden-brown” texture and vanilla-cream flavor profile.
Storage and Make-Ahead Instructions
This Orange Creamsicle Pie is an excellent make-ahead dessert. It actually tastes better after 24 hours as the flavors have time to meld and the crust softens just slightly into a fudge-like consistency.
Refrigeration: Keep the pie covered in the fridge for up to 4 days. Note that the fresh orange garnish may begin to weep after 24 hours, so add the fresh slices just before serving if possible.
Freezing: You can freeze this pie! It takes on an almost semi-freddo texture. Wrap it tightly in plastic wrap and foil; it will stay fresh for up to 1 month. Thaw in the fridge for 2 hours before slicing.
Perfect Pairings for Your Summer Menu
Because this Orange Creamsicle Pie is so bright and creamy, it works best as a palate cleanser after bold, savory flavors. Consider serving it after a backyard BBQ featuring savory bacon burgers or perhaps some zesty chicken tacos.
For a drink pairing, lean into the nostalgia with a dirty soda or keep it elegant with a crisp glass of Prosecco.
Frequently Asked Questions
Yes, you can substitute the heavy whipping cream with a high-fat coconut cream (chilled and whipped) and use a dairy-free butter alternative for the cookie crust.
You can replace the 1/2 cup of ice water with cold fresh orange juice to intensify the citrus flavor, but ensure the boiling water remains to dissolve the gelatin.
Use a chilled metal bowl and whisk attachment, and ensure your heavy cream has at least 36% fat content. Whip until the cream is stiff enough to hold its shape in a piping bag.
Golden Oreos or similar vanilla sandwich cookies are best for that ‘thick golden-brown’ look and creamy flavor, but graham crackers or vanilla wafers also work well.
The most common reason is not allowing the gelatin to fully dissolve in boiling water or folding in the whipped cream while the gelatin was still too hot.
The Ultimate Orange Creamsicle Pie Recipe
Orange Creamsicle Pie: A Nostalgic No-Bake Citrus Masterpiece
Ingredients
Equipment
Instructions
- Pulse golden cookies in a food processor until they reach a textured, coarse crumb consistency.
- Stir in melted butter and sugar. Press firmly into a 9-inch pie plate and freeze for 20 minutes.
- Whisk orange gelatin with boiling water for 2 minutes until dissolved. Stir in ice water and zest; cool until slightly thickened.
- Whip 1 cup of cream and vanilla to stiff peaks. Gently fold into the gelatin mixture until a pastel orange mousse forms.
- Pour filling into crust and refrigerate for at least 4 hours or until firm.
- Whip remaining cream, pipe thick swirls on top, and tuck fresh orange slices into the cream before serving.
Notes
Dip your knife in hot water for clean slices of the mousse.

Join the Harvest Community!
If you fell in love with this Orange Creamsicle Pie, we want to hear about it! Did you opt for the piped swirls or go for a full rustic topping? Leave a comment below and let us know your favorite summer dessert memories.
Don’t forget to snap a photo of your creation and tag us! For more visual recipe inspiration and seasonal treats, be sure to follow us on Pinterest and share this recipe with your fellow home cooks!