There is nothing quite like the sizzle of Grilled Shrimp Skewers hitting a scorching hot grate. The immediate aroma of caramelizing garlic and bright citrus filling the air is enough to make anyone’s mouth water. These skewers aren’t just a meal; they are a masterclass in balancing high-heat char with delicate, juicy seafood.
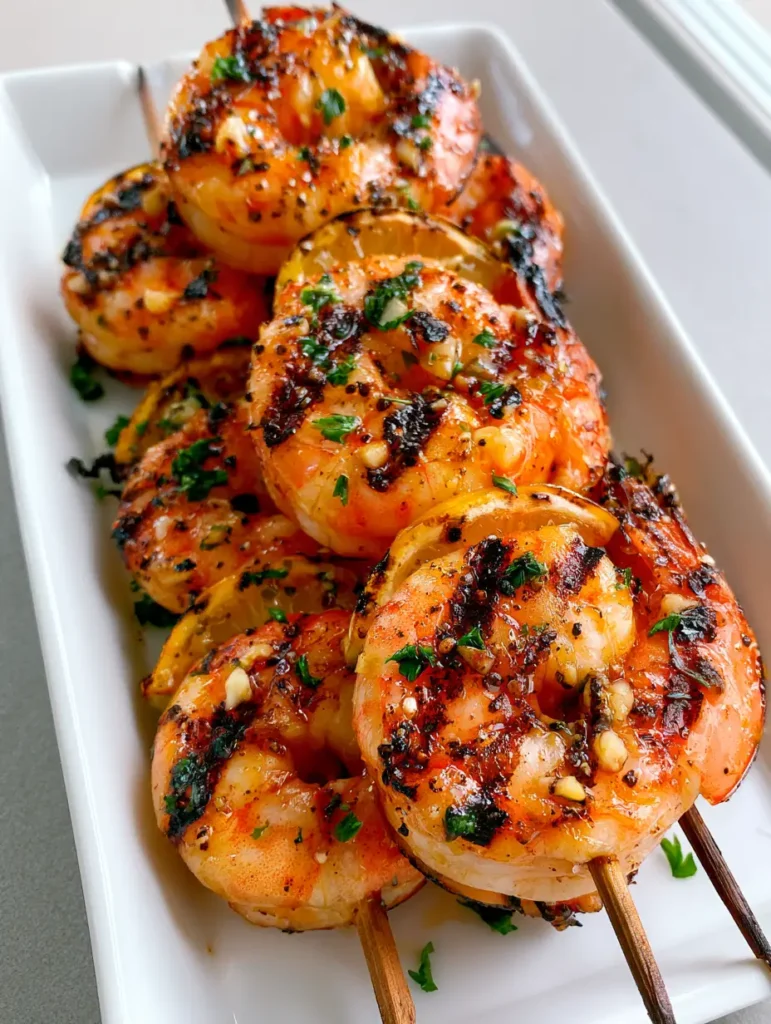
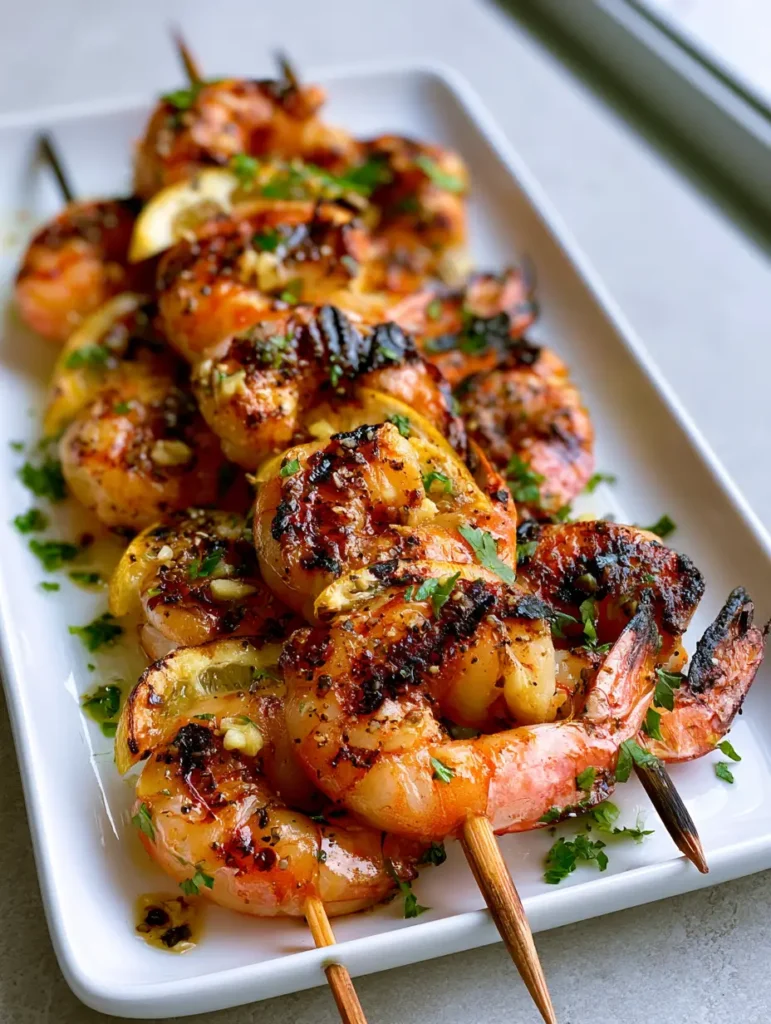
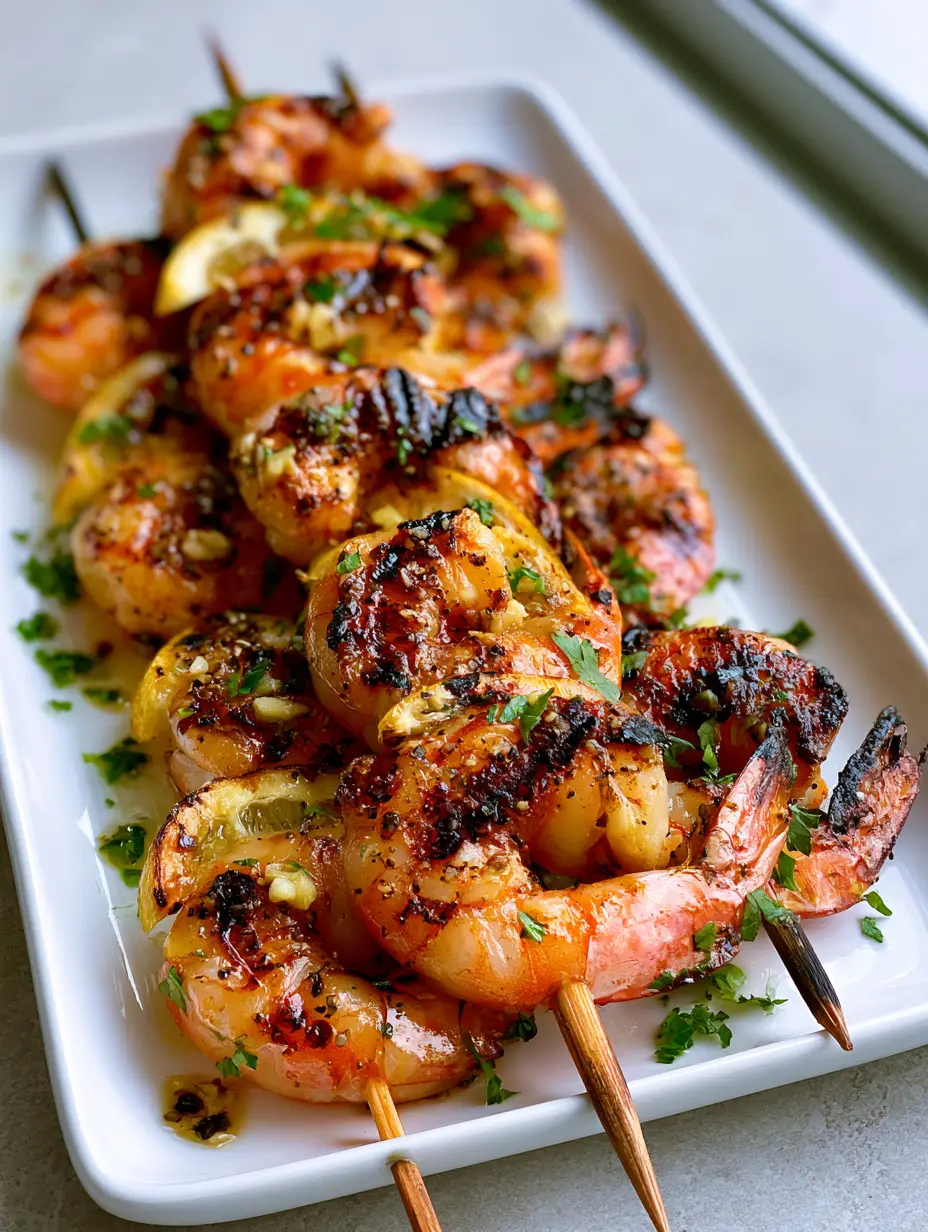
When you look at the vibrant pink and orange hues of these perfectly cooked shrimp, you see the result of a precise culinary process. The dark, distinct char marks provide a smoky depth that cuts through the glossy, vibrant lemon-garlic oil marinade. Each bite is a symphony of textures, from the snap of the shrimp to the softened, charred lemon half-moons interspersed between them.
Whether you are hosting a summer backyard bash or looking for a quick, high-protein weeknight dinner, these skewers deliver. We have engineered this recipe to ensure your shrimp remain succulent and “glistening” rather than dry and rubbery. This is the ultimate guide to achieving that restaurant-quality, handheld smartphone-photo-worthy finish right in your own kitchen.
Why This Grilled Shrimp Skewers Recipe Works Every Time
- The Dual-Action Marinade: We use a high-quality oil base that both protects the shrimp from the heat and creates that signature glossy sheen.
- Forensic Charring Technique: By utilizing high heat and a touch of natural sugars from the lemon, we achieve dark char marks without overcooking the delicate centers.
- Symphony of Textures: The combination of minced garlic bits, cracked black pepper, and finely chopped parsley adds a physical “crust” of flavor to the surface.
- Aromatic Infusion: Interspersing charred lemon half-moons directly on the skewers allows the citrus oils to vaporize and season the shrimp from the inside out.
The Anatomy of a Perfect Seafood Marinade
To achieve the visual and flavor profile described, every ingredient serves a scientific purpose. We aren’t just adding flavor; we are building a protective barrier and a flavor-enhancer for the high-heat environment of the grill.
Large Shrimp (16/20 count): You need 1.5 lbs (680g) of large, peeled, and deveined shrimp. Large shrimp are essential because they provide enough surface area for charring while remaining juicy inside.
Extra Virgin Olive Oil: Use 1/4 cup (60ml) of high-quality oil. This acts as the fat medium that carries the garlic and herb flavors deep into the protein while ensuring the shrimp don’t stick to the grates.
Fresh Lemon Juice and Zest: You will need 2 tbsp (30ml) of juice and the zest of one lemon. The acidity tenderizes the outer layer of the shrimp, while the zest provides the essential oils for that “bright” citrus punch.
Fresh Minced Garlic: 4 cloves (approx. 20g) of garlic are non-negotiable. These bits become toasted and “blistered” on the grill, providing those visible savory specks seen in the final dish.
Finely Chopped Fresh Parsley: 2 tbsp (8g) of bright green parsley. Adding half to the marinade and half as a post-grill garnish ensures the color remains vibrant and the flavor remains fresh.
Cracked Black Pepper and Kosher Salt: Use 1 tsp (2g) of coarsely cracked pepper and 1/2 tsp (3g) of salt. The coarse grind of the pepper is vital for the visual “speckled” appearance and a bold bite.
Fresh Lemons for Slicing: 2 whole lemons cut into thin half-moons. These are threaded onto the wooden skewers to provide both visual contrast and a smoky, acidic juice when squeezed over the finished dish.
Essential Tools for Grilling Success
To replicate the professional, minimalist presentation, you need the right gear. Start with high-quality wooden skewers; ensure you have at least 12 (10-inch/25cm) skewers on hand. You will also need a heavy-duty grill—either gas or charcoal—capable of reaching high temperatures for those “distinct char marks.”
A pair of long-handled tongs is necessary for flipping the skewers precisely without damaging the delicate shrimp. Finally, a minimalist white ceramic rectangular plate is the best choice for serving. This neutral background allows the vibrant oranges, pinks, and greens of the Grilled Shrimp Skewers to truly pop.
Step-by-Step Guide to the Ultimate Skewers
Preparing the Wooden Skewers
Before you even touch the shrimp, you must soak your wooden skewers in water for at least 30 minutes. This prevents them from igniting or splintering under the intense heat of the grill. Dry skewers can char too quickly, distracting from the beauty of the meal.
Crafting the Glistening Lemon Garlic Marinade
In a medium glass bowl, whisk together the olive oil, lemon juice, lemon zest, minced garlic, cracked black pepper, and half of the chopped parsley. Reserve 2 tablespoons (30ml) of this mixture in a separate small ramekin. This reserved portion is the “secret” to that final glossy, glistening finish after the shrimp come off the heat.
Marinating the Shrimp for Maximum Flavor
Add the cleaned shrimp to the bowl with the remaining marinade and toss gently to coat every crevice. Let the shrimp sit at room temperature for no more than 15-20 minutes. If you marinate seafood in citrus for too long, the acid will begin to “cook” the protein, leading to a mushy texture.
The Art of Threading the Skewers
Begin threading the skewers by alternating between one shrimp and one thin half-moon of lemon. Ensure the shrimp are pierced through both the head and tail ends so they lay flat and secure. This maximize the surface area in contact with the grill, ensuring those dark, distinct char marks.
Achieving the Perfect High-Heat Sear
Preheat your grill to medium-high heat (about 400°F/200°C). Clean and lightly oil the grates. Lay the skewers across the heat and do not move them for 2-3 minutes. You are looking for a visual cue: the edges of the shrimp will turn opaque and pink, and a dark crust will form against the grate.
The Final Flip and Garnish
Flip the skewers and cook for another 2 minutes. The lemon slices should look slightly softened and charred at the edges. Once the shrimp are vibrant orange and firm to the touch, remove them from the grill. Immediately brush with the reserved marinade and sprinkle with the remaining fresh parsley.
Expert Tips for Culinary Excellence
- Pat the Shrimp Dry: Before marinating, pat the shrimp dry with paper towels. Removing excess moisture ensures the oil can “fry” the surface against the grates, creating better char marks.
- Don’t Overcrowd: Leave a tiny bit of space between the shrimp and lemon slices. This allows the heat to circulate, ensuring the sides of the shrimp cook as evenly as the top and bottom.
- Check the Internal Temp: Shrimp are perfectly done at an internal temperature of 120°F (49°C). They will continue to carry-over cook for a minute once removed from the grill.
- Use a “Two-Skewer” Method: If your shrimp are spinning when you try to flip them, use two parallel skewers per row of shrimp to lock them in place.
Safe Storage and Reheating Guidelines
Grilled Shrimp Skewers are best enjoyed immediately while the marinade is glossy and the shrimp are succulent. However, if you have leftovers, store them in an airtight container in the refrigerator for up to 2 days. To maintain the texture, avoid the microwave if possible.
For the best results, reheat the shrimp in a lightly oiled pan over medium heat just until warmed through. Alternatively, cold grilled shrimp are a fantastic addition to a Mediterranean pasta salad or served atop a bed of greens. We do not recommend freezing cooked shrimp, as the texture can become unpleasantly fibrous upon thawing.
The Best Side Dishes to Complete Your Meal
To turn these skewers into a full Mediterranean feast, consider pairing them with vibrant, fresh sides. The smoky lemon flavor pairs beautifully with a bowl of Cowboy Caviar (coming soon) for a zesty, bean-based crunch. If you want something heartier, serve them alongside a scoop of one-pot creamy garlic pasta (coming soon).
For a lighter lunch option, these skewers are the perfect protein to stack on a honey-lime chicken avocado stack (minus the chicken!) or served with a crisp peach burrata salad. The acidity of the grilled lemons also complements the richness of cheesy zucchini breadsticks if you’re looking for a crowd-pleasing appetizer spread.
Common Questions About Grilling Shrimp
Yes, but they must be completely thawed and patted extremely dry. If they are still semi-frozen or wet, they will steam instead of charring, and you won’t get those distinct grill marks.
Visual cues are best: the shrimp should change from translucent grey to an opaque vibrant pink/orange. They will also curl into a ‘C’ shape. If they curl into a tight ‘O’, they are likely overcooked.
Ensure your grill grates are very clean and preheated. Additionally, the oil in the lemon garlic marinade acts as a lubricant; patting the shrimp dry before marinating ensures the oil adheres better.
For the best texture, marinate shrimp for only 15-30 minutes. Because shrimp are delicate, the acidity in lemon juice can start to break down the proteins and make them mushy if left too long.
Leaving the tails on is preferred for grilling. The tails provide a ‘handle’ for eating and help protect the thinnest part of the shrimp from overcooking, while also adding more seafood flavor during the sear.
The Ultimate Grilled Shrimp Skewers Recipe
Grilled Shrimp Skewers with Lemon Garlic Herb Marinade
Ingredients
Equipment
Instructions
- Soak 12 wooden skewers in water for at least 30 minutes to prevent burning.
- Whisk olive oil, lemon juice, zest, garlic, pepper, salt, and half the parsley. Reserve 2 tbsp for later.
- Toss shrimp in the remaining marinade for 15-20 minutes at room temperature.
- Thread shrimp and lemon half-moons onto skewers, alternating between them. Pierce shrimp through head and tail.
- Grill skewers over medium-high heat for 2-3 minutes per side until pink with dark char marks.
- Remove from grill, brush with reserved marinade, and sprinkle with remaining parsley.
Notes
Always soak wooden skewers to avoid fire flares on the grill.
Conclusion and Call to Action
Mastering Grilled Shrimp Skewers is a fast track to becoming a backyard hero. With the combination of high-heat charring and a bright, garlic-heavy marinade, you have a dish that is as visually stunning as it is delicious. The key is in the details: the glossy finish, the visible pepper specks, and the smoky lemon slices.
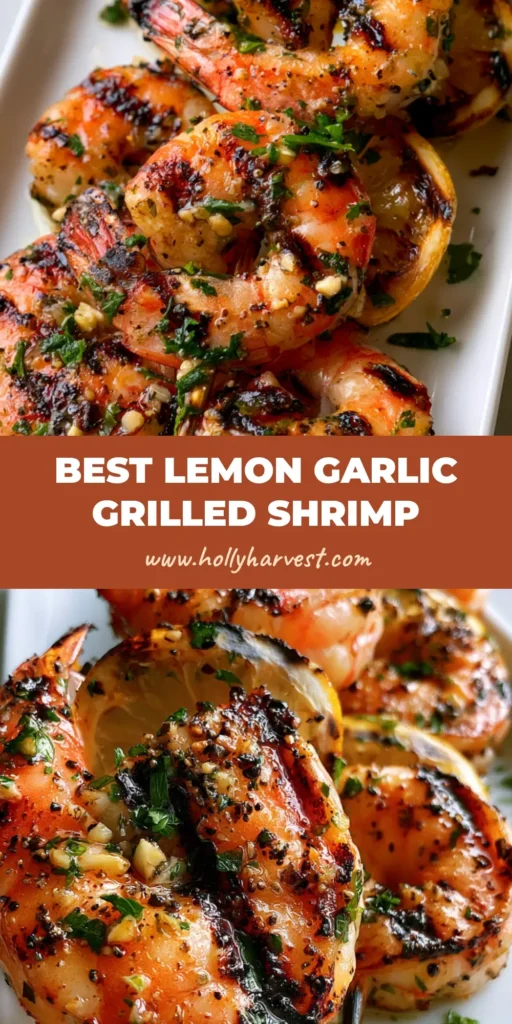
If you loved this recipe, please leave a comment below and let us know how your char marks turned out! Don’t forget to sign up for our newsletter for more elite culinary guides. You can also save this recipe to your favorite boards on Pinterest so you always have it ready for your next cookout!