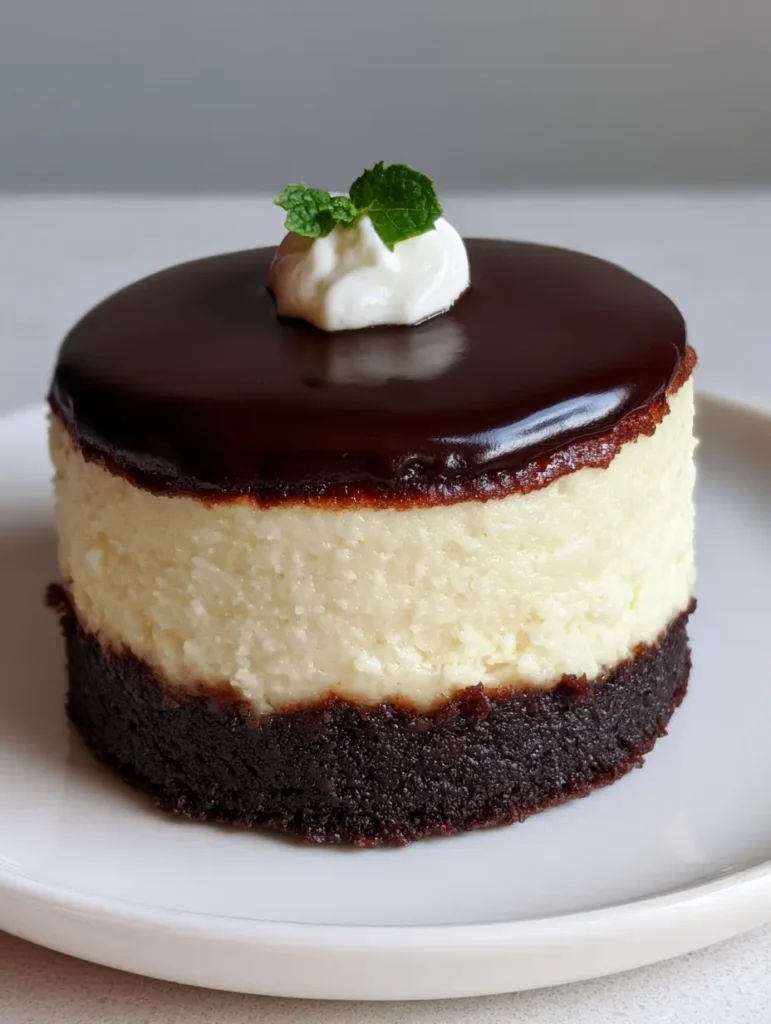
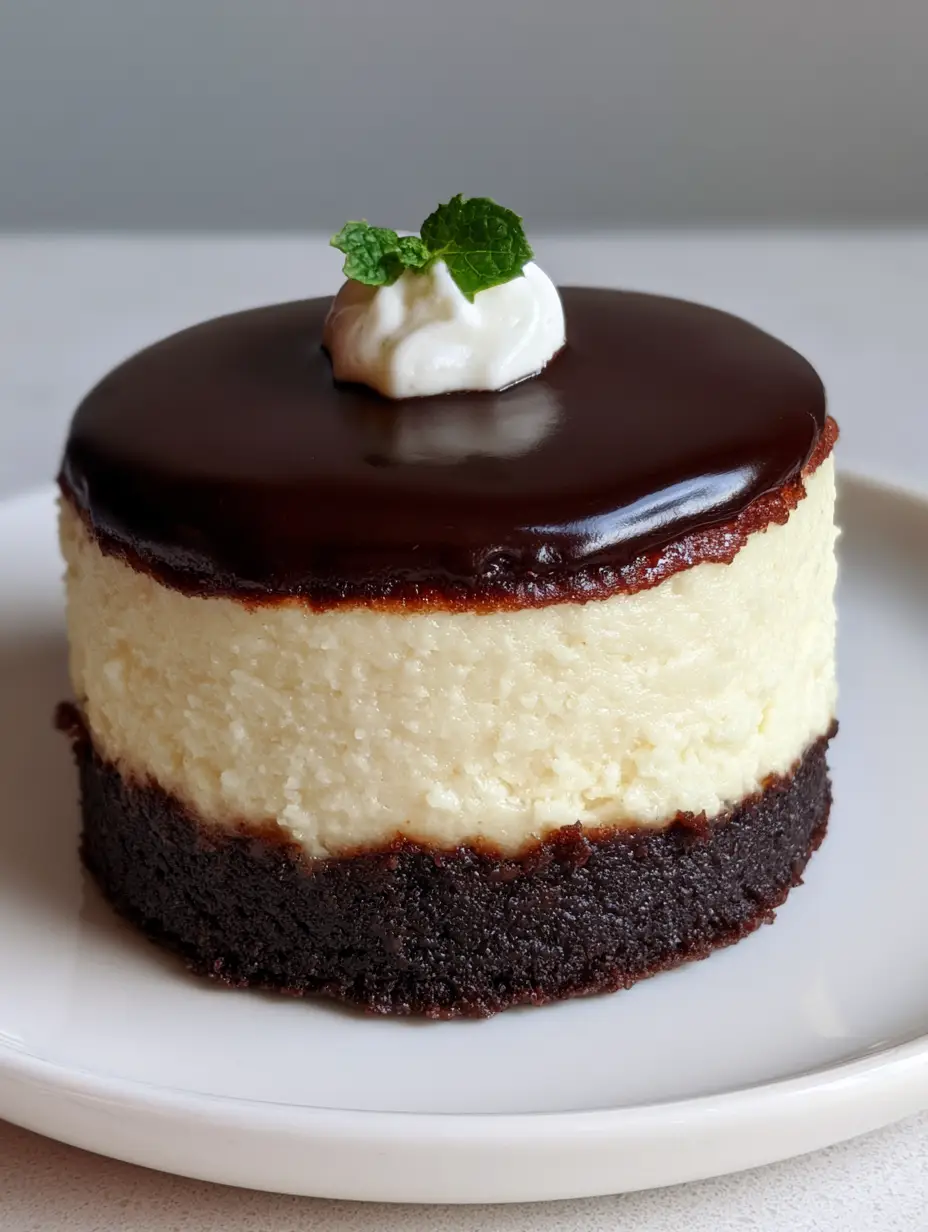
When two iconic desserts collide, the result is nothing short of culinary magic. These Brownie Bottom Mini Cheesecakes represent the perfect marriage of a dark, dense, fudgy brownie and a silky, pale ivory baked cream cheese filling.
Imagine biting through a thick layer of glossy dark chocolate ganache, hitting a cloud of whipped cream, and finally reaching that satisfyingly crusty brownie edge. This isn’t just a dessert; it’s a multi-textured experience designed for the ultimate chocolate lover.
Whether you are hosting a sophisticated dinner party or looking for the perfect portion-controlled treat, these Brownie Bottom Mini Cheesecakes deliver professional-grade results from your home kitchen. The visual contrast between the deep cocoa base and the ivory center makes them an instant showstopper on any dessert table.
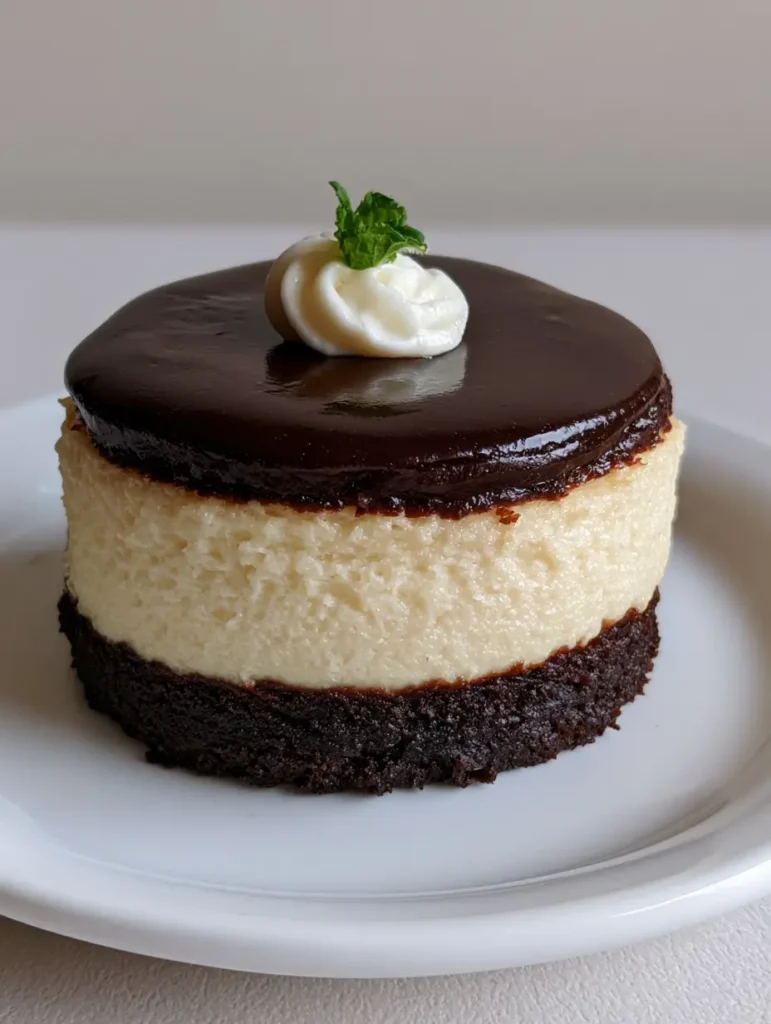
The Decadent Architecture of Every Layer
- The Fudgy Foundation: A dark, dense brownie base that provides a sturdy yet chewy anchor for the creamy layers above.
- The Ivory Center: A thick, pale ivory-colored baked cheesecake layer that offers a tangy contrast to the rich chocolate.
- The Glossy Finish: A level, dark chocolate ganache topping that adds a professional sheen and intense cocoa depth.
- The Final Flourish: A delicate swirl of fresh whipped cream and a tiny sprig of mint for a pop of color and freshness.
The Essential Pantry Staples for Your Mini Masterpieces
Unsalted Butter (1/2 cup / 115g): We melt this into the cocoa to create that signature fudgy brownie texture that stays moist even after the second bake.
Granulated Sugar (1 cup / 200g): This provides sweetness and helps create the slightly crusty edge on the brownie layer that contrasts so well with the creamy center.
Dutch-Processed Cocoa Powder (1/3 cup / 30g): Essential for achieving that dark, intense chocolate color and flavor in the base layer.
Full-Fat Cream Cheese (16 oz / 450g): Ensure this is at room temperature to achieve a smooth, pale ivory baked cheesecake layer without any lumps.
Heavy Cream (1/2 cup / 120ml): Used for both the ganache and the whipped cream swirl, providing the necessary fat for a glossy, stable finish.
Semi-Sweet Chocolate Chips (1/2 cup / 90g): These melt down with the cream to form a level, thick ganache that sets beautifully at room temperature.
Fresh Mint Leaves: A tiny sprig acts as the visual anchor, providing a vibrant green contrast against the dark chocolate and white cream.
If you love the combination of chocolate and unique textures, you might also enjoy our fudgy brownie cookies for a handheld version of this flavor profile.
Professional Tools for Individual Cheesecake Success
To achieve the handheld smartphone photo look, you will need a standard 12-cup muffin tin. Using high-quality paper liners or a silicone pan ensures the edges of your Brownie Bottom Mini Cheesecakes remain pristine and easy to handle.
A small offset spatula is your best friend here. It allows you to smooth the cheesecake batter and level the ganache, ensuring that thick, flat top seen in professional food photography.
Mastering the Multi-Layer Baking Process
Crafting the Dense Brownie Base
Start by whisking your melted butter, sugar, and cocoa powder until well combined. Add your egg and a pinch of salt, then gently fold in the flour until no streaks remain.
Spoon about 1 tablespoon (15g) of batter into each muffin cup. Bake at 350°F (175°C) for just 8-10 minutes until the edges are slightly crusty but the center is still soft; this ensures a fudgy result.
Achieving the Pale Ivory Cheesecake Center
While the bases cool slightly, beat your room-temperature cream cheese and sugar until perfectly smooth. Add the egg and vanilla, mixing on low speed to avoid incorporating too much air, which causes cracking.
Spoon the ivory mixture over the pre-baked brownie bases, filling them nearly to the top. Bake for another 15-18 minutes until the edges are set but the center still has a slight jiggle, maintaining that pale ivory color.
The Secret to a Level Glossy Ganache
Heat your heavy cream until it just begins to simmer, then pour it over your chocolate chips. Let it sit for 5 minutes before whisking from the center outward until a glossy, dark emulsion forms.
Pour a small amount over each cooled cheesecake, using the back of a spoon to push it to the edges. This creates the thick, level surface that makes these Brownie Bottom Mini Cheesecakes look like they came from a high-end patisserie.
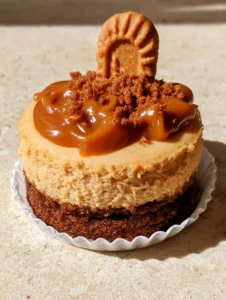
For those who prefer a different flavor profile for their small-scale bakes, our no-bake mini biscoff cheesecakes offer a wonderful spiced alternative.
Expert Tips for Bakery-Quality Results
- Temperature Control: Always use room temperature eggs and cream cheese to prevent a lumpy cheesecake texture.
- The Tap Technique: After filling the liners with cheesecake batter, tap the pan firmly on the counter to release trapped air bubbles.
- Chill Before Topping: Ensure the cheesecakes are fully cooled before adding the ganache to prevent the layers from bleeding into each other.
- Stabilized Swirls: For a whipped cream swirl that doesn’t wilt, whip your cream until very stiff peaks form before piping onto the ganache.
Preserving Freshness and Texture
These Brownie Bottom Mini Cheesecakes should be stored in an airtight container in the refrigerator. They will stay fresh and maintain their creamy texture for up to 5 days.
If you wish to freeze them, do so before adding the whipped cream and mint garnish. Thaw them overnight in the fridge and add the fresh toppings just before serving to maintain the visual integrity of the dish.
Delicious Pairings for Your Dessert Spread
These rich cheesecakes pair beautifully with a variety of flavors. If you are serving a full meal, consider starting with something savory like our steak bites with mushroom orzo.
For a lighter accompaniment, a spread of fresh berries or even a side of freshly baked popovers can round out a sophisticated brunch or dessert party.
Frequently Asked Questions
Yes, you can use a boxed mix. Simply prepare the batter as directed and use roughly 1 tablespoon per muffin cup, pre-baking for 8-10 minutes before adding the cheesecake layer.
No, mini cheesecakes bake quickly enough that a water bath is generally unnecessary. The small surface area prevents the significant cracking often seen in full-sized cheesecakes.
Avoid over-mixing the cheesecake batter once the egg is added. Excessive air causes the cheesecake to rise and then collapse. Mixing on low speed and tapping the pan before baking helps.
For the best texture and clean layers, chill the Brownie Bottom Mini Cheesecakes for at least 4 hours, or ideally overnight, before adding the whipped cream and serving.
A dull ganache is usually caused by overheating the chocolate or not using enough heavy cream. Ensure the cream is just simmering and stir gently from the center to create a smooth emulsion.
The Definitive Brownie Bottom Mini Cheesecakes Recipe
Brownie Bottom Mini Cheesecakes: The Ultimate Fudgy Fusion Dessert
Ingredients
Equipment
Instructions
- Whisk melted butter, sugar, cocoa, and egg until smooth. Fold in flour and salt until just combined.
- Spoon 1 tablespoon into each lined muffin cup. Bake at 350°F (175°C) for 8-10 minutes until edges are slightly crusty.
- Beat cream cheese and sugar until smooth. Mix in egg and vanilla on low speed until pale ivory and creamy.
- Pour filling over brownie bases. Bake for 15-18 minutes until set but slightly jiggly. Cool completely.
- Heat 1/4 cup heavy cream and pour over chocolate chips. Stir until glossy and thick. Spread over cooled cheesecakes.
- Whip remaining cream to stiff peaks. Top each cheesecake with a swirl of cream and a mint leaf.
Notes
Chill the cheesecakes for at least 2 hours before adding ganache for the best visual layers.
Bring This Professional Dessert to Your Kitchen
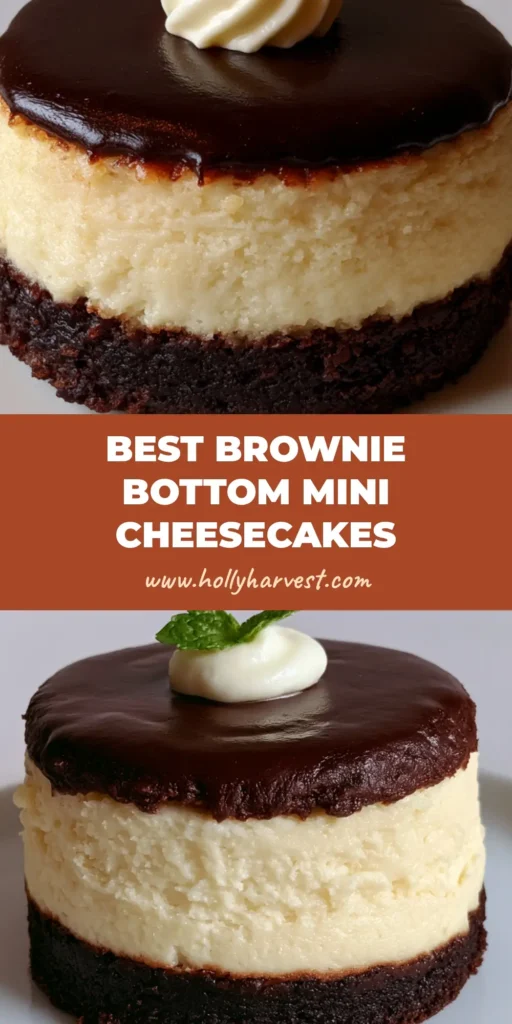
Creating these Brownie Bottom Mini Cheesecakes is a rewarding process that yields a truly sophisticated result. The combination of textures and the striking visual layers will impress any guest.
We would love to see your creations! If you bake these, please leave a comment below and share your photos. Don’t forget to follow us on Pinterest for more decadent dessert inspiration and kitchen tips.