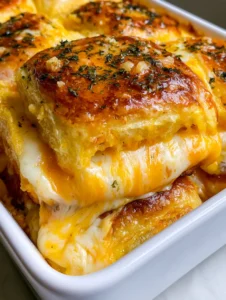
If you are looking for the ultimate comfort food that doubles as a crowd-pleasing appetizer, these Mini Grilled Cheese Hawaiian Rolls are the answer to your prayers. There is something truly magical about the combination of sweet, pillowy rolls and a savory, triple-threat cheese blend that creates the perfect bite every single time.
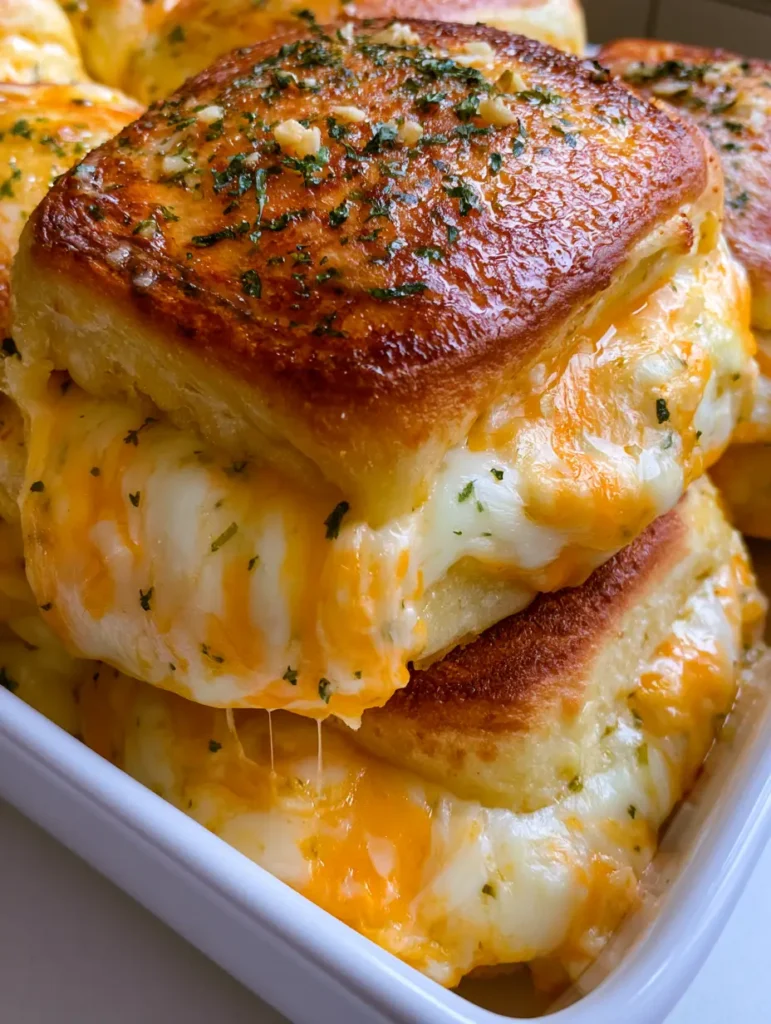
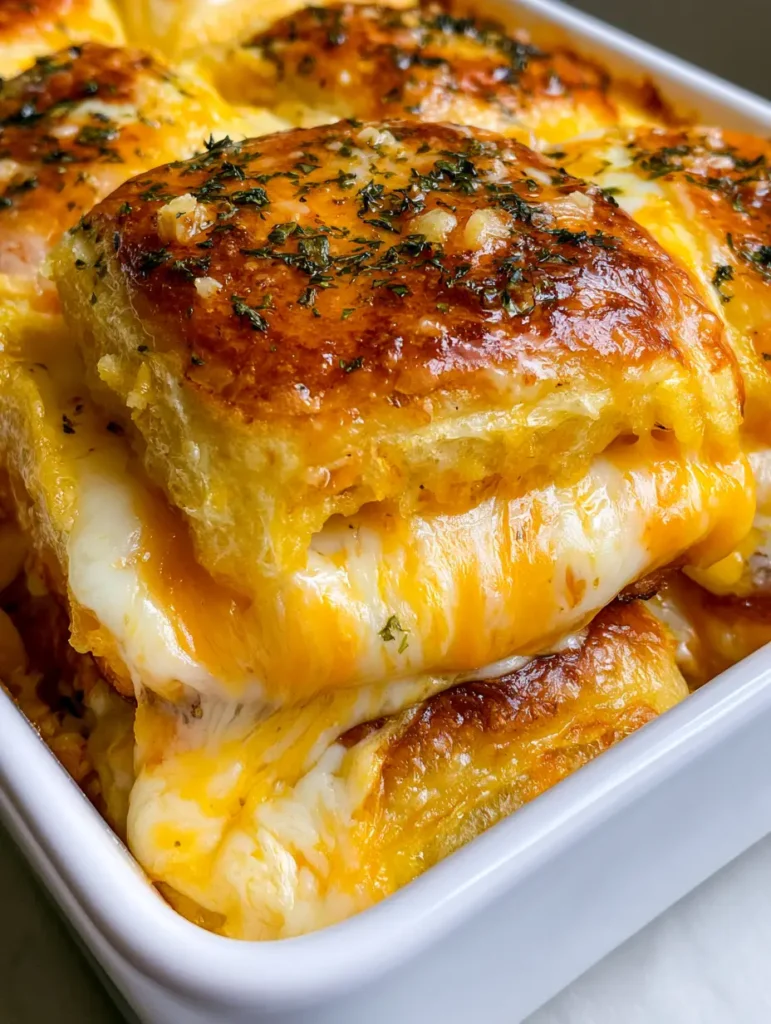
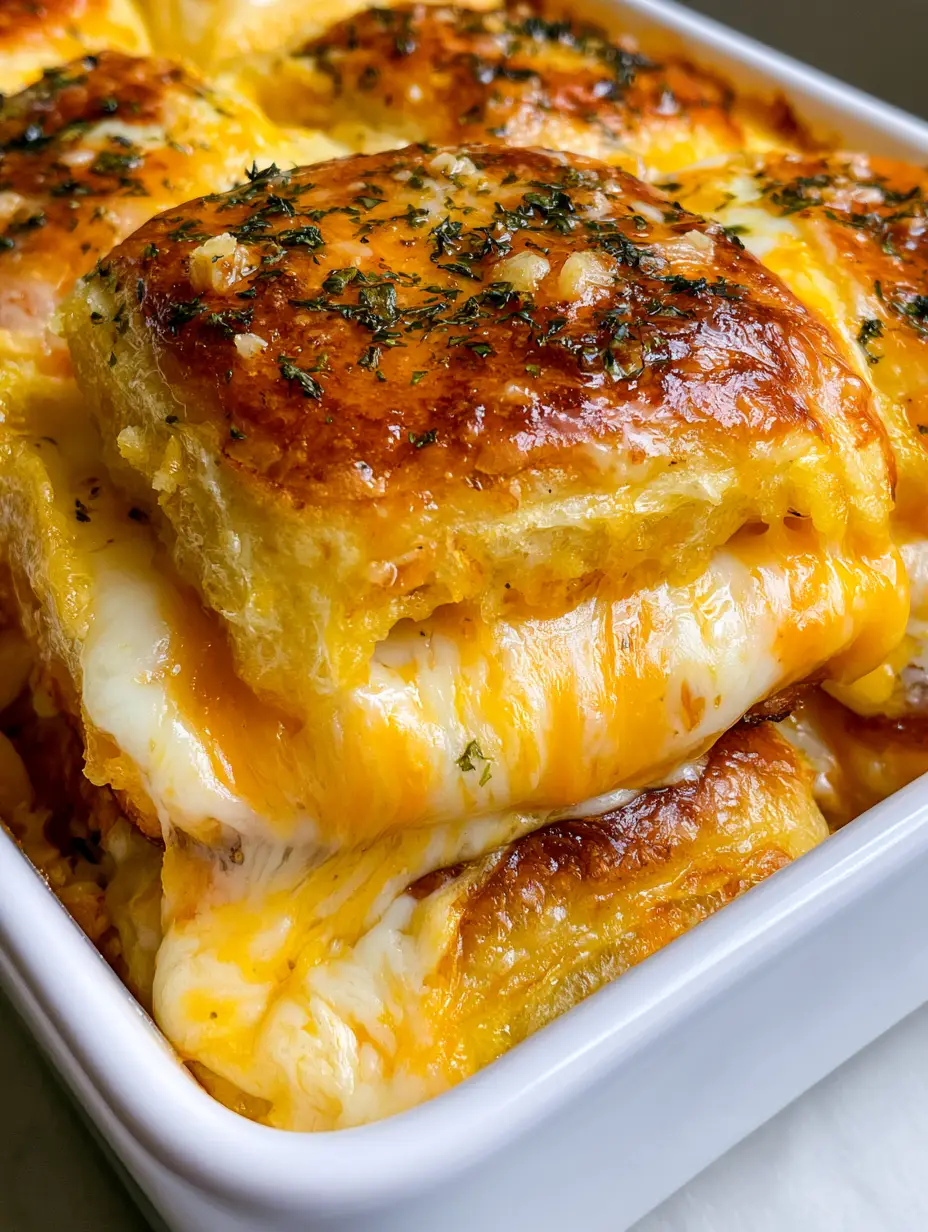
Our Mini Grilled Cheese Hawaiian Rolls feature a signature “cheese ooze” that is visually stunning and incredibly delicious. By using a specific ratio of sharp cheddar for flavor and mozzarella for that iconic stretch, we ensure every roll is a masterpiece of texture and taste.
Whether you are hosting a game day party or just need a quick weeknight dinner, these sliders deliver high-impact results with minimal effort. Let’s dive into how to achieve that deep golden brown crust and perfectly melted center seen in our professional kitchen photos.
Why These Cheesy Hawaiian Sliders Are a Total Game Changer
The secret to these Mini Grilled Cheese Hawaiian Rolls lies in the contrast between the buttery, garlic-infused crust and the molten interior. Unlike traditional grilled cheese, these are baked as a single unit, ensuring the cheese melts uniformly across all twelve rolls.
- Visual Perfection: The deep golden brown tops are achieved with a specific butter-basting technique that creates a glossy, professional finish.
- Gooey Texture: We use a combination of white mozzarella and sharp orange cheddar to provide both the flavor and the “pull” that makes these irresistible.
- Aromatic Garlic Glaze: Fine flecks of dried green parsley and tiny minced garlic bits are scattered across the top, providing a savory punch to the sweet bread.
- Effortless Serving: Baked in a simple white rectangular dish, these rolls are designed to be handheld and pulled apart, making them the ultimate social food.
Essential Ingredients for the Ultimate Cheese Pull
To recreate the exact look of our Mini Grilled Cheese Hawaiian Rolls, you need high-quality ingredients that behave predictably under heat. Every component here serves a functional purpose in achieving that “oozing” visual.
King’s Hawaiian Original Rolls: One 12-pack (approx. 12 oz / 340g) of these sweet rolls provides the structural base. Their high sugar content helps them achieve that deep golden toast in the oven.
Sharp Cheddar Cheese: You will need 1.5 cups (170g) of shredded sharp cheddar. The orange hue provides the vibrant color contrast against the white mozzarella and green parsley bits.
Low-Moisture Mozzarella: We use 1.5 cups (170g) of shredded mozzarella for the “white” cheese component. This is what creates those long, stringy cheese pulls when the rolls are pulled apart.
Salted Butter: 4 tbsp (56g) of melted butter acts as the glue for our aromatics. It provides the glossy finish and ensures the tops of the rolls don’t dry out while toasting.
Fresh Garlic: 2 cloves of garlic, minced extremely fine, are essential. These tiny bits become toasted and fragrant in the oven, adding a rustic look to the crust.
Dried Parsley: 1 tsp (1g) of dried parsley flakes provides the fine green flecks. Unlike fresh parsley, dried parsley stays green and crisp during the high-heat baking process.
Sea Salt: A pinch of flaky sea salt (optional) can be added to the butter glaze to enhance the savory notes of the cheddar. This foundational seasoning balances the sweetness of the Hawaiian rolls.
Kitchen Tools Required for Golden Brown Success
Achieving the perfect Mini Grilled Cheese Hawaiian Rolls requires a few basic kitchen essentials. Using the right pan is the difference between a soggy bottom and a perfectly toasted slider.
You will need a 9×13 inch (23x33cm) white rectangular baking dish. This size allows the rolls to fit snugly, which forces the cheese to ooze out the sides rather than disappearing under the bread.
A long serrated knife is also crucial. This allows you to slice the entire slab of rolls horizontally in one clean motion without crushing the delicate internal structure of the bread.
Finally, a pastry brush is necessary to apply the garlic butter glaze evenly. This ensures every millimeter of the crust is coated, leading to that uniform deep golden brown color.
Mastering the Horizontal Slice and Layering Technique
Preparing the Bread Slab
Start by removing the entire block of 12 Hawaiian rolls from the packaging, keeping them attached to one another. Use your serrated knife to slice the entire block horizontally through the middle, creating a top half and a bottom half.
Place the bottom half into your baking dish. This “cradle” will hold the heavy layers of cheese. If you enjoy crispy textures, you might also like our crispy pepperoni cheese bites as a side snack.
Building the “Cheese Ooze” Architecture
Now, layer your cheeses. Begin with a thick layer of sharp cheddar, then follow with a thick layer of mozzarella. Be sure to spread the cheese all the way to the very edges of the rolls.
As the rolls bake, the cheese will naturally melt outward. This creates the visual effect where the cheese is “oozing out from the sides,” as seen in our handheld smartphone photos. If you’re a fan of cheesy snacks, check out these high-protein cottage cheese crackers.
The Garlic Butter Finishing Touch
In a small microwave-safe bowl, melt your butter. Stir in the finely minced garlic bits and the dried parsley flakes. The butter should be highly aromatic and visually flecked with green and white.
Place the top half of the rolls back onto the cheese. Using your pastry brush, generously paint the butter mixture over the tops of the rolls. Make sure the garlic bits are scattered evenly across the crust for maximum visual appeal.
The Baking Science: Achieving Deep Golden Toastiness
Preheat your oven to 350°F (175°C). Cover the baking dish tightly with aluminum foil for the first 10 minutes. This creates a steam chamber that melts the thick layers of cheese without burning the bread.
After 10 minutes, remove the foil. Bake for another 5-10 minutes. This is the “critical window” where the tops transform into a deep golden brown. Watch for the glossy melted butter to sizzle and the cheese to bubble at the edges.
Your sensory cue for readiness is the smell of toasted garlic and the sight of the cheese losing its individual shredded shape and becoming a unified, molten mass. For another savory bake, try our savory ham and cheese pastries.
Expert Tips for the Perfect Mini Grilled Cheese
- Room Temperature Cheese: Use cheese that has sat out for 20 minutes before baking. This ensures a faster, more even melt that reaches the very center of the slider slab.
- Avoid Sogginess: Do not over-apply the butter glaze to the sides of the rolls; focus primarily on the top crust to keep the bottom of the rolls light and airy.
- Fresh vs. Jarred Garlic: Always use freshly minced garlic. Pre-minced jarred garlic contains phosphoric acid which can prevent the garlic bits from browning properly on the rolls.
- The Foil Trick: If the tops are browning too fast but the cheese isn’t “oozy” yet, tent the foil loosely over the top to protect the crust while the internal heat continues to rise.
Pairing Suggestions and Serving Ideas
These Mini Grilled Cheese Hawaiian Rolls are quite rich, so they pair perfectly with something acidic or crisp. A simple tomato soup is the classic choice, but you can also serve them alongside a fresh green salad with homemade ginger dressing to cut through the fat.
For a full party spread, serve these alongside tangy pepperoncini chicken or even some savory steak bites. The sweetness of the rolls balances spicy and savory dishes exceptionally well.
Storage, Reheating, and Make-Ahead Advice
Storage: These are best enjoyed immediately while the cheese is stringy. However, you can store leftovers in an airtight container in the refrigerator for up to 3 days.
Reheating: To maintain the “grilled cheese” texture, avoid the microwave. Reheat in a 325°F (160°C) oven for 8-10 minutes until the cheese is melted again and the crust regains its crunch.
Freezing: You can freeze the assembled (but unbaked) rolls. Wrap them tightly in plastic wrap and foil. Bake from frozen at 350°F (175°C), adding an extra 15 minutes to the covered baking time.
Common Questions About Hawaiian Roll Sliders
Yes, you can assemble the rolls and keep them covered in the fridge for up to 24 hours before baking. Wait to apply the garlic butter glaze until just before you put them in the oven for the best texture.
Yes! This recipe specifically calls for both minced garlic bits and dried parsley. Freshly minced garlic provides a much better aroma and flavor than jarred versions, while dried parsley maintains its green color better during baking.
To avoid soggy bottoms, bake the rolls in a ceramic or glass dish rather than metal, and ensure you only brush the butter glaze on the top crust. The cheese should be thick enough to act as a barrier, preventing moisture from soaking into the bottom bun.
The rolls typically take 15-20 minutes total. We recommend 10 minutes covered with foil to melt the cheese, followed by 5-10 minutes uncovered to achieve that deep golden brown, toasted crust.
A mix of sharp cheddar and mozzarella is ideal. The cheddar provides the bold, salty flavor and vibrant orange color, while the mozzarella provides the stretchy, gooey texture known as the ‘cheese pull’.
The Ultimate Mini Grilled Cheese Hawaiian Rolls Recipe
Mini Grilled Cheese Hawaiian Rolls with Garlic Butter Glaze
Ingredients
Equipment
Instructions
- Preheat your oven to 350°F (175°C) and grease a 9x13 inch white baking dish.
- Using a serrated knife, slice the entire slab of Hawaiian rolls horizontally in half. Place the bottom half into the prepared baking dish.
- Layer the shredded sharp cheddar evenly over the bread, followed by a layer of shredded mozzarella. Ensure cheese reaches the very edges to achieve the 'ooze' effect.
- Place the top half of the rolls back onto the cheese layers.
- In a small bowl, combine melted butter, minced garlic bits, and dried parsley. Brush the mixture generously over the tops of the rolls.
- Cover the dish tightly with aluminum foil and bake for 10 minutes until the cheese begins to melt.
- Remove the foil and bake for another 5-10 minutes. Look for a deep golden brown crust and glossy finish where the cheese is bubbling and oozing out the sides.
Notes
Don't skip the foil; it prevents the rolls from drying out while the cheese melts.
Bring the Golden Gooey Goodness Home
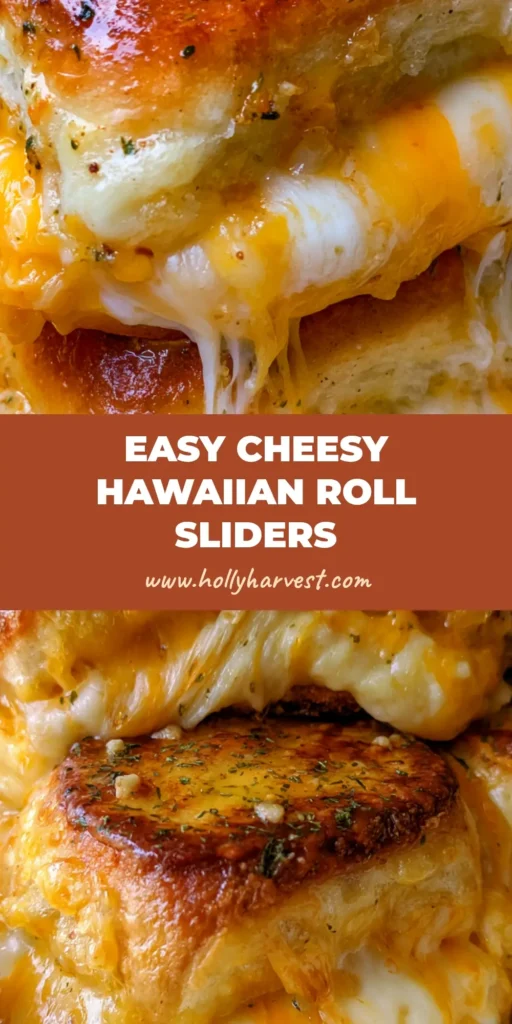
These Mini Grilled Cheese Hawaiian Rolls are more than just a sandwich; they are a sensory experience. From the first scent of garlic butter to the final stringy cheese pull, they are designed to delight every home cook and guest alike.
If you enjoyed this recipe, please leave a comment below and let us know how your cheese pull turned out! Don’t forget to follow us on Pinterest and share your creations using our hashtag.