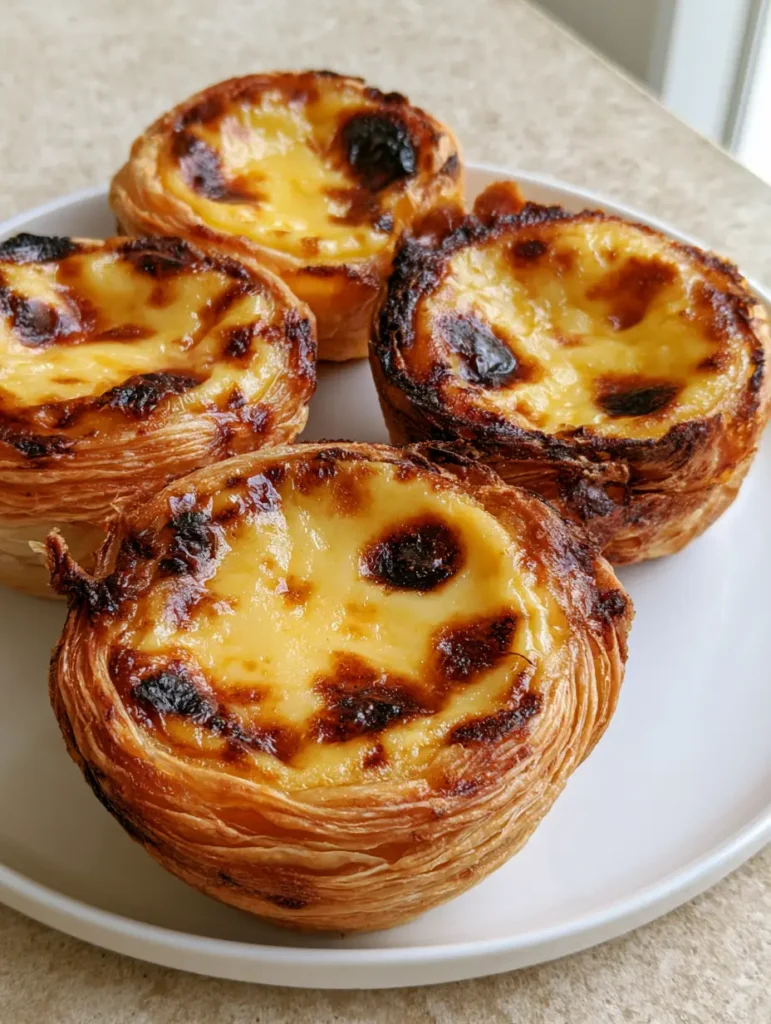
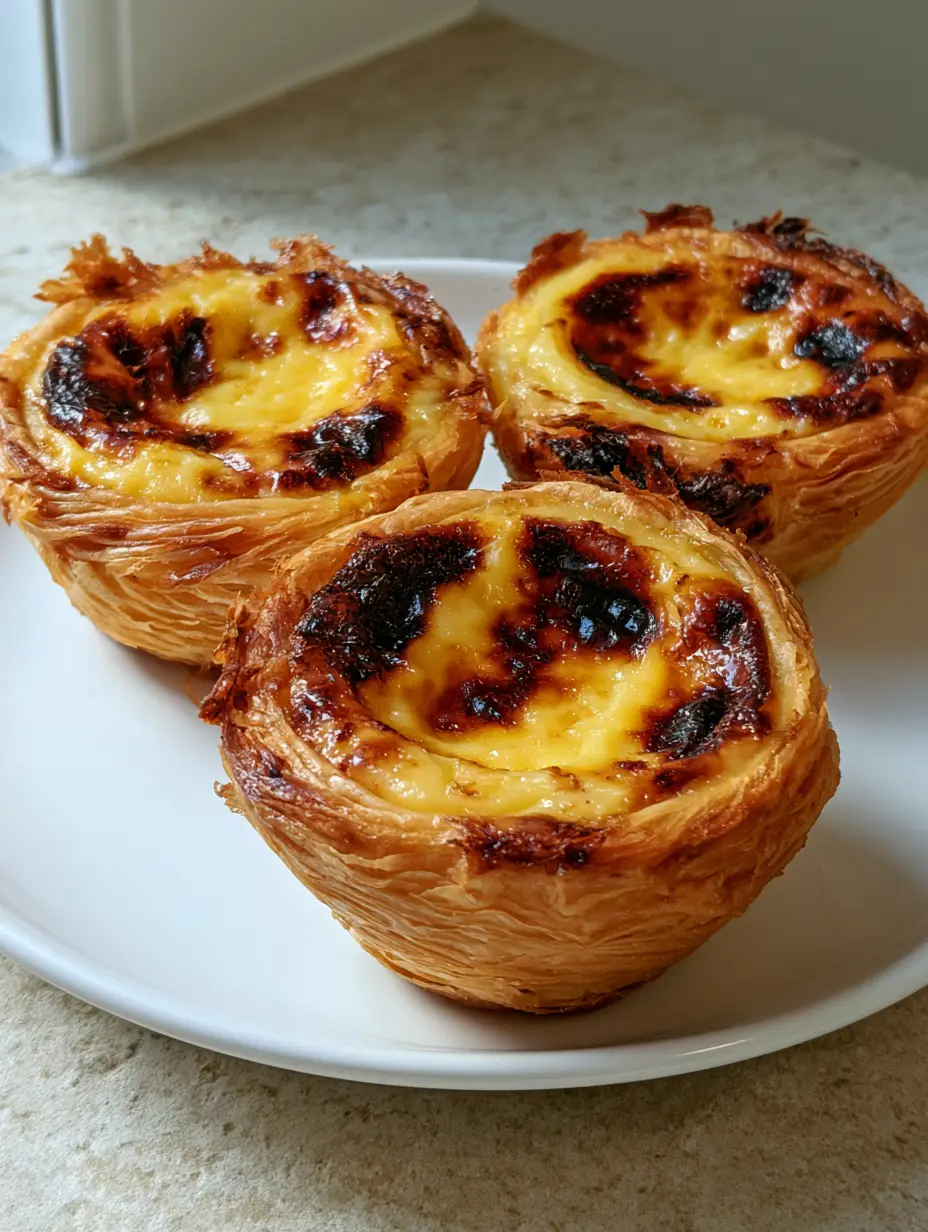
Mastering the Pastel de Nata Recipe is a rite of passage for any home baker seeking the perfect balance of shatteringly crisp pastry and a silky, scorched custard center. These iconic tarts, originating from the Belém district of Lisbon, are world-renowned for their unique appearance: a golden-brown, spiraled puff pastry base topped with a pale yellow custard that features distinct dark brown and black charred blisters.
When you hold one of these tarts, as seen in a freshly baked handheld photo, the first thing you notice is the weight of the rich egg custard and the jagged, flaky edges of the crust. The high-heat caramelization isn’t just for show; it provides a deep, smoky sweetness that cuts through the creamy infusion of lemon and cinnamon. Achieving that professional “blistered” look at home requires specific techniques that we will dive into today.
The Signature Visual Appeal of the Perfect Pastel de Nata
To truly replicate the authentic experience, your tarts must meet several visual and textural benchmarks. This Pastel de Nata Recipe focuses on the “Forensic Visual Accuracy” of the traditional Portuguese pastry shop.
- The Spiraled Foundation: Unlike standard pie crusts, the base is a spiraled puff pastry that creates thin, visible crispy layers in a circular pattern.
- The High-Heat Scorch: Distinct dark brown and black charred blisters on the surface indicate the sugar in the custard has reached the perfect caramelization point.
- Jagged Flakiness: The pastry edges should be uneven and incredibly fragile, shattering upon the first bite.
- Pale Yellow Contrast: The custard beneath the blisters remains a soft, pale yellow, indicating a high egg yolk content and proper tempering.
Essential Ingredients for the Ultimate Laminated Crust and Custard Filling
Every ingredient in this Pastel de Nata Recipe serves a structural or flavor-profile purpose. We use a combination of pantry staples and specific ratios to ensure the custard sets without becoming rubbery.
The Laminated Pastry Components
All-Purpose Flour (300g / 2 1/4 cups): This provides the necessary protein structure to hold the many layers of butter without becoming too tough.
Unsalted High-Fat Butter (225g / 1 cup): Quality matters here; a European-style butter with higher fat content ensures those thin, visible crispy layers seen in the visual blueprint.
Fine Sea Salt (5g / 1 tsp): Salt is the “invisible” workhorse that enhances the buttery flavor of the crust and balances the sweetness of the filling.
The Creamy Egg Custard Filling
Whole Milk (500ml / 2 cups): Using full-fat milk is non-negotiable for achieving the thick, pale yellow egg custard consistency required for authentic results.
Granulated Sugar (300g / 1 1/2 cups): This is used to create a sugar syrup, which is the secret to the glossy finish and the ability of the custard to blister under high heat.
Egg Yolks (6 large): The yolks provide the rich color and the emulsification needed for a stable, creamy center.
Cinnamon Stick and Lemon Peel: These are steeped in the milk to provide the traditional aromatic profile without discoloring the pale yellow custard.
Professional Equipment for Achieving High-Heat Results
While you can use a standard muffin tin, achieving the “spiraled” look of the pastry is easiest with traditional tin-plated steel Nata molds. These molds conduct heat rapidly, which is essential for searing the bottom of the pastry while the top blisters. You will also need a digital thermometer to ensure your sugar syrup reaches the “thread” stage and a high-accuracy oven that can reach at least 500°F (260°C).
Step-by-Step Instructions to Master the Pastel de Nata Recipe
Creating the Spiraled Laminated Dough
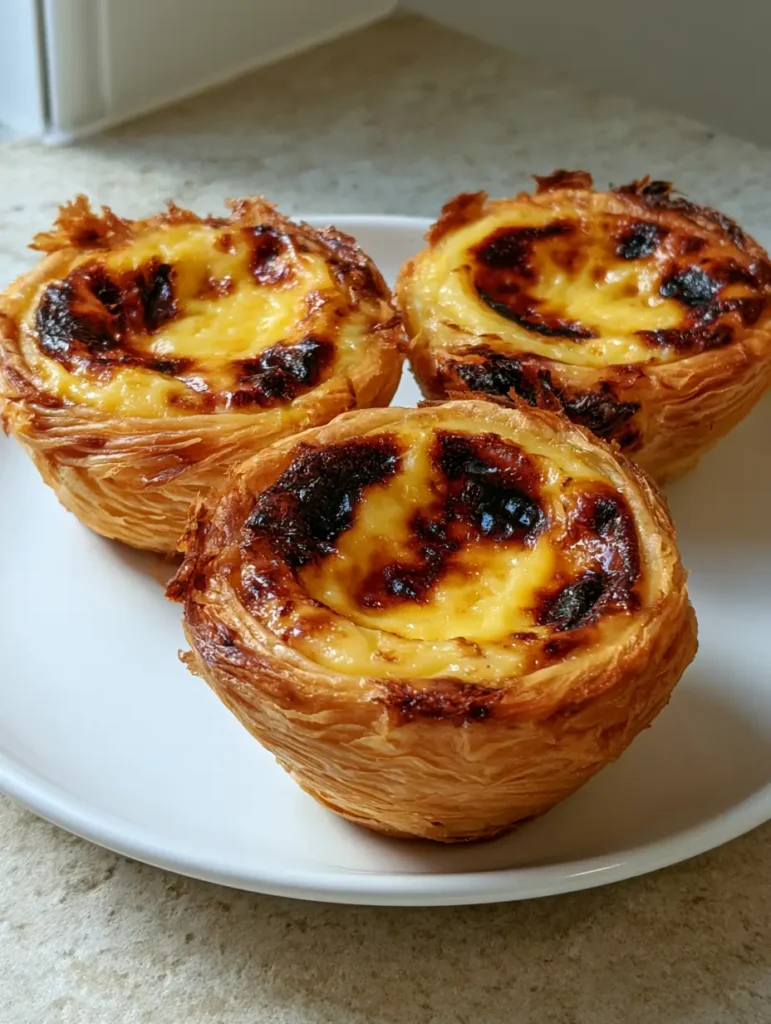
Start by making a basic flour and water dough, then begin the lamination process by spreading softened butter over the surface and folding. The critical step for this Pastel de Nata Recipe is the final roll: instead of a square fold, roll the dough into a tight log. When you slice this log into 1-inch (2.5cm) pieces, you will see the visible spiral that forms the bottom of the tart.
Infusing the Custard Base
In a medium saucepan, combine the milk with a cinnamon stick and a large strip of lemon peel. Bring to a gentle simmer over medium heat, then remove from heat to let the aromatics steep for 15 minutes. This ensures the flavor is deeply embedded in the fat of the milk.
The Sugar Syrup Technique
In a separate pot, combine the sugar and 1 cup (240ml) of water. Boil until it reaches 212°F (100°C), creating a “thread” syrup. Slowly whisk this syrup into the flour-thickened milk base. This technique, rather than just mixing sugar in, is what allows the custard to caramelize so beautifully into dark brown blisters.
Assembling and Shaping the Tarts
Place a disc of the spiraled dough into each mold. Use dampened thumbs to press the dough from the center outwards and up the sides, ensuring the dough is thinner at the bottom and slightly thicker at the rim. This creates those jagged and flaky edges during the bake.
The High-Heat Caramelization Phase
Preheat your oven to its maximum setting, ideally 550°F (290°C). Fill the pastry shells 3/4 full with the cooled custard. Bake for 10-12 minutes. You are looking for a specific sensory cue: the custard will puff up significantly and develop those iconic dark brown and black charred blisters while the pastry turns a deep golden brown.
Expert Tips for Success with Portuguese Tarts
- Cold Dough, Hot Oven: Ensure your pastry is chilled right until it hits the oven; the thermal shock is what creates the “thin, visible crispy layers.”
- Avoid Overfilling: If you fill the shells to the brim, the custard will boil over and ruin the lamination of the crust.
- Strain the Custard: Always pass your custard through a fine-mesh sieve to remove the lemon peel, cinnamon, and any tiny bits of cooked egg for a perfectly smooth texture.
- The Thumb Trick: Keep a small bowl of water nearby to dip your thumbs in while pressing the dough; this prevents sticking and allows for a smooth, even spiral.
Proper Storage, Reheating, and Freezing
Pastel de Nata are best enjoyed within hours of baking to appreciate the contrast between the hot custard and the crunchy crust. However, you can store them in an airtight container at room temperature for up to 2 days. To restore the jagged, flaky edges, reheat them in a 350°F (175°C) oven or air fryer for 5 minutes. Avoid the microwave, as it will make the pastry soggy.
What to Serve With These Iconic Tarts
In Lisbon, these are traditionally served with a dusting of cinnamon and powdered sugar alongside a strong espresso. If you are serving these as part of a larger brunch or dessert spread, they pair beautifully with other textured treats. For a savory contrast, consider serving them after a meal of zesty pepperoncini chicken or a classic lemon butter chicken piccata.
If you’re looking for more technical baking challenges, you might enjoy mastering a silky Swiss meringue buttercream for your next cake project, or perhaps some airy popovers which share a similar high-heat logic to this Pastel de Nata Recipe.
Frequently Asked Questions about Portuguese Custard Tarts
While you can use it as a shortcut, store-bought pastry won’t have the traditional spiraled texture. To use it, roll the sheet into a tight log and slice into discs to mimic the authentic look.
Traditional tin molds are best because they conduct heat quickly to the bottom of the pastry. A standard muffin tin works as a substitute, but the crust may not be as crispy on the bottom.
The secret is rolling the laminated dough into a very tight log (like a cinnamon roll) and cutting it into discs. When you press these discs into the mold, the layers expand in a spiral pattern.
It is normal for the custard to puff up significantly in the oven and then sink slightly as it cools. However, if they collapse entirely, the custard may have been undercooked or the sugar syrup was too thin.
The most common reason is the oven temperature. You need a minimum of 500°F (260°C). If your oven doesn’t go that high, try placing the tarts under the broiler for the last 1-2 minutes of baking.
The Ultimate Pastel de Nata Recipe
Pastel de Nata Recipe: How to Make Authentic Portuguese Custard Tarts with Iconic Charred Blisters
Ingredients
Equipment
Instructions
- Mix flour, salt, and water to form a soft dough. Roll into a rectangle and spread butter across 2/3 of the surface. Fold and repeat to create layers.
- Roll the final layer of dough into a very tight log. Wrap in plastic and chill for at least 2 hours. Slice into 1-inch (2.5cm) discs.
- Simmer milk with cinnamon and lemon. Whisk a small portion of cold milk with 50g flour, then add back to the hot milk to thicken.
- Boil sugar and 240ml water to 212°F (100°C). Gradually whisk the syrup into the milk mixture, then whisk in egg yolks after it has cooled slightly.
- Press dough discs into molds using wet thumbs. Fill 3/4 full with custard.
- Bake at 550°F (290°C) for 10-12 minutes until dark brown charred blisters appear on the pale yellow custard.
Notes
Always strain the custard through a sieve for the smoothest texture.

Start Your Portuguese Baking Journey Today
There is nothing quite like the satisfaction of pulling a tray of these tarts out of the oven and seeing those perfect charred blisters. This Pastel de Nata Recipe brings the authentic flavors of Portugal into your kitchen with professional-grade results. If you enjoyed this recipe, please leave a comment below and share your photos! Be sure to follow us on Pinterest for more culinary inspiration and visual guides.