When you bite into a Ham and Cheese Puff Pastry, the first thing you should notice is the audible shatter of dozens of buttery, laminated layers. This isn’t just a snack; it’s a masterclass in texture, combining the savory depth of thin-sliced ham with the gooey, salt-kissed luxury of melted white cheese.
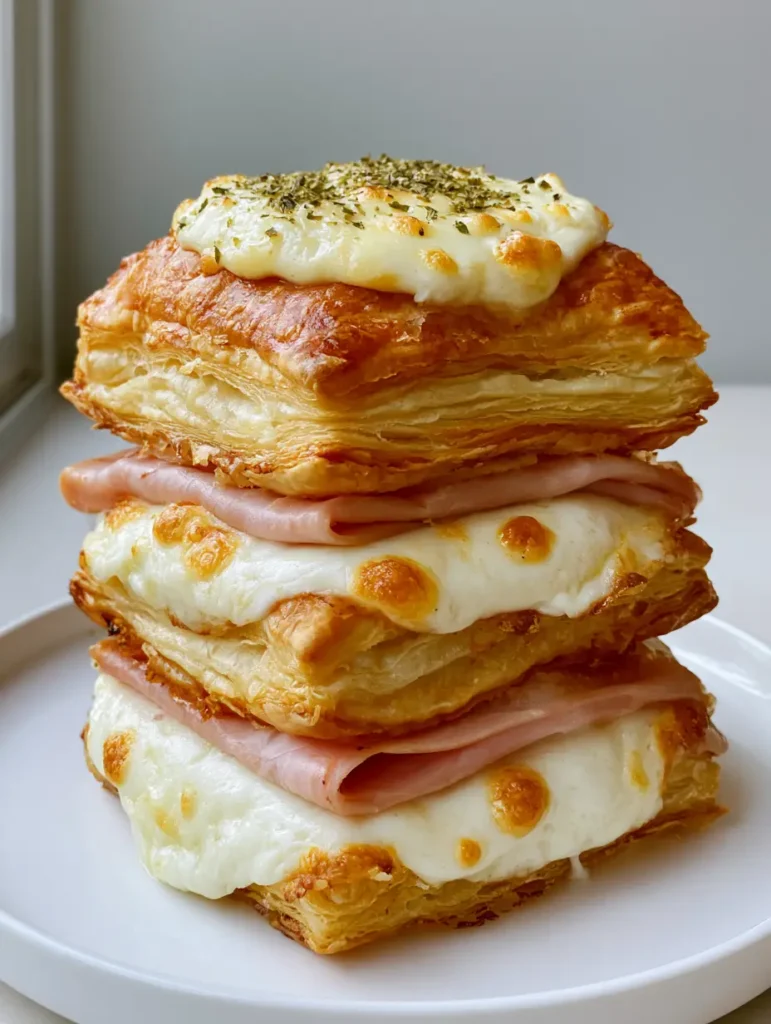
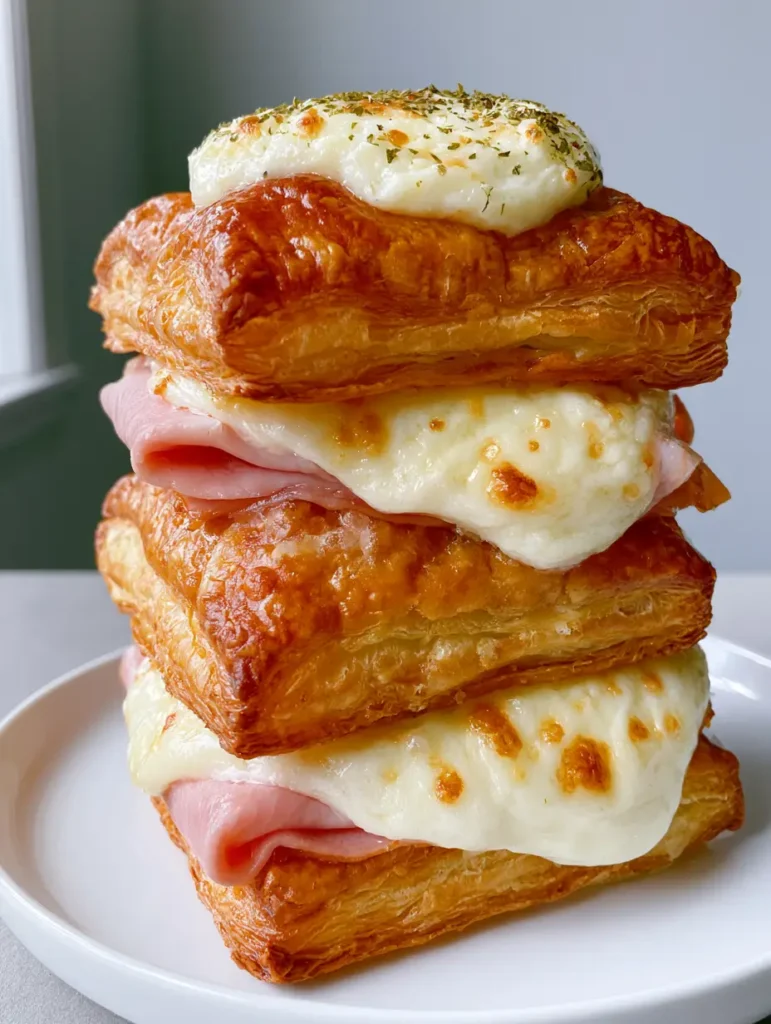
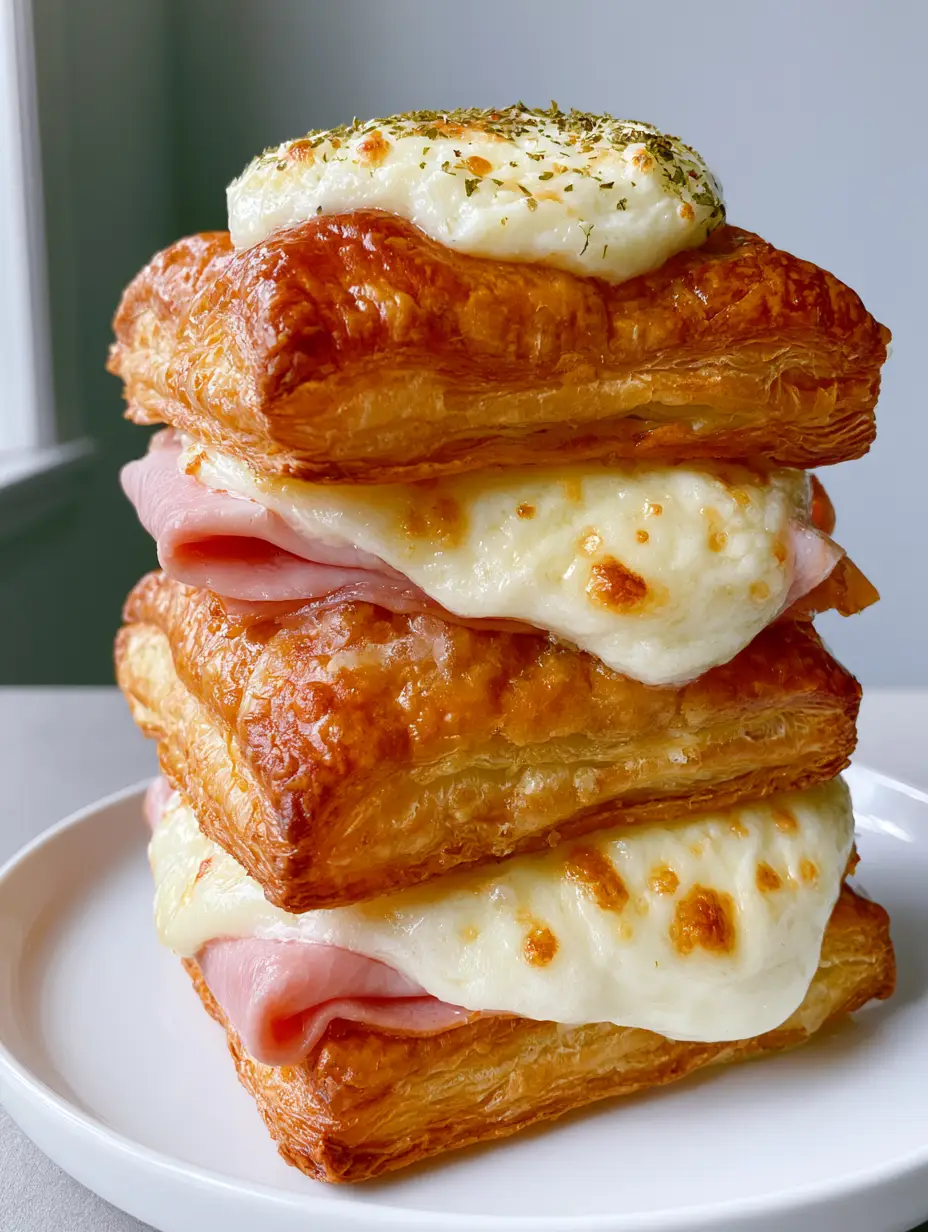
The visual appeal of this dish is undeniable, characterized by square layers of golden-brown pastry that stand tall in a vertical stack. It looks like something pulled straight from a high-end Parisian boulangerie, yet it is achieved with simple techniques and high-quality ingredients you can find at any local market.
Whether you are serving these at a sophisticated brunch or looking for a comforting lunch that feels special, this recipe delivers on every sensory promise. The toasted cheese spots on top and the delicate sprinkle of dried herbs create a professional finish that is as beautiful to look at as it is delicious to eat.
Why You’ll Love This Savory Triple-Layer Stack
- Architectural Lamination: By stacking three distinct layers of puff pastry, we maximize the surface area for that iconic flaky “crunch” in every single bite.
- Gourmet Cheese Profile: We use a high-moisture white cheese that produces those coveted golden-brown toasted bubbles under the heat of the oven.
- Visual Forensic Perfection: This recipe is designed to match the specific aesthetic of a handheld smartphone photo—unfussy, rustic, and incredibly appetizing.
- Time-Efficient Elegance: Despite its complex appearance, the use of high-quality frozen puff pastry makes this an accessible luxury for any home cook.
The Science Behind the Lamination: Essential Ingredients
To achieve a Ham and Cheese Puff Pastry that stands tall without collapsing, every ingredient must serve a structural and flavor-focused purpose. We don’t just want melted cheese; we want a specific “bubbly” white cheese texture that contrasts with the savory pink ham.
High-Quality All-Butter Puff Pastry
You will need 1 package (450g) of puff pastry, preferably made with real butter rather than shortening. Butter contains water, which turns into steam during baking, pushing the thousands of dough layers apart to create that “shattering” flaky texture.
Thinly Sliced Savory Ham
Use 6 oz (170g) of deli-thin savory ham, such as Black Forest or Virginia ham. Slicing the ham thinly allows it to be folded, which creates air pockets between the cheese and pastry, contributing to the vertical height of the stack.
White Melting Cheese (Swiss or Gruyère)
Select 1.5 cups (170g) of shredded or thinly sliced white cheese like Gruyère, Swiss, or Monterey Jack. These cheeses have the perfect fat-to-moisture ratio to create toasted cheese spots and a gooey, stretchy interior.
The Foundational Egg Wash
Whisk together 1 large egg and 1 tbsp (15ml) of water to create a professional egg wash. This “invisible” ingredient is responsible for the deep golden-brown hue and the brilliant buttery sheen seen in the visual blueprint.
Dried Green Herb Flakes
A light sprinkle of 1/2 tsp (1g) dried parsley or oregano provides the final aromatic touch. These herbs add a pop of color against the white cheese and a subtle earthy finish that cuts through the richness of the butter.
All-Purpose Flour (for Dusting)
You’ll need about 2 tbsp (16g) of flour for your work surface. This prevents the dough from sticking, ensuring the laminated edges remain clean so they can puff upward instead of outward.
Essential Equipment for a Professional Finish
To achieve the crisp, vertical stack described in the Midjourney prompt, you need tools that manage heat distribution effectively. A heavy-duty rimmed baking sheet is the foundation of a good bake.
Line your sheet with parchment paper or a silicone baking mat to prevent the melted cheese bubbles from sticking. A sharp pastry wheel or pizza cutter is vital for creating clean, square edges that won’t “seal” the pastry shut, allowing the layers to rise freely.
Finally, a pastry brush is necessary for applying a thin, even coat of egg wash. Too much wash can run down the sides and “glue” the layers together, so precision is key here.
Step-by-Step Instructions for the Perfect Puff Pastry Stack
Preparing the Laminated Dough Squares
Begin by thawing your puff pastry in the refrigerator for 2-3 hours. It must be cold to the touch but pliable; if the butter melts before it hits the oven, you will lose the flaky layers.
On a lightly floured surface, roll the pastry into a large rectangle. Use a ruler to cut the dough into 3-inch (7.6cm) squares. For this recipe, you will need three squares for every one finished sandwich to achieve that vertical triple-stack look.
The First Bake: Establishing the Rise
Preheat your oven to 400°F (200°C). Place the squares on your prepared baking sheet and brush the tops lightly with the egg wash. Ensure no egg wash drips down the cut edges.
Bake for 10-12 minutes until they are a light golden-brown and have visibly puffed. This “par-baking” step ensures the middle layer of your stack isn’t doughy or raw once the ham and cheese are added.
Assembling the Triple-Stack Architecture
Take one par-baked square and top it with a folded slice of savory ham and a generous tablespoon of white cheese. Place the second pastry square on top, pressing down very gently.
Repeat the process: add another layer of folded ham and cheese, then crown the stack with the third pastry square. This creates the vertical height and the distinct layers of ham and cheese seen in the visual blueprint.
The Final Melt and Toasted Garnish
Place an extra dollop of cheese on the very top of the stack and sprinkle with the dried green herb flakes. Return the stacks to the oven for another 5-8 minutes.
Watch for the “Visual Cue”: the cheese should be fully melted, with small golden-brown toasted bubbles forming. The pastry should have transitioned from light gold to a deep, burnished golden-brown with a distinct buttery sheen.
Expert Tips for Culinary Success
- Temperature Control: If the dough becomes too soft while you are cutting the squares, pop it back into the freezer for 5 minutes. Cold butter is the secret to lamination.
- The “Fold” Technique: Don’t lay the ham flat. Fold it into ribbons to create volume; this allows the cheese to flow into the crevices, acting as a “glue” for the stack.
- Avoid the Soggy Bottom: Always bake on the middle or lower-middle rack. This ensures the bottom pastry layer gets enough heat to crisp up despite the moisture from the ham.
- Freshness Factor: While we use dried herbs for the visual speckling, you can enhance the aroma by rubbing the herbs between your palms before sprinkling to release their oils.
How to Store, Reheat, and Freeze
These pastries are best enjoyed immediately while the pastry is at its maximum “shatter” point. However, if you have leftovers, store them in an airtight container in the refrigerator for up to 2 days.
To reheat, avoid the microwave at all costs—it will turn the puff pastry rubbery. Instead, use a toaster oven or air fryer at 350°F (175°C) for 3-5 minutes. This will recrisp the laminated layers and bring the cheese back to a bubbly state.
You can also freeze the assembled, unbaked stacks. Wrap them tightly in plastic wrap and foil. Bake directly from frozen at 375°F (190°C), adding about 10 minutes to the total baking time.
What to Serve With This Ham and Cheese Puff Pastry
These savory stacks are rich and buttery, so they pair beautifully with acidic or crisp side dishes. A bright arugula salad tossed with Japanese steakhouse ginger dressing (coming soon) provides a refreshing contrast to the melted cheese.
If you are serving these as part of a larger party spread, they sit perfectly alongside pepperoni cheese crisps or cottage cheese crackers for a full-spectrum cheese experience.
For a hearty brunch, consider serving them with meal prep egg muffins or even a sweet counterpoint like thick and chewy peanut butter cookies for dessert. If you love this flavor profile, you might also enjoy our mini grilled cheese Hawaiian rolls.
Frequently Asked Questions
You can prep the squares and ham/cheese layers in advance, but for the best ‘shatter’ texture, assemble and do the final bake just before serving.
Yes, pre-rolled sheets are actually easier to work with. Just ensure they are kept very cold while you cut them into 3-inch squares.
Par-baking the pastry squares before assembling the stack creates a crisp foundation that resists the moisture from the ham and melting cheese.
High-moisture white cheeses like Swiss, Gruyère, or Monterey Jack are best for achieving those golden-brown toasted bubbles described in the visual recipe.
This usually happens if the egg wash drips down the sides of the pastry squares, sealing the laminated layers together. Brush only the tops carefully.
The Ultimate Savory Ham and Cheese Puff Pastry Recipe
Ham and Cheese Puff Pastry: The Ultimate Flaky Triple-Stack Recipe
Ingredients
Equipment
Instructions
- Preheat oven to 400°F (200°C) and line a tray with parchment paper. Lightly flour your work surface.
- Roll out the cold puff pastry and cut into 3-inch squares using a sharp pastry wheel. You need 12 squares to make 4 triple-stacks.
- Brush squares with egg wash (1 egg beaten with 1 tbsp water). Bake for 10-12 minutes until light golden-brown and puffed.
- On one square, place folded ham and a layer of white cheese. Top with a second square, more ham, and more cheese. Finish with the third square.
- Top the stack with a dollop of cheese and herb flakes. Bake for 5-8 minutes until the cheese shows golden-brown toasted bubbles and the pastry has a buttery sheen.
Notes
Use a sharp knife or pizza cutter to avoid 'squishing' the laminated edges of the dough.
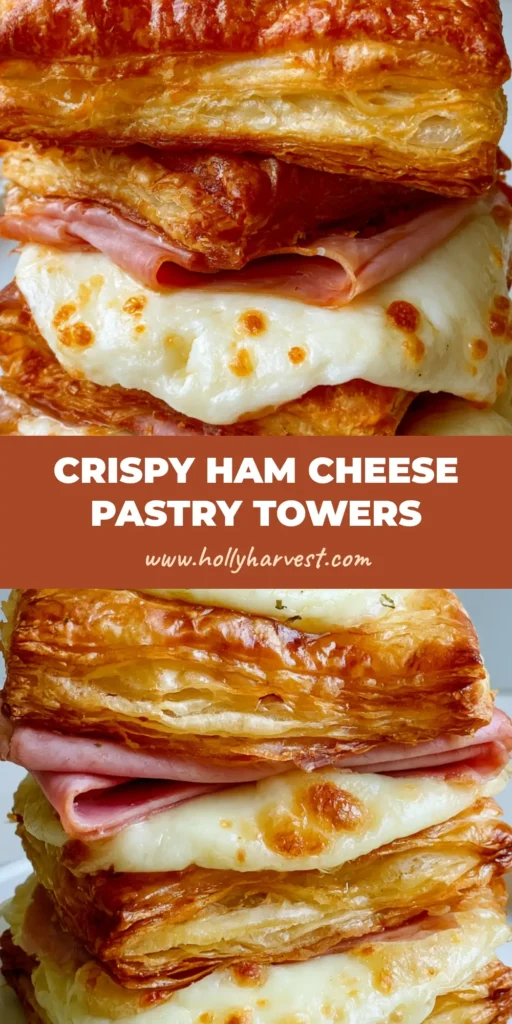
Creating this Ham and Cheese Puff Pastry is about more than just satisfying a craving; it’s about bringing a touch of artisanal bakery quality into your own kitchen. The combination of the triple-stacked pastry and the toasted, bubbly cheese makes for a visual and culinary centerpiece that never fails to impress.
We would love to see your vertical stacks! Tag us in your photos and follow us on Pinterest for more flaky, savory inspiration. Don’t forget to leave a comment below with your favorite type of cheese to use in this recipe!