There is something inherently therapeutic about watching a heavy, chilled bowl of coconut fat transform into a cloud-like Coconut Milk Frosting. It starts as a dense, matte white block of cream and, under the rhythmic whip of a mixer, evolves into a velvety masterpiece that rivals any dairy-based buttercream. If you have ever struggled with vegan toppings that weep, wilt, or simply refuse to hold their shape, you are in the right place.
This Coconut Milk Frosting is designed specifically for those who demand visual perfection and structural integrity. Whether you are piping delicate rosettes onto a batch of cupcakes or dolloping a thick, rustic swirl over a fruit-based dessert, this recipe provides the stiff, airy peaks and snow-white finish described in our culinary blueprint. We are moving beyond the runny textures of the past to a professional-grade frosting that is as stable as it is delicious.
By understanding the science of fat emulsification and temperature control, we can achieve a matte, velvet-like finish that looks stunning under soft daylight. This isn’t just a substitute; it is a superior alternative for any baker looking to elevate their plant-based repertoire. Let’s dive into the forensic details of how to master this creamy, coconut-based wonder.
The Aesthetic Allure: Why This Whipped Topping Wins
- Structural Integrity: This Coconut Milk Frosting is engineered for stiff peaks that hold their shape for hours, making it perfect for high-profile cake decorating.
- Matte Visual Appeal: Unlike oily frostings, this recipe results in a matte, snow-white finish that provides a beautiful, clean canvas for any dessert.
- Sensory Texture: The mouthfeel is exceptionally smooth and velvety, melting at body temperature for a premium tasting experience.
- Minimalist Composition: By focusing on the pure fat solids, we achieve a dense, “whipped cream” look without the need for heavy fillers.
Essential Elements for a Velvety Coconut Milk Frosting
The foundation of this recipe is 15 oz (425g) of full-fat canned coconut milk. You must ensure you are using a brand that contains a high percentage of coconut extract and no guar gum if possible, as additives can sometimes prevent the separation of the solids from the water. Only the thick, white fat at the top of the can will be used to create that signature chilled cream texture.
To provide sweetness and stability, we utilize 1/2 cup (60g) of organic powdered sugar. This ingredient is scientifically necessary as the cornstarch or tapioca starch in the powdered sugar acts as a stabilizer, helping the Coconut Milk Frosting maintain its stiff, airy peaks even at room temperature. Sifting the sugar is mandatory to avoid clumps in the matte finish.
For flavor depth, 1 tsp (5ml) of clear vanilla extract is added. Using a clear extract ensures the frosting remains snow-white and doesn’t take on a beige tint. Finally, a tiny pinch (0.5g) of sea salt is the invisible ingredient that balances the richness of the coconut fat, making the flavor profile more complex and less cloying.
The Culinary Toolkit: Gear for the Fluffiest Results
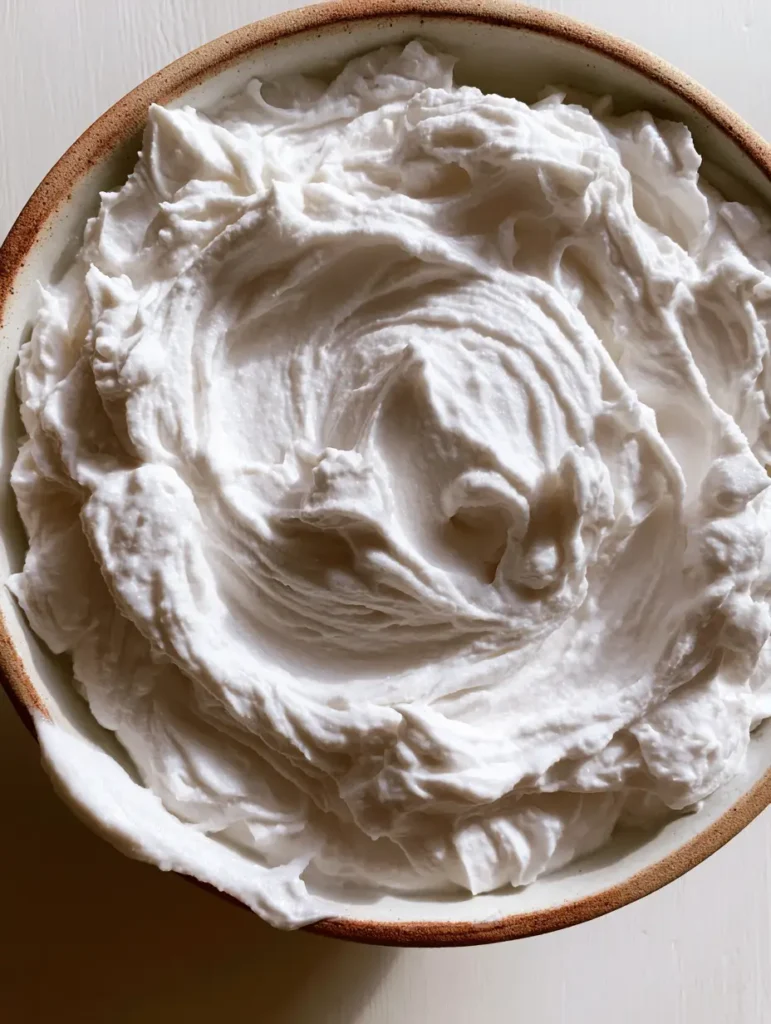
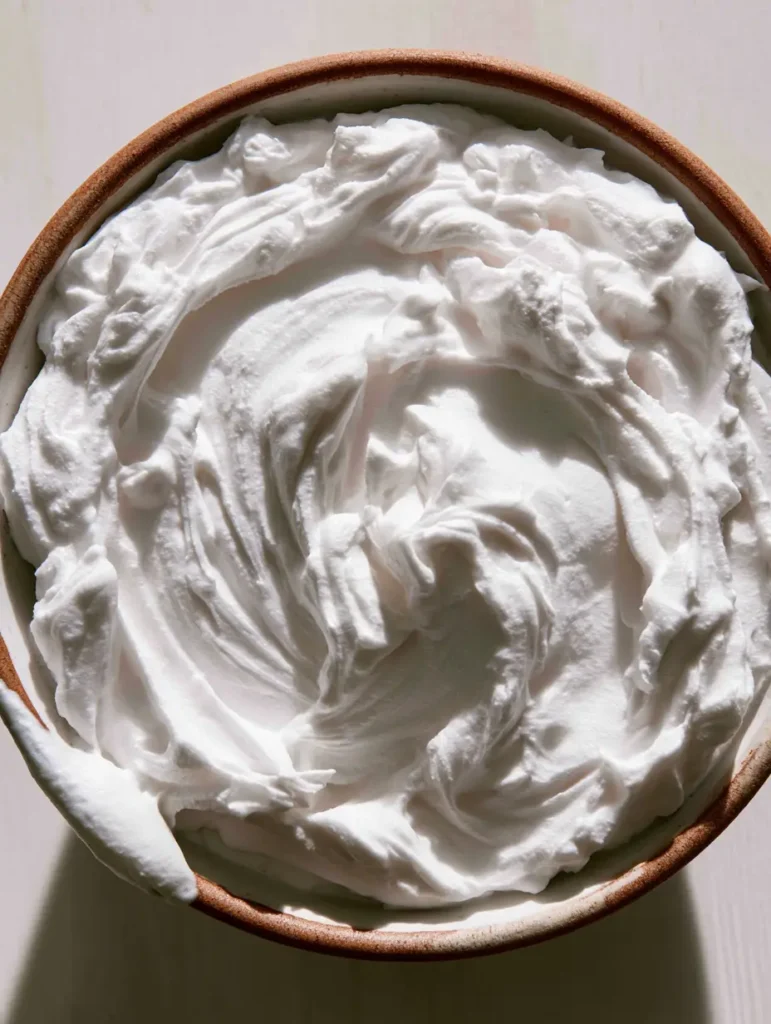
To achieve the whisk swirls and stiff peaks seen in our visual blueprint, you cannot rely on hand-whisking alone. A high-powered stand mixer or a robust hand mixer with a balloon whisk attachment is essential. The high-speed aeration is what introduces the microscopic air bubbles required for that light, fluffy, yet stable volume.
A rustic ceramic bowl is more than just a stylistic choice for a handheld smartphone photo; it provides excellent thermal mass. If you chill your ceramic bowl in the freezer for 15 minutes before whipping, it helps maintain the Coconut Milk Frosting at the optimal temperature (below 65°F / 18°C), preventing the coconut fat from melting into a liquid state during the friction of whipping.
A Masterclass in Whipping: Step-by-Step Methodology
Step 1: The Pre-Whipped Cold Cure
Success starts 24 hours before you turn on the mixer. Place your cans of full-fat coconut milk in the coldest part of your refrigerator. This extended chilling period allows the coconut fat to separate completely from the coconut water and solidify into a hard, waxy layer. Without this step, your Coconut Milk Frosting will lack the necessary solids to hold air.
Step 2: Extracting the Snow-White Solids
Gently remove the cans from the fridge without shaking them. Flip the can upside down and open it with a can opener; the liquid coconut water will be at the top. Pour the water into a separate container (save it for a smoothie!) and scoop out only the thick, matte white coconut cream solids. You should have approximately 1 cup (240ml) of solid fat per can.
Step 3: Breaking the Surface Tension
Place the cold solids into your chilled ceramic bowl. Start your mixer on low speed to break up the large chunks of fat. You are looking for the texture to move from “clumpy” to “creamy” within the first 60 seconds. As soon as the mixture looks relatively smooth, you have prepared the fat for maximum aeration.
Step 4: Incorporating the Stabilizers
Add your sifted powdered sugar, clear vanilla, and salt. Increase the mixer speed to medium-high. At this stage, you will see the Coconut Milk Frosting begin to expand in volume. Watch for the whisk to start leaving visible tracks in the cream; this is the first sign that you are reaching a professional-grade consistency.
Step 5: Achieving the Stiff Airy Peaks
Turn the mixer to high for the final 2 minutes. The frosting is ready when you can lift the whisk and the cream forms a sharp, stiff peak that does not droop. The finish should be velvety and matte, with visible swirls that look like fresh snow. Do not over-whip, or the heat from the motor may begin to soften the fat.
Expert Tips for Success
- Check the Label: Always avoid “Light” coconut milk; it lacks the fat content required to solidify and whip into a Coconut Milk Frosting.
- Temperature is King: If your kitchen is hot, place your mixing bowl inside a larger bowl filled with ice (an ice bath) while whipping to ensure the fat stays firm.
- The Sift Factor: Never skip sifting your powdered sugar. Even the smallest lump will ruin the smooth white coconut fat aesthetic and clog your piping tips.
- Stability Secret: If you need the frosting to stay stable in warm weather, whisk in 1/4 tsp of cream of tartar during Step 4.
Preserving the Velvet: Storage and Handling
Because Coconut Milk Frosting is primarily composed of plant-based fats, it is highly sensitive to temperature. It should be used immediately for the best visual impact, but it can be stored in an airtight container in the refrigerator for up to 5 days. If the frosting hardens too much in the fridge, let it sit at room temperature for 10 minutes and give it a quick 30-second re-whip to restore its airy texture.
We do not recommend freezing this frosting once it has been whipped. The freezing and thawing process can cause the air bubbles to collapse and the water to separate from the fat, resulting in a grainy texture that lacks the matte, velvety finish we worked so hard to achieve.
Perfect Pairings: What to Serve with This Whipped Delight
This versatile Coconut Milk Frosting is the perfect companion for a wide array of treats. Its clean, tropical finish makes it a natural match for a warm peach cobbler with oatmeal crumble, where the cold cream melts slowly into the bubbling fruit. It also adds a sophisticated layer of richness when dolloped onto a Hawaiian cheesecake salad.
For a refreshing summer afternoon, try serving a bowl of fresh berries topped with this frosting alongside a chilled unicorn lemonade. If you’re hosting a tropical-themed dinner featuring Hawaiian teriyaki chicken, this frosting can be used to fill a light sponge cake for the perfect thematic conclusion to the meal.
Frequently Asked Questions About Vegan Frosting
No, carton coconut milk is mostly water and lacks the high fat content necessary to solidify and whip into a thick frosting.
It has a mild coconut flavor, but adding extra vanilla or a bit of almond extract can help neutralize the coconut notes if desired.
Adding a small amount of sifted cornstarch or cream of tartar helps stabilize the fat molecules and prevents the frosting from melting too quickly.
Yes, if you replace the powdered sugar with a powdered keto sweetener like erythritol, this frosting is naturally low-carb and high-fat.
This usually happens if the milk contains emulsifiers like guar gum or if it wasn’t chilled long enough. Ensure you use full-fat canned milk and refrigerate for a full 24 hours.
The Ultimate Coconut Milk Frosting Recipe
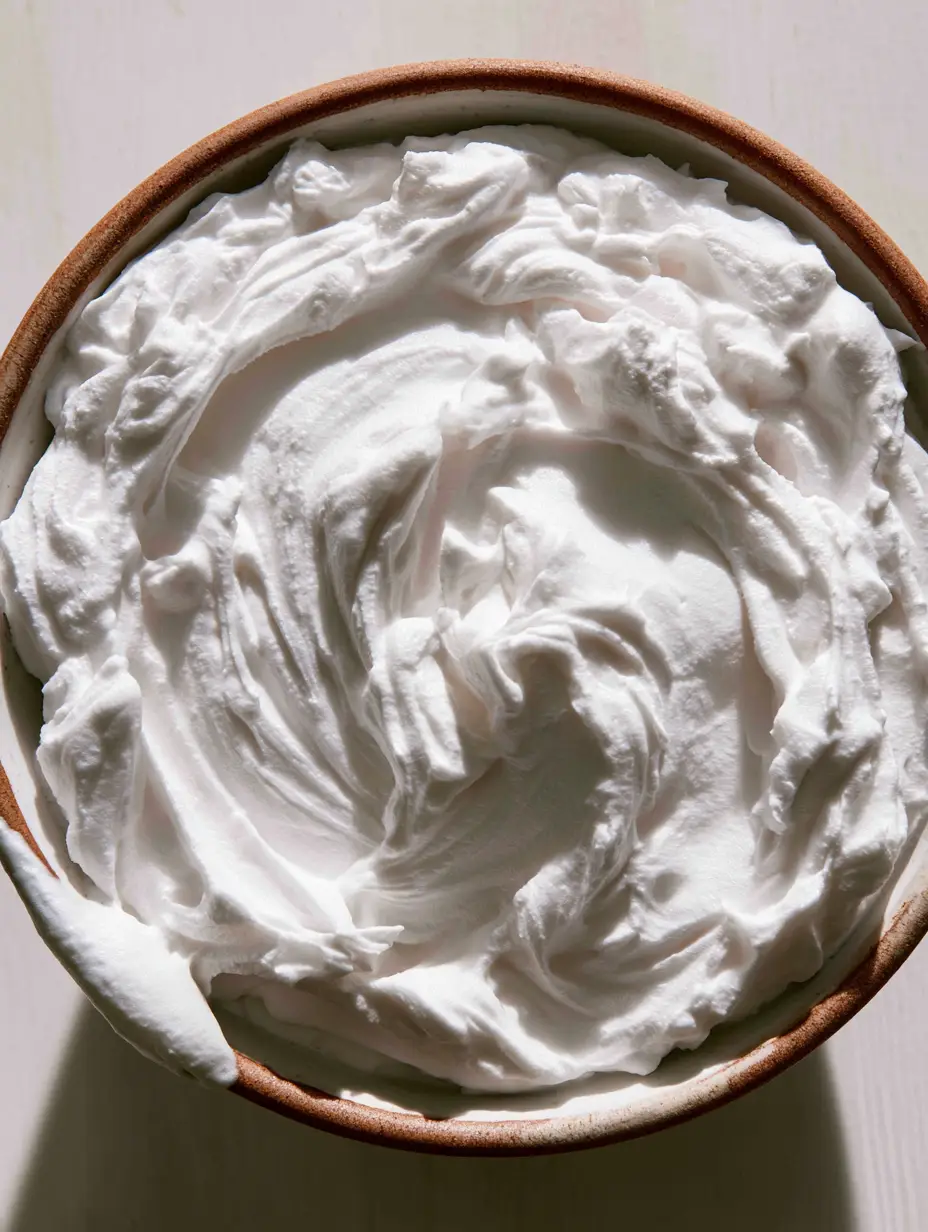
Coconut Milk Frosting: The Ultimate Guide to Stiff, Velvety Peaks
Ingredients
Equipment
Instructions
- Refrigerate the cans of coconut milk for at least 24 hours to ensure the fat solids separate from the water.
- Open the chilled cans and scoop out the thick, snow-white coconut fat into a cold ceramic bowl. Discard or save the liquid water.
- Beat the coconut solids on low speed until smooth and creamy, removing any large lumps.
- Add sifted powdered sugar, vanilla, and salt. Increase speed to medium-high.
- Whip on high for 1-2 minutes until stiff, airy peaks form and the texture is velvety and matte.
Notes
Use clear vanilla to maintain the snow-white color.
Closing & Call to Action
Mastering the art of Coconut Milk Frosting is a game-changer for any home baker. It proves that you don’t need dairy to create a luxurious, stable, and visually stunning dessert topping. The key lies in the chill, the quality of the coconut cream, and the patience to whip it to perfection. Whether you’re a vegan veteran or just curious about plant-based baking, this recipe is a must-try for your culinary arsenal.
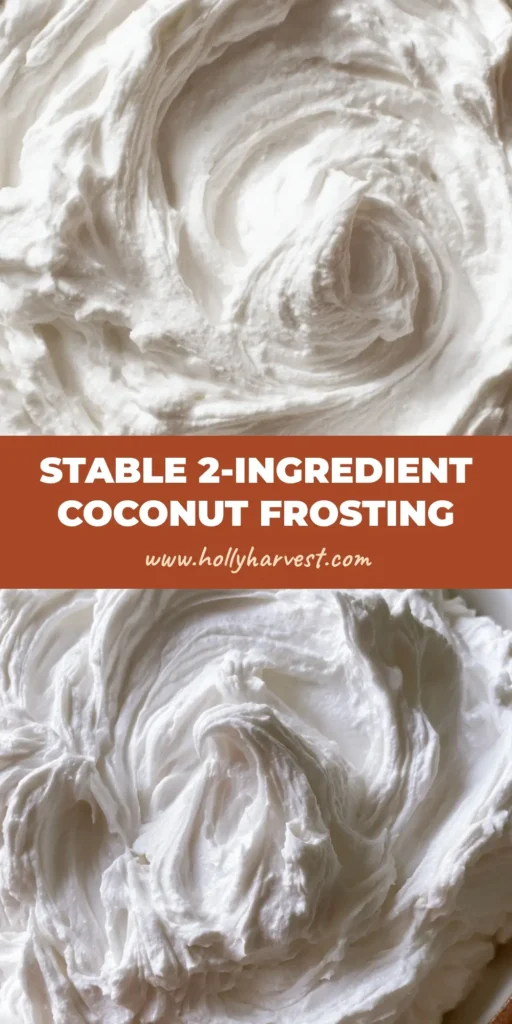
Did you manage to achieve those perfect stiff peaks? We’d love to see your creations! Leave a comment below and tell us how you used your frosting. Don’t forget to follow us on Pinterest for more visually-driven recipe inspiration and save this pin to your favorite baking boards!