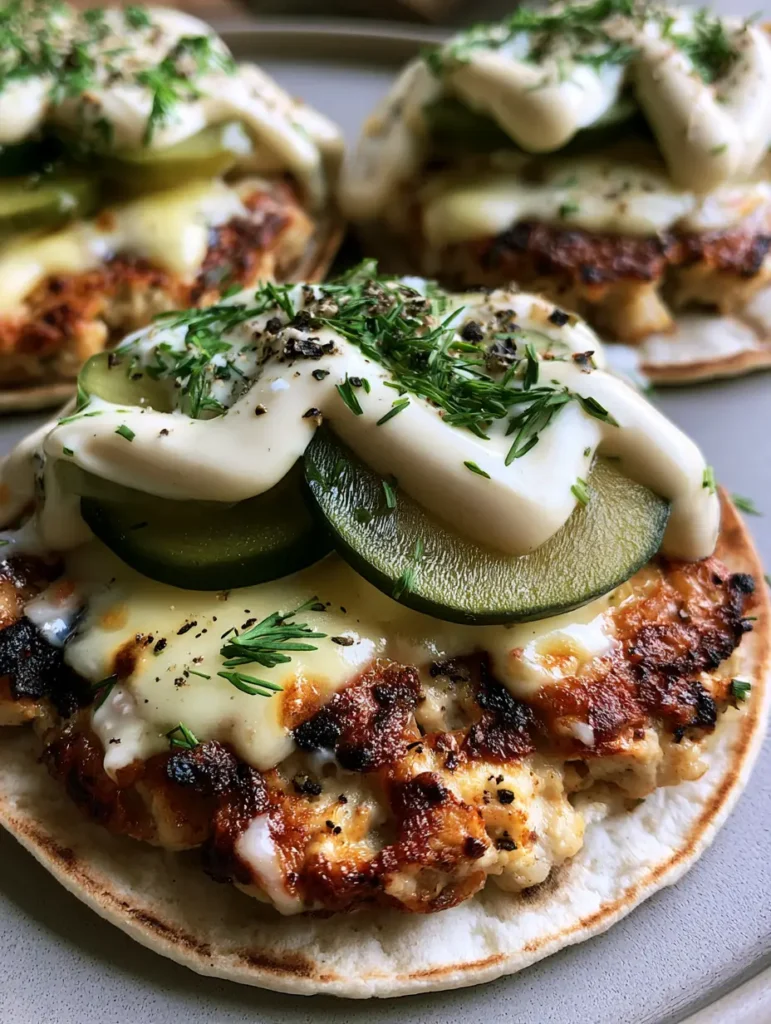
If you are searching for the ultimate fusion of tangy, salty, and savory, look no further than these Dill Pickle Ranch Smash Chicken Tacos. This recipe takes the viral “smash” technique and applies it to lean ground chicken, resulting in incredibly crispy charred edges that contrast perfectly with a soft, toasted tortilla. It is a handheld masterpiece that brings the bold flavors of a classic dill pickle ranch dip into a satisfying, high-protein meal.
What makes these Dill Pickle Ranch Smash Chicken Tacos truly stand out is the texture. We aren’t just making a standard taco; we are utilizing high-heat searing to create a thin chicken patty that locks in juices while developing a deep golden-brown crust. When topped with melted white cheddar and cold, crunchy pickles, every bite offers a sensory explosion that is hard to beat.
Whether you are a seasoned home cook or just looking for a fun new weeknight dinner, this recipe delivers professional-level results with minimal effort. The combination of creamy ranch, fresh dill, and coarse cracked black pepper provides a gourmet finish that looks as good as it tastes. Let’s dive into the culinary science and techniques required to master the perfect chicken smash.
Why These Zesty Smash Tacos Are a Weeknight Game Changer
- Unbeatable Texture: The “smash” method creates thin, crispy charred edges on the ground chicken that you simply cannot achieve with standard browning.
- The Perfect Flavor Balance: Sharp melted white cheddar balances the acidity of the dill pickles and the herbal creaminess of the ranch dressing.
- Rapid Cook Time: Because the chicken patties are smashed so thin, they cook in under three minutes per side, making this an ideal 30-minute meal.
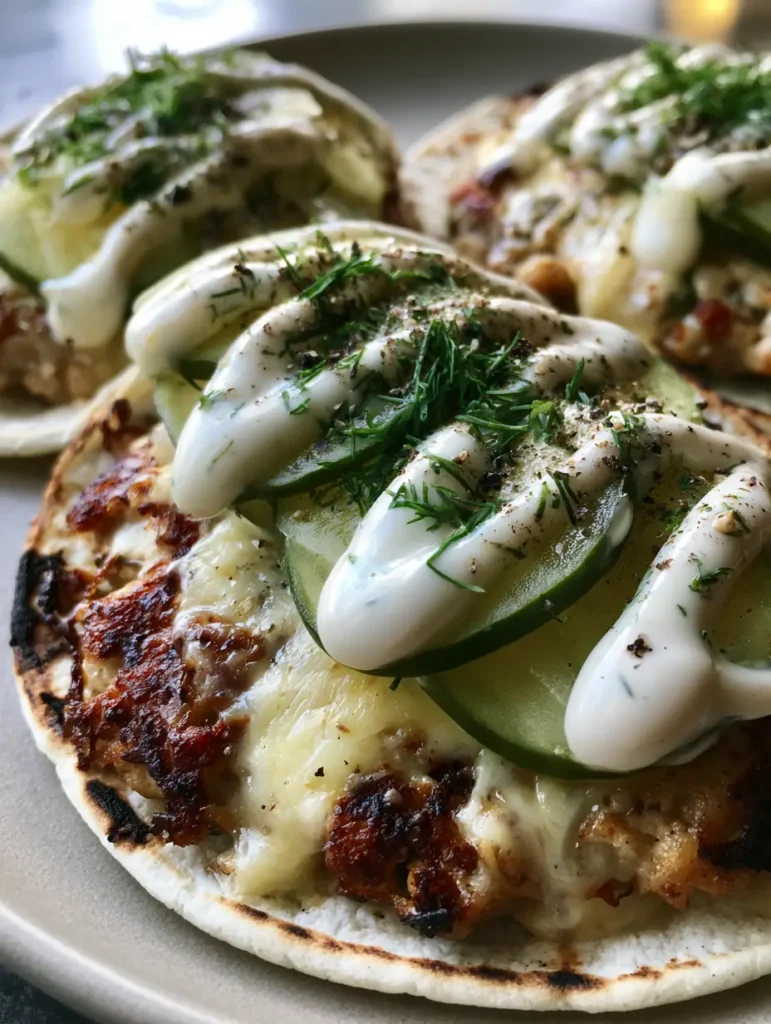
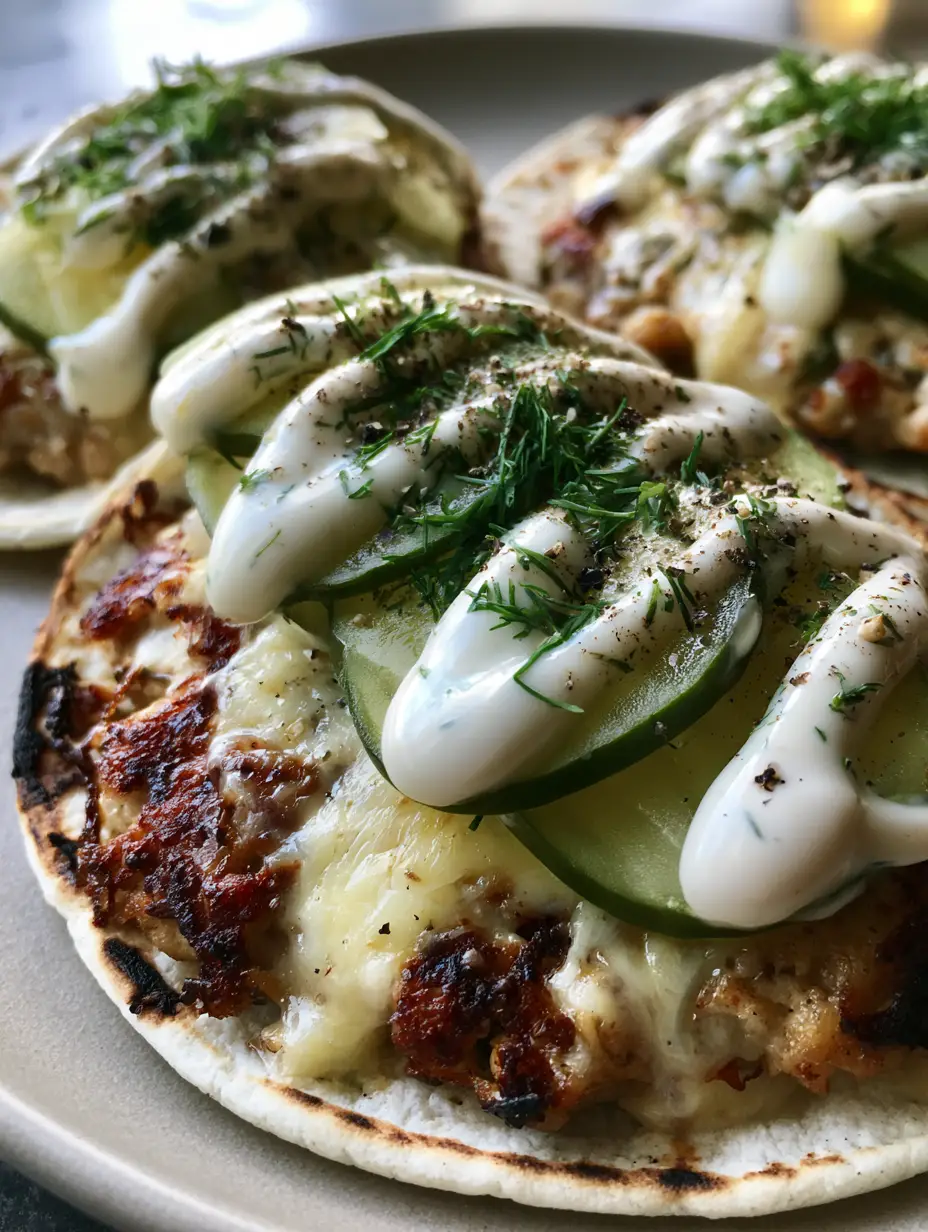
- Visually Stunning Garnish: The contrast of the green dill and the coarse cracked black pepper against the white ranch drizzle makes these tacos Pinterest-ready.
Essential Elements for the Perfect Smash Taco
To achieve the specific visual and flavor profile of these Dill Pickle Ranch Smash Chicken Tacos, selecting the right ingredients is paramount. Ground chicken behaves differently than beef, so we must treat it with specific culinary care to ensure it remains moist while achieving that signature sear.
Ground Chicken (1 lb / 450g): Choose a blend that isn’t too lean (90/10 is ideal). This provides enough fat to facilitate the Maillard reaction, giving us those desired crispy charred edges without the meat drying out.
Small Flour Tortillas (8 count): Flour tortillas are more pliable than corn for this method. They toast beautifully against the chicken fat, creating a cohesive handheld experience.
White Cheddar Cheese (8 slices / 200g): We use white cheddar for its sharp flavor profile and its ability to melt into a smooth, opaque layer that contrasts visually with the green pickles. If you enjoy this flavor profile, you might also love our White Cheddar Spinach Chicken Burgers.
Dill Pickle Slices: Thin, round green dill pickle slices provide the essential “crunch” and vinegary pop. Use a high-quality refrigerated brand for the best texture.
Creamy White Ranch Dressing (1/2 cup / 120ml): This acts as our primary sauce. A thick, opaque dressing is necessary to achieve the zigzag pattern seen in the visual blueprint.
Fresh Dill: Never substitute dried dill here. Finely chopped fresh dill adds a vibrant green color and a floral aroma that elevates the entire dish.
Coarse Cracked Black Pepper: This isn’t just for seasoning; it provides a visual grit and a sharp heat that cuts through the creaminess of the ranch.
Neutral Oil (2 tbsp / 30ml): Use avocado or grapeseed oil. These have high smoke points, allowing you to get the skillet screaming hot for that perfect smash.
Tools Required for Culinary Success
Achieving the professional aesthetic of these tacos requires a few specific kitchen tools. The “smash” isn’t just a name—it’s a physical technique that requires leverage.
A heavy cast-iron skillet or a flat-top griddle is your best friend here. These surfaces hold heat exceptionally well, which is vital for searing chicken quickly. You will also need a sturdy metal spatula or a dedicated burger press. To get those thin patties, you need to apply significant pressure immediately after the chicken hits the heat.
Lastly, ensure you have a small squeeze bottle for the ranch dressing. This allows you to create that professional zigzag drizzle rather than just dolloping the sauce on top, ensuring even distribution of flavor in every bite.
Step-by-Step: Mastering the Smash Technique
Preparing the Chicken Base
In a medium mixing bowl, gently combine your ground chicken with 1 tsp (5g) of kosher salt and 1/2 tsp (2g) of garlic powder. Do not overwork the meat, as this can lead to a rubbery texture; simply mix until the seasoning is distributed. Divide the meat into 8 equal-sized balls, roughly the size of a golf ball.
The Art of the High-Heat Smash
Heat your cast-iron skillet over medium-high heat until you see faint wisps of smoke. Add a small amount of oil. Place a chicken ball in the center and immediately place a flour tortilla directly on top of the meat. Using your heavy spatula, press down firmly on the tortilla, smashing the chicken ball into a very thin, flat patty that covers most of the tortilla’s surface.
Developing the Crispy Charred Edges
Cook the chicken through the tortilla for about 2 minutes. You will hear a vigorous sizzling sound—this is the sound of moisture evaporating and the crust forming. Use your spatula to peek underneath; you are looking for visible crispy charred brown edges. Once achieved, flip the entire taco so the tortilla is now on the bottom and the chicken is facing up.
Melting and Assembling
Immediately place a slice of white cheddar on the hot chicken patty. Cover the skillet with a lid for 30 seconds to facilitate a perfect melt. Remove the taco from the heat. The tortilla should be lightly toasted and golden. If you’re looking for more taco inspiration, check out our Brisket Elote Tacos.
The Final Garnish and Presentation
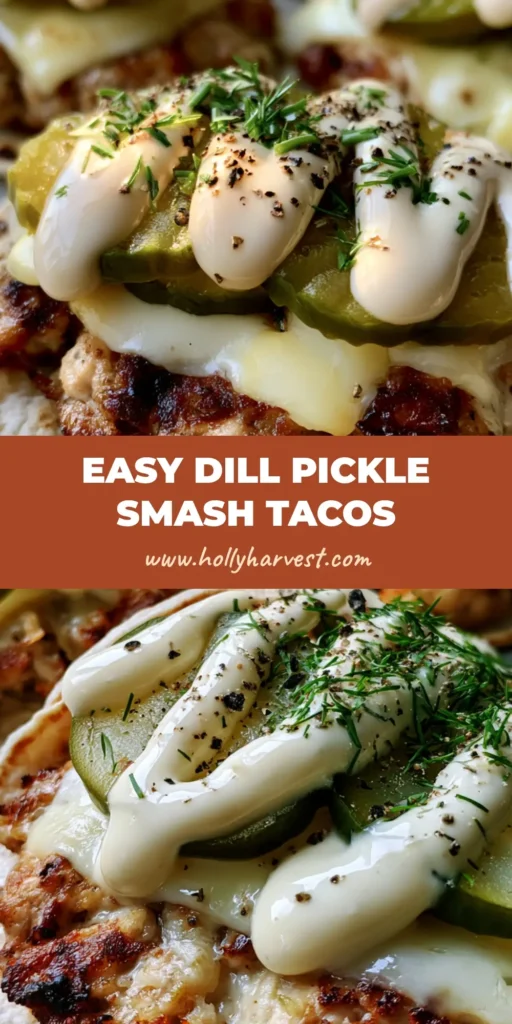
Top the melted cheese with 3-4 thin dill pickle slices. Use your squeeze bottle to drizzle the creamy ranch dressing in a tight zigzag pattern across the tacos. Finish with a generous sprinkle of finely chopped fresh dill and a flourish of coarse cracked black pepper. The result should match the handheld smartphone photo aesthetic: rustic, fresh, and incredibly appetizing.
Expert Tips for Success
- Cold Meat is Key: Keep your ground chicken in the fridge until the moment you are ready to form the balls. Cold fat creates a better sear when it hits a hot pan.
- Don’t Scrimp on Pressure: When smashing, don’t be afraid to use two hands on the spatula. The thinner the patty, the crispier the edges will be.
- Parchment Paper Hack: If you find the meat is sticking to your spatula, place a small square of parchment paper between the spatula and the tortilla while smashing.
- Control the Moisture: Pat your dill pickle slices dry with a paper towel before adding them to the taco. This prevents the ranch from sliding off and keeps the taco from becoming soggy.
What to Pair With Your Smash Tacos
These tacos are quite flavorful and hearty, so they pair best with bright, acidic side dishes. A Mexican Street Corn Salad provides a smoky sweetness that complements the tang of the pickles. Alternatively, if you want to keep things light, a Spicy Pineapple Cucumber Salad offers a refreshing tropical contrast.
For a complete meal experience, consider serving these alongside some Dill Pickle Chicken Skewers if you’re hosting a pickle-themed party. And don’t forget a refreshing beverage like our Unicorn Lemonade to balance the savory notes of the ranch.
Storage, Reheating, and Freezing
Smash tacos are best enjoyed immediately to maintain the crunch of the tortilla and the temperature contrast of the cold pickles. However, if you have leftovers, store the chicken and tortilla component in an airtight container for up to 2 days. Reheat in a dry skillet over medium heat to crisp the tortilla back up.
We do not recommend freezing the fully assembled taco. However, you can freeze the seasoned ground chicken balls for up to 3 months. Thaw them overnight in the refrigerator before smashing and cooking as directed.
Frequently Asked Questions
While you can prep the chicken balls and chop the dill in advance, these tacos are best served fresh from the pan to ensure the tortilla stays crispy and the ranch remains cool.
Yes, ground turkey is an excellent substitute. Ensure you use a blend with at least 10% fat to prevent the patties from becoming too dry during the high-heat searing process.
The secret is high heat and pressure. Use a heavy cast-iron skillet and press down firmly with a metal spatula immediately after placing the tortilla over the chicken ball.
This usually happens if your heat is too high or your chicken patty is too thick. Ensure you smash the chicken very thin so it cooks through in 2-3 minutes, and keep the heat at medium-high rather than maximum.
Standard dill pickle chips (rounds) are best. For the best crunch, use refrigerated pickles rather than shelf-stable ones, as they maintain a firmer texture.
The Ultimate Dill Pickle Ranch Smash Chicken Tacos Recipe
Dill Pickle Ranch Smash Chicken Tacos: The Crispy, Zesty Dinner You Need
Ingredients
Equipment
Instructions
- In a bowl, mix ground chicken with salt and garlic powder. Form into 8 equal balls.
- Heat oil in a skillet over medium-high. Place a chicken ball in the pan, top with a tortilla, and smash flat with a spatula.
- Cook for 2-3 minutes until the chicken edges are crispy and charred. Flip the taco.
- Place a slice of white cheddar on the chicken. Cover briefly to melt, then remove from pan.
- Top with pickle slices, a zigzag of ranch dressing, fresh dill, and cracked black pepper.
Notes
Ensure the skillet is smoking hot before adding the meat.
Try This Viral Favorite Today!
These Dill Pickle Ranch Smash Chicken Tacos represent the pinnacle of modern home cooking—fast, visually stunning, and packed with layers of flavor. By mastering the smash technique and focusing on high-quality garnishes like fresh dill and cracked pepper, you can bring a restaurant-quality experience to your own kitchen. If you enjoyed this recipe, please leave a comment below and share your results on Pinterest!