There is nothing quite like the architectural marvel of a perfectly stacked Chicken Club Sandwich. When you bite through that first layer of butter-toasted sourdough and hit the crunch of a golden-fried chicken tender, you realize this isn’t just a meal; it is a sensory experience. This recipe focuses on the harmony of textures, from the snap of fresh green leaf lettuce to the creamy richness of high-quality mayonnaise.
Visualizing the perfect sandwich is the first step toward creating one. Imagine thick slices of sourdough bread, toasted to a precise golden-brown hue, cradling two succulent breaded chicken tenders. Between them, strips of wavy, glistening fried bacon provide a salty contrast that elevates the entire profile. It is a sandwich that demands attention, held together by a single wooden skewer to maintain its impressive verticality.
Whether you are looking for an elevated lunch or a comforting dinner, this version of the Chicken Club Sandwich delivers on every promise. We are moving beyond the basic deli meat and embracing the soul-satisfying crunch of homemade fried chicken. Let’s dive into the culinary science of building the ultimate club.
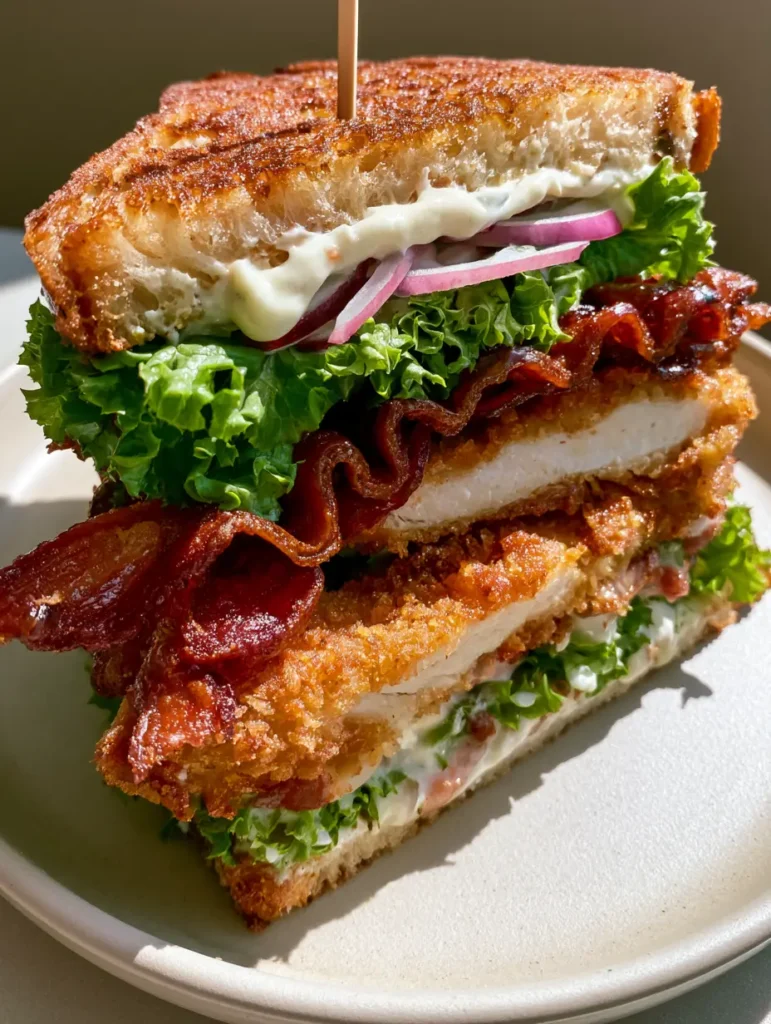
Why This Is the Ultimate Chicken Club Sandwich Experience
- The Sourdough Crunch: Unlike standard white bread, sourdough provides a structural integrity and a subtle tang that stands up to the heavy fillings.
- Double-Dredged Tenders: By using breaded chicken tenders instead of grilled breast, we maximize the surface area for “crunch factor” in every bite.
- Wavy Bacon Texture: We use a specific pan-frying technique to ensure the bacon is wavy and glistening, providing a better mouthfeel than flat, shattered strips.
- Pungent Red Onion: Thinly sliced raw red onion provides a necessary sharp bite to cut through the richness of the fried chicken and mayonnaise.
Foundational Ingredients for the Perfect Stack
Thick-Cut Sourdough Bread: Look for a loaf with a tight crumb structure. This ensures the creamy white mayonnaise doesn’t soak through and make the bread soggy before you take your first bite.
Chicken Tenders: Use fresh, non-frozen tenders. They are the perfect size for layering and cook much faster and more evenly than a whole chicken breast, ensuring they stay juicy inside.
Bacon Strips: Opt for thick-cut hardwood smoked bacon. The higher fat content allows it to curl into those iconic wavy shapes when fried over medium-low heat.
Green Leaf Lettuce: The ruffled edges of green leaf lettuce provide more “loft” and volume than romaine or iceberg. This creates a visually stunning sandwich that feels lighter on the palate.
Red Onion: Slicing these into paper-thin rings is essential. You want the flavor of the onion to be a background note, not an overwhelming presence that masks the chicken.
Creamy White Mayonnaise: Use a full-fat, high-quality mayonnaise. It acts as the “glue” for the sandwich and provides the moisture needed to balance the toasted sourdough.
Invisible Essentials: You will also need 1 cup (240ml) of neutral frying oil, 1/2 cup (60g) of all-purpose flour, 1 large egg, and 1 cup (60g) of Panko breadcrumbs for the breading. Don’t forget 1 tsp (5g) of kosher salt and 1/2 tsp (2g) of black pepper for seasoning.
Essential Tools for Sandwich Architecture
To achieve the look of a professional bistro, you need a few specific tools. A heavy-bottomed cast iron skillet is the best choice for both frying the chicken and toasting the sourdough evenly. The heat retention of cast iron ensures the chicken tenders develop that deep golden-brown crust without burning.
A sharp serrated knife is non-negotiable. Because this Chicken Club Sandwich is stacked high with varying textures, a standard chef’s knife might crush the bread. A serrated blade saws through the toasted sourdough and crispy chicken cleanly. Finally, 6-inch (15cm) wooden skewers are necessary to keep the layers aligned on your white ceramic plate.
How to Create the Crispiest Chicken Tenders
Step 1: The Standard Breading Procedure
Set up three shallow bowls. In the first, place 1/2 cup (60g) of flour seasoned with salt and pepper. In the second, whisk 1 large egg with a splash of water. In the third, place 1 cup (60g) of Panko breadcrumbs.
Dredge each chicken tender in the flour, shaking off the excess. Dip into the egg wash, then press firmly into the breadcrumbs. Ensure every nook and cranny is covered; this is the secret to the “golden-fried” look in our visual blueprint.
Step 2: Frying for Golden-Brown Perfection
Heat 1 cup (240ml) of neutral oil in your skillet over medium-high heat. Once the oil reaches 350°F (175°C), carefully add the chicken tenders. Fry for 3-4 minutes per side.
Listen for a vigorous sizzle that tapers off slightly as the moisture evaporates. You are looking for a deep, uniform golden-brown color. Remove the tenders and let them rest on a wire rack to maintain their crispiness—placing them on paper towels can cause the bottom to steam and soften.
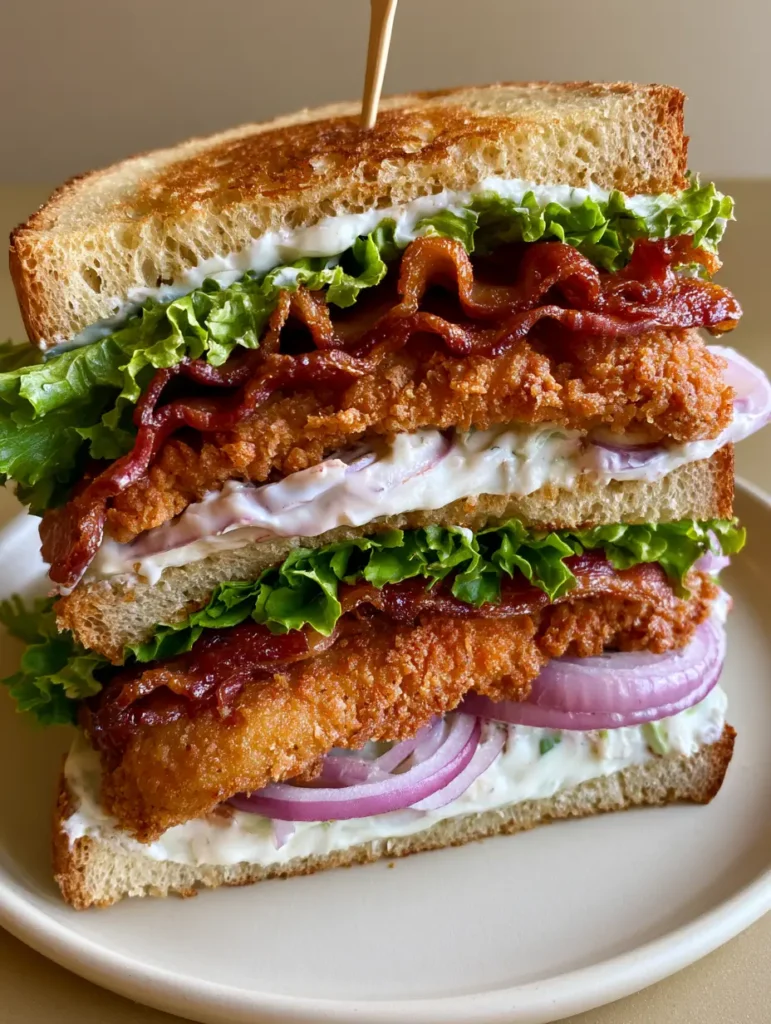
Developing the Wavy Bacon and Toasted Sourdough
Step 3: The Wavy Bacon Technique
Place 4 strips of bacon in a cold skillet. Turn the heat to medium-low. As the fat renders, use tongs to occasionally “scrunch” the bacon toward the center of the pan. This creates the “wavy” visual effect rather than flat strips.
Once the bacon is glistening and crispy but still has a slight chew, remove it from the heat. The waves will “set” as the bacon cools slightly, making it the perfect textural component for our Chicken Club Sandwich.
Step 4: Toasting the Sourdough
Wipe most of the bacon fat out of the skillet, leaving just a thin film. Place two thick slices of sourdough into the pan. Toast for 2 minutes per side until the edges are dark gold and the center is crisp. This fat-toasting method provides more flavor than a standard toaster.
Assembling the Masterpiece
Now comes the construction. Lay your toasted sourdough slices on a flat surface. Spread 2 tbsp (30ml) of creamy white mayonnaise on each slice, reaching all the way to the edges. This prevents the bread from drying out.
On the bottom slice, layer two large ruffled leaves of green leaf lettuce. Place your two crispy fried chicken tenders on top of the lettuce. Follow with 3-4 rings of thinly sliced red onion. Top the onion with your wavy fried bacon strips.
Place the second slice of sourdough on top, mayonnaise side down. Press down gently with the palm of your hand to “set” the layers. Insert a wooden skewer through the center of each half and use your serrated knife to slice the sandwich diagonally.
Expert Tips for Sandwich Success
- Dry the Lettuce: Use a salad spinner or paper towels to ensure the lettuce is bone-dry. Any residual water will make the mayonnaise slide off and the bread soggy.
- Temperature Control: If your oil is too hot, the breading will burn before the chicken is cooked. If it is too cold, the chicken will absorb too much oil and become greasy. Aim for 350°F (175°C).
- The Mayo Barrier: Always spread the mayo edge-to-edge. It creates a fat-based moisture barrier that keeps the toasted bread crunchy even if the chicken is juicy.
- Rest the Chicken: Let the fried tenders rest for at least 2 minutes before assembling. This prevents steam from being trapped inside the sandwich.
Storing and Reheating Your Ingredients
The Chicken Club Sandwich is best enjoyed immediately while the bread is warm and the chicken is at its peak crispiness. However, if you have leftovers, store the components separately. Keep the fried chicken in an airtight container in the fridge for up to 2 days.
To reheat the chicken and maintain the crunch, use an air fryer at 350°F (175°C) for 3-5 minutes. Avoid the microwave, as it will make the breading rubbery. Re-toast the sourdough fresh when you are ready to eat. We don’t recommend freezing the assembled sandwich due to the fresh lettuce and onion.
What to Pair with Your Chicken Club
A sandwich this substantial needs a side that offers a different flavor profile. A vinegar-based coleslaw or a side of truffle fries works beautifully. If you’re looking for other unique poultry inspirations, you might enjoy our French toast fried chicken sandwich for a sweet and savory twist.
For those who prefer a lighter dinner after a heavy lunch, consider our chipotle chicken bowl or a vibrant pepperoncini chicken recipe. If you have extra chicken tenders, they also work perfectly sliced up inside a chicken torta.
Frequently Asked Questions
Yes, but you will lose the specific ‘crunch’ texture that defines this club sandwich version. If grilling, ensure you season the breast heavily.
Start with cold bacon in a cold pan and use tongs to ‘scrunch’ the strips as the fat renders. This prevents them from laying flat.
Spread the mayonnaise from edge to edge to create a moisture barrier and ensure your lettuce is completely dry before adding it to the stack.
Thick-cut sourdough is the best choice because its sturdy crust can hold heavy ingredients like fried chicken without falling apart.
A skewer is essential for high-stacked sandwiches to prevent the layers from sliding out while you slice or eat it.
The Perfect Chicken Club Sandwich Recipe
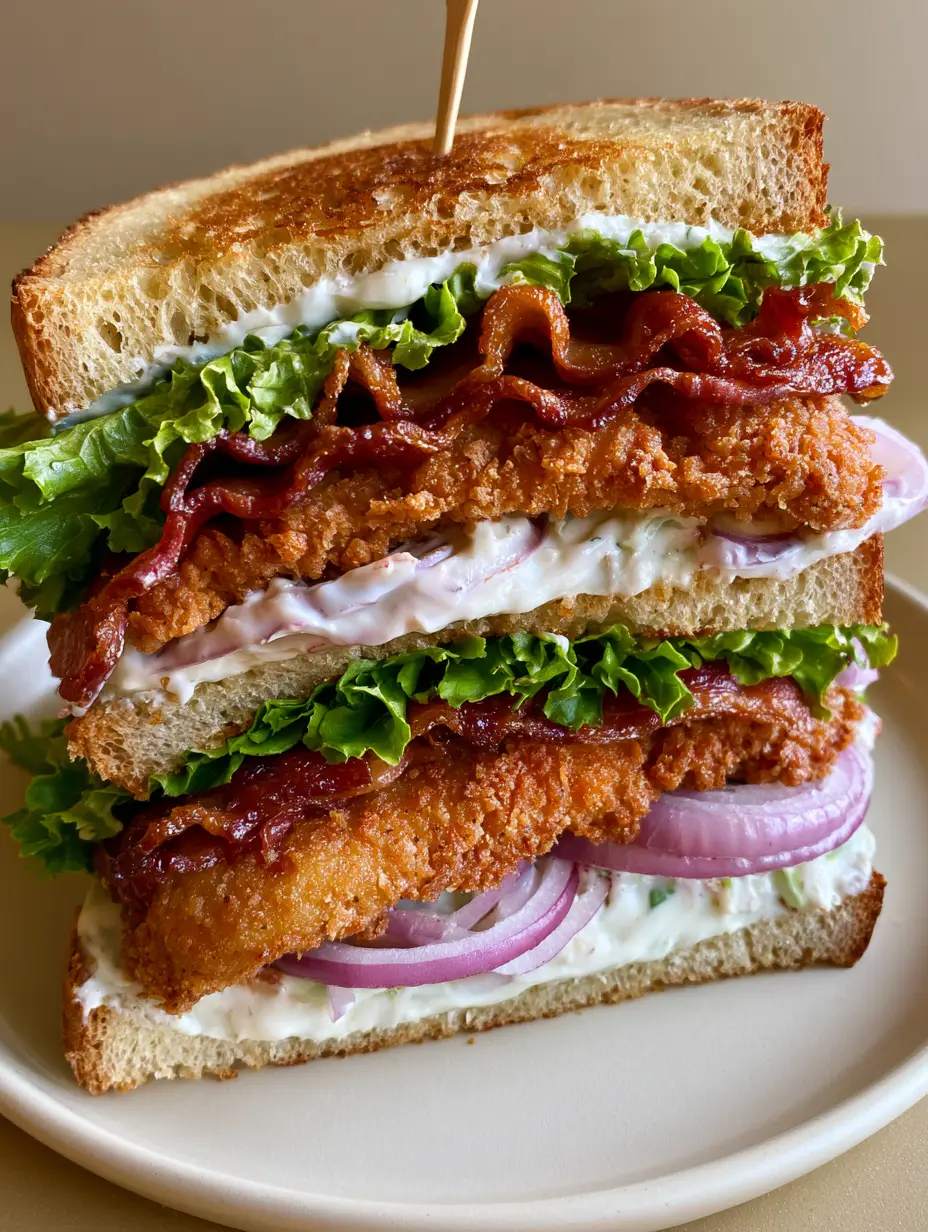
Chicken Club Sandwich with Crispy Fried Tenders and Wavy Bacon
Ingredients
Equipment
Instructions
- Coat chicken tenders in seasoned flour, dip in beaten egg, then press into Panko breadcrumbs until fully coated.
- Fry in 350°F (175°C) oil for 3-4 minutes per side until a deep golden-brown crust forms.
- Fry bacon over medium-low heat, scrunched with tongs to create wavy shapes.
- Toast sourdough slices in the skillet with a touch of bacon fat until edges are golden-brown.
- Spread mayo on both slices. Layer lettuce, chicken, onion, and bacon. Top with second slice.
- Secure with a wooden skewer, slice diagonally, and serve on a white ceramic plate.
Notes
Ensure the lettuce is completely dry to prevent a soggy sandwich.
Join the Harvest Community
Making a restaurant-quality Chicken Club Sandwich at home is a skill every home cook should master. The combination of toasted sourdough and crispy fried chicken is truly unbeatable. If you enjoyed this recipe, please leave a comment below and let us know how your “wavy bacon” turned out!
Don’t forget to follow us on Pinterest for more culinary inspiration. Pin the image below to your “Lunch Ideas” board so you never lose this recipe!