Fried Gnocchi is the ultimate weeknight revelation, transforming humble potato dumplings into a restaurant-quality masterpiece with just a cast iron skillet and a bit of culinary finesse. Imagine a dish where every single bite offers a dual-texture experience: a deeply seared, golden-brown crust that shatters under the fork, giving way to a center that remains impossibly light and pillowy.
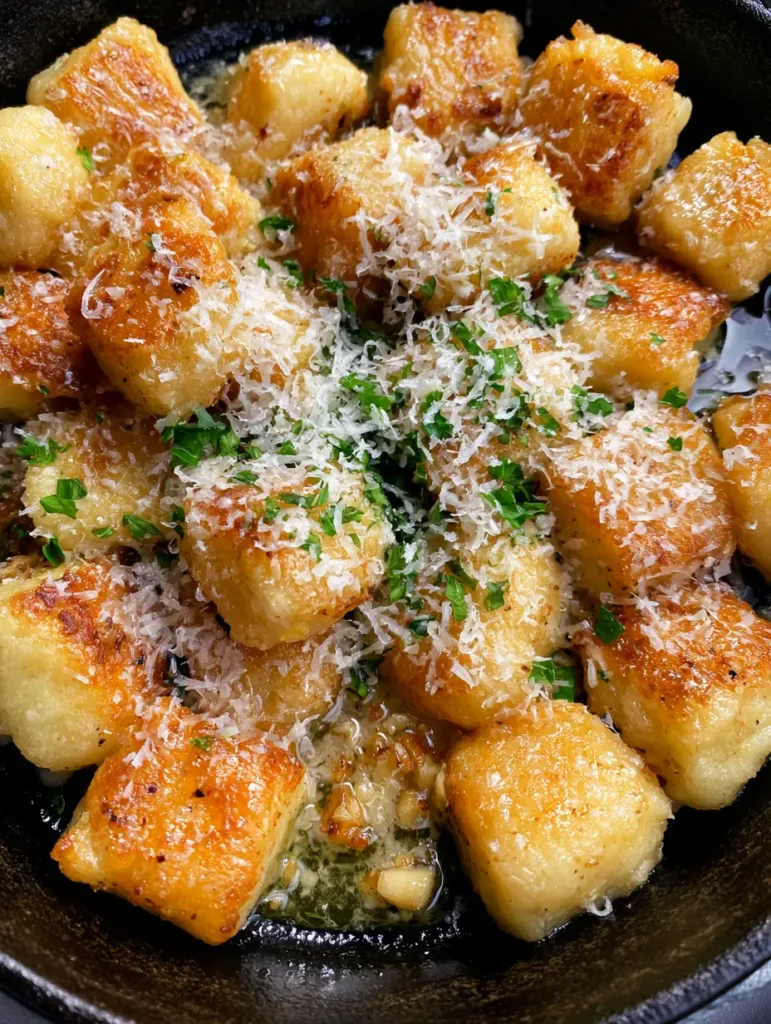
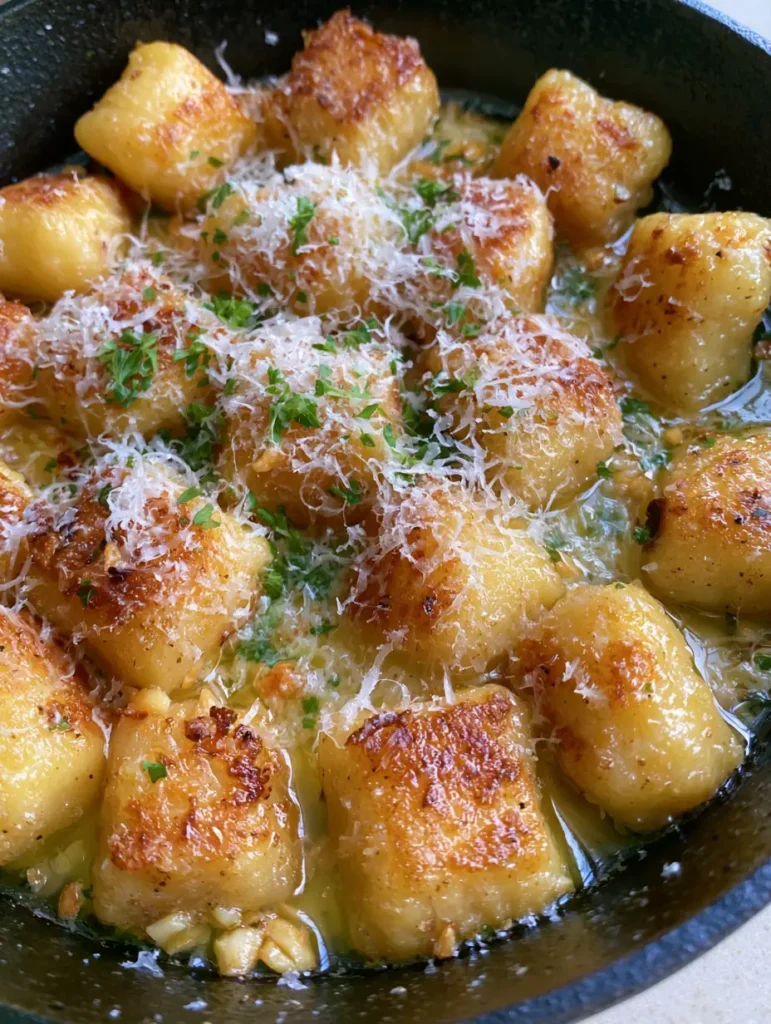
This isn’t your average boiled pasta dish; it is a celebration of the Maillard reaction, where the starches in the potato gnocchi caramelize in a pool of foaming garlic butter. By using a heavy-bottomed skillet, we achieve that rustic, handheld smartphone photo aesthetic—glistening butter, toasted garlic bits, and a heavy snowfall of finely shredded parmesan that melts into the crevices of each dumpling.
Whether you are looking for a quick lunch or a decadent side for garlic butter steak bites (coming soon), this method of pan-frying gnocchi ensures a result that is visually stunning and structurally sound. Let’s dive into the science of the perfect sear and the aromatics that make this dish a viral-worthy sensation.
The Irresistible Allure of Pan-Seared Potato Dumplings
- Shatter-Crisp Texture: Unlike boiled gnocchi which can be gummy, these are pan-fried to achieve a visible, deep golden-brown crust that stays crunchy even under a blanket of cheese.
- Aromatic Garlic Infusion: We don’t just use garlic; we toast minced cloves until they become golden “chips” that provide a savory crunch in every mouthful.
- One-Pan Simplicity: From start to finish, the entire process happens in a single cast iron skillet, making cleanup a breeze while maximizing flavor development.
- Visually Stunning Presentation: The contrast between the bright green fresh parsley, the white parmesan, and the dark seared gnocchi creates a professional, high-contrast look perfect for your next dinner party.
Pantry Staples for the Ultimate Fried Gnocchi
Potato Gnocchi: You’ll need 1 lb (450g) of high-quality potato gnocchi. Whether you use shelf-stable, refrigerated, or homemade sourdough gnocchi, ensure they are at room temperature for the most even searing.
Unsalted Butter: Use 4 tbsp (56g) of high-fat European-style butter. Butter provides the flavor and the milk solids that help create those toasted “bits” in the pan sauce.
Neutral Oil: 1 tbsp (15ml) of avocado or light olive oil is essential. The oil raises the smoke point of the butter, allowing you to get a hard sear on the gnocchi without burning the fats.
Fresh Garlic: 4 cloves (approx. 20g) of garlic, finely minced. Freshly minced garlic is vital here as pre-minced jarred versions lack the natural sugars needed to toast properly.
Finely Shredded Parmesan: 1/2 cup (45g) of real Parmigiano-Reggiano. Shred it finely using a microplane so it clings to the hot, buttered surface of the gnocchi immediately upon contact.
Fresh Parsley: 1/4 cup (10g) of flat-leaf Italian parsley, finely chopped. This adds a necessary herbal brightness that cuts through the richness of the butter and cheese.
Sea Salt and Black Pepper: Use fine sea salt (to taste) and freshly cracked black pepper. These foundational seasonings sharpen all the other flavors in the skillet.
Essential Kitchen Tools for a Professional Sear
To achieve the visual result described in our blueprint—specifically that “rustic black cast iron skillet” look—the choice of cookware is paramount. A 12-inch (30cm) cast iron skillet is the gold standard because its heat retention is unmatched, ensuring the temperature doesn’t drop when the cold gnocchi hits the pan.
You will also need a wide metal spatula. A thin, flexible metal spatula allows you to get underneath the gnocchi to flip them without tearing the delicate, crispy crust we are working so hard to build. Finally, a microplane or fine grater is required to achieve that “heavy dusting” of cheese that looks like fresh snow.
How to Master the Art of the Pan-Fry
Achieving the Perfect Golden Crust
Place your cast iron skillet over medium-high heat and add the oil. Once the oil is shimmering and just beginning to wisps of smoke, add the gnocchi in a single, even layer. It is crucial not to crowd the pan; if necessary, work in batches to ensure every dumpling has direct contact with the hot iron.
Resist the urge to move them for at least 3-4 minutes. You are looking for a visual cue: the edges should start to look opaque and a deep golden brown. Use your spatula to peek under one; if it has a hard, seared crust, give the pan a good shake or flip them individually.
Infusing the Garlic Butter Sauce
Once the gnocchi are seared on both sides, reduce the heat to medium and add the 4 tbsp (56g) of butter. As the butter melts and begins to foam, add the minced garlic. This is where the sensory experience peaks—you should hear a gentle sizzle and smell the immediate aroma of toasted alliums.
Spoon the foaming butter over the gnocchi repeatedly (a technique called ‘basting’). Watch the garlic closely; you want it to turn a pale golden brown. If it gets too dark, it will become bitter. The gnocchi should now be glistening and coated in a “butter lacquer.”
The Final Flourish: Cheese and Herbs
Remove the skillet from the heat entirely. While the pan is still sizzling, sprinkle the fine sea salt and black pepper over the top. Immediately follow with the heavy dusting of finely shredded parmesan cheese.
The residual heat will partially melt the cheese into the “toasted garlic bits” creating a savory crust. Finish with a generous scatter of bright green fresh parsley. The result should look exactly like a handheld smartphone photo: rustic, vibrant, and incredibly appetizing.
Expert Tips for Success
- Dry the Gnocchi: If your gnocchi feel damp out of the package, pat them dry with a paper towel. Moisture is the enemy of a crispy sear; steam will prevent the crust from forming.
- Don’t Boil First: For this specific recipe, do not boil the gnocchi. Cooking them straight from the package (refrigerated or shelf-stable) results in a much better “pillowy” interior and a crunchier exterior.
- Heat Management: If the butter starts to smoke excessively, remove the pan from the heat for 30 seconds. Cast iron holds a lot of energy, so you can often finish the garlic and cheese off-burner.
- The “Flip” Test: Only flip when the gnocchi release easily from the pan. If they stick, the crust hasn’t fully formed yet.
Storing and Reheating Your Fried Gnocchi
Fried gnocchi is best enjoyed immediately while the crust is at its peak crispness. However, if you have leftovers, store them in an airtight container in the refrigerator for up to 3 days. The cheese will solidify, but the flavors will remain intact.
To reheat, avoid the microwave, which will turn them gummy. Instead, toss them back into a hot, dry skillet over medium heat for 4-5 minutes. This will revive the sear and melt the parmesan back into a delicious sauce. You can also use an air fryer at 350°F (175°C) for 3 minutes for a quick refresh.
What to Serve With This Dish
This Fried Gnocchi is hearty enough to stand alone as a vegetarian main, but it also pairs beautifully with protein-heavy dishes. Try serving it alongside parmesan crusted baked salmon for a cohesive cheesy theme. The richness of the garlic butter also complements honey garlic shrimp or even a zesty pepperoncini chicken.
If you’re looking for a lighter accompaniment, a simple arugula salad with a hit of ginger dressing provides a sharp acidic contrast to the buttery gnocchi. No matter how you serve it, this dish is guaranteed to be the star of the table.
Frequently Asked Questions
Absolutely. Substitute the butter with a high-quality vegan butter or more olive oil, and use a vegan parmesan alternative or nutritional yeast for the cheesy finish.
Yes, you can fry frozen gnocchi! You don’t need to thaw them, but you may need to add 2-3 extra minutes to the initial searing time to ensure they are heated through to the center.
No, for the best Fried Gnocchi, do not boil them first. Frying them straight from the package (shelf-stable or refrigerated) ensures they develop a crispy exterior without becoming gummy or water-logged.
A cast iron skillet is the best choice because it retains heat extremely well, which is necessary for the high-heat Maillard reaction that creates the crispy, seared crust.
Gnocchi usually stick if the pan isn’t hot enough or if you try to flip them too early. Use a cast iron skillet with a bit of oil and wait until a golden crust forms; they will naturally release from the pan when ready.
The Ultimate Fried Gnocchi Recipe Card
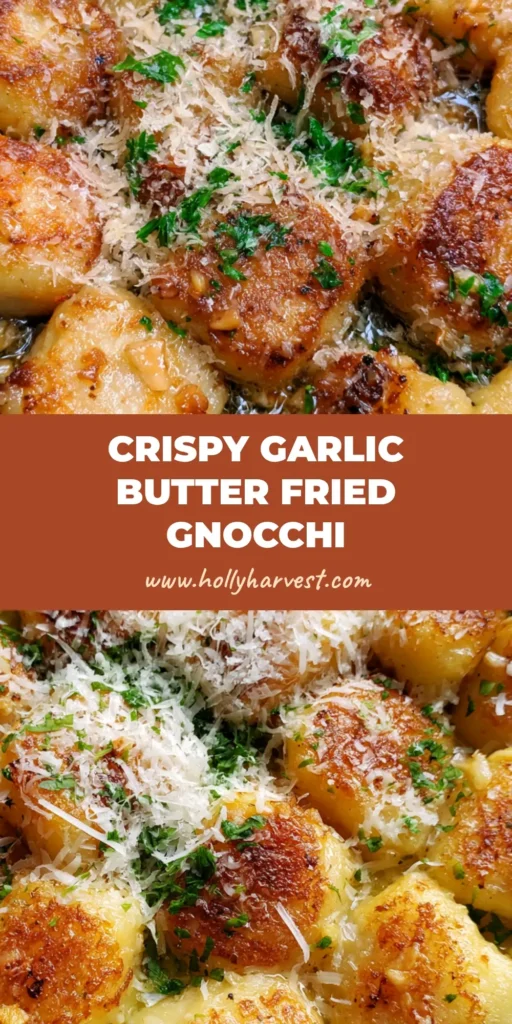
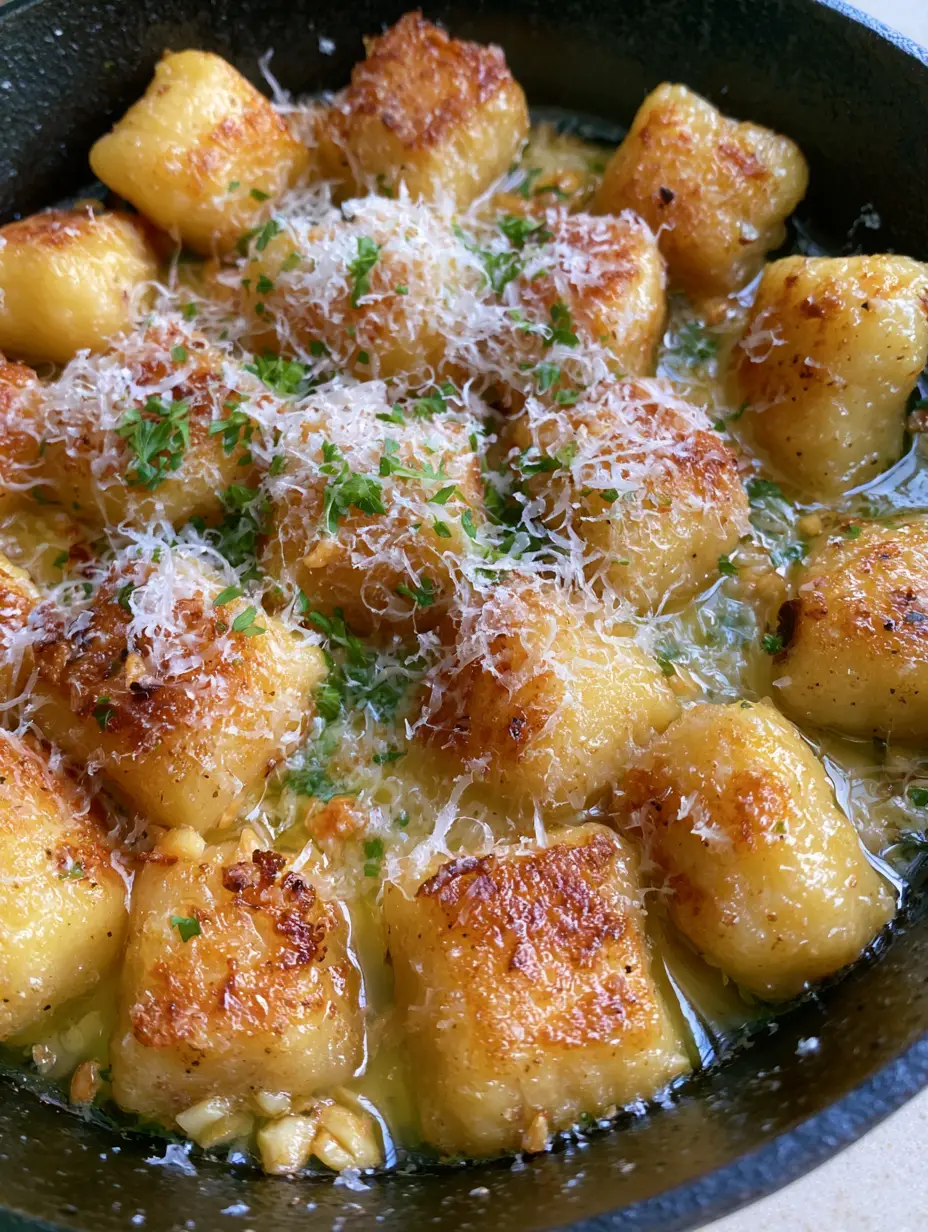
Fried Gnocchi with Crispy Garlic Butter and Shredded Parmesan
Ingredients
Equipment
Instructions
- Heat 1 tbsp (15ml) oil in a 12-inch cast iron skillet over medium-high heat. Add the gnocchi in a single layer and cook undisturbed for 3-4 minutes until a deep golden-brown crispy crust forms. Flip and cook for another 2-3 minutes.
- Lower heat to medium and add 4 tbsp (56g) butter. Once foaming, stir in the minced garlic. Baste the gnocchi with the melting butter for 1-2 minutes until the garlic is toasted and fragrant.
- Remove from heat. Season with salt and pepper. Immediately dust with 1/2 cup (45g) finely shredded parmesan and garnish with chopped parsley. Serve directly from the skillet.
Notes
Use a cast iron skillet for the most consistent crust.
Bring the Bistro Home
Creating professional-grade Fried Gnocchi is about mastering the balance of heat and aromatics. With its crispy, seared edges and garlic-butter finish, this dish proves that you don’t need complex ingredients to create an extraordinary meal. It’s a testament to how texture can elevate a simple potato dumpling into something truly memorable.
If you enjoyed this recipe, please leave a comment below and let us know how your sear turned out! Don’t forget to sign up for our newsletter for more culinary deep-dives and follow us on Pinterest to save this recipe to your “Easy Weeknight Dinners” board.