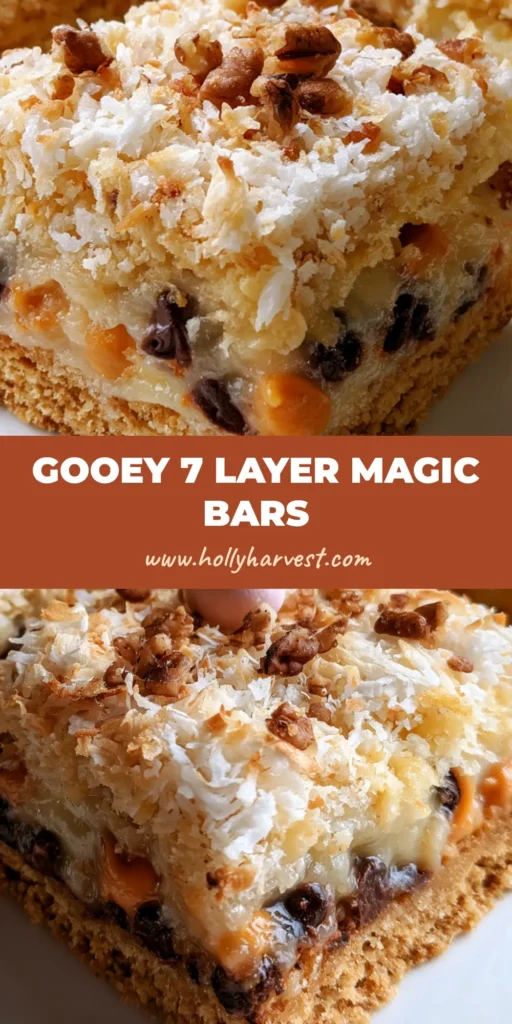
There is a specific kind of culinary sorcery that happens inside a baking pan when you make 7 Layer Bars. This classic American dessert, often called Magic Bars or Hello Dollies, relies on a unique layering technique where ingredients are stacked rather than stirred. The result is a multi-textured masterpiece featuring a buttery crust, molten chocolate, and a toasted coconut crown that looks as incredible as it tastes.
In this version, we are elevating the traditional recipe with a festive twist. By adding pastel candy-coated chocolate eggs and focusing on the forensic details of the “perfect toast,” these bars become the centerpiece of any spring gathering. Whether you are a seasoned baker or a novice, the 7 Layer Bars provide a foolproof way to deliver professional-grade confectionery from your home kitchen.
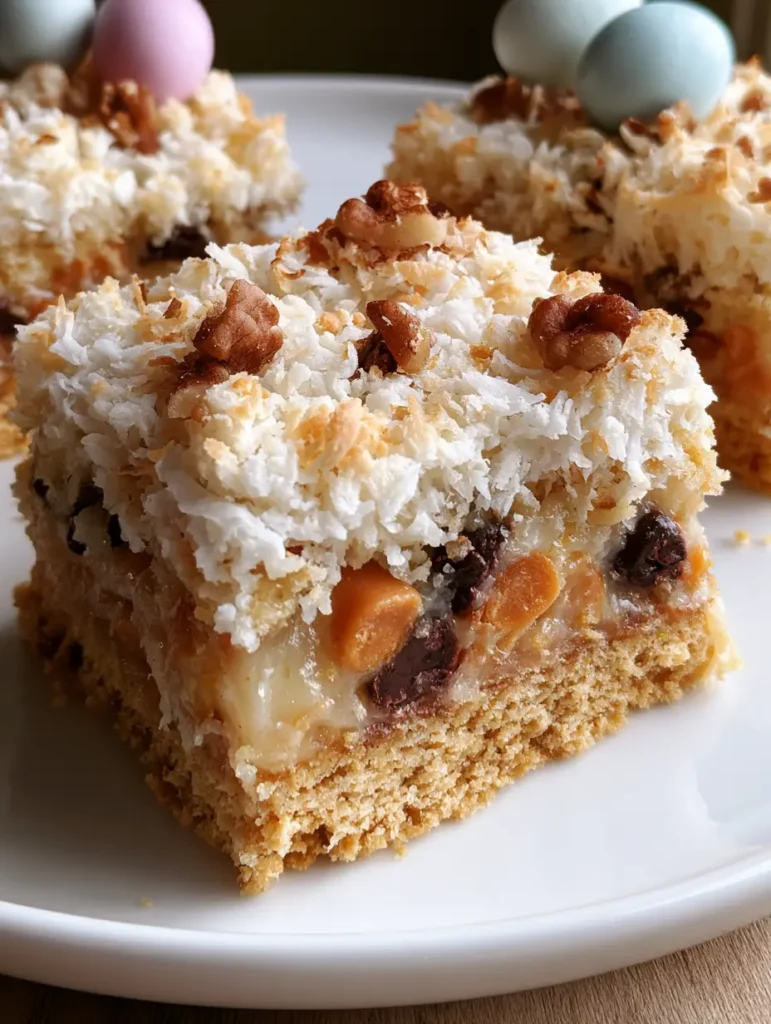
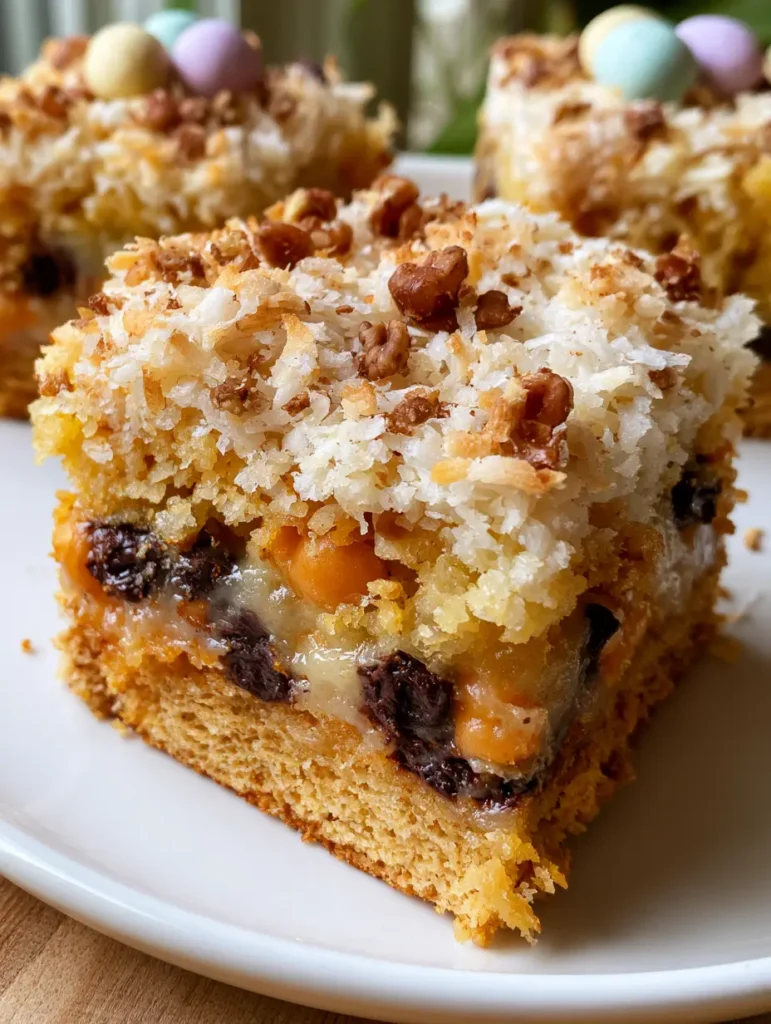
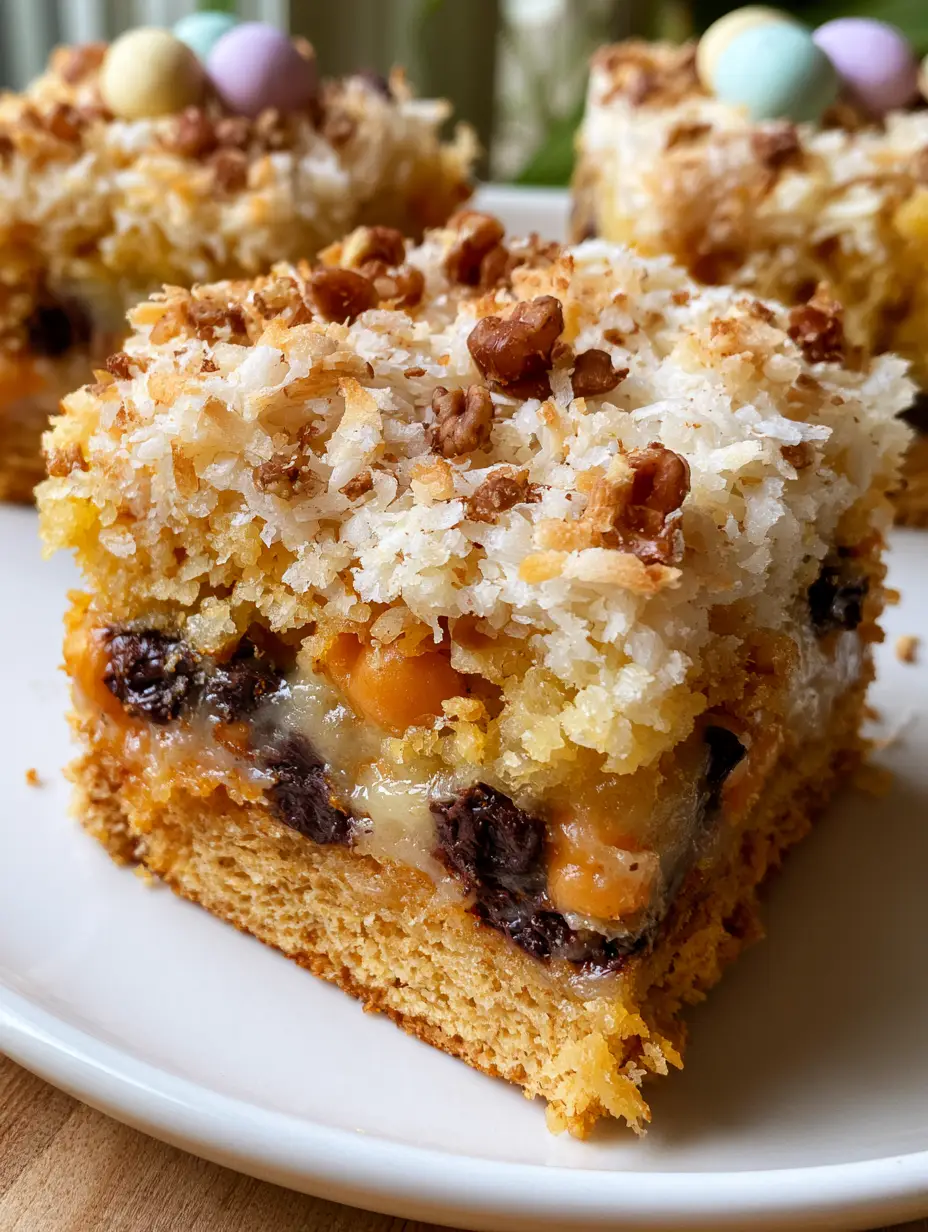
The visual appeal of these bars lies in their distinct, architectural layers. From the golden-brown base to the orange-hued butterscotch chips peeking through toasted coconut, every bite offers a different sensory experience. Let’s dive into the science and soul of these iconic treats.
The Anatomy of the Perfect Dessert Bar
- Structural Integrity: A high-pressure pressed graham cracker crust ensures the bars don’t crumble when sliced.
- The Caramelization Bridge: Sweetened condensed milk acts as both the sweetener and the structural “glue,” turning translucent and gooey as it bakes.
- Textural Contrast: You get the snap of semi-sweet chocolate, the creaminess of butterscotch, and the crunch of toasted walnuts in one mouthful.
- Visual Vibrancy: The addition of pastel chocolate eggs provides a pop of color that contrasts beautifully against the toasted white coconut flakes.
The Essential Building Blocks for Holiday Magic
Graham Cracker Crumbs: 1.5 cups (150g) of finely ground crumbs form the foundation. This layer must be packed tightly to support the heavy toppings that follow.
Unsalted Butter: 6 tbsp (85g) of melted butter binds the crumbs. High-quality butter adds a rich, nutty aroma that complements the toasted coconut perfectly.
Sweetened Condensed Milk: 1 can (14oz / 396g) of this thick, sugary nectar is the secret to the bars’ “magic.” It seeps down through the chips and coconut, creating a chewy, fudge-like middle layer.
Semi-Sweet Chocolate Chips: 1 cup (170g) of dark chips provides the necessary bitterness to balance the intense sweetness of the condensed milk. If you love deep cocoa flavors, consider checking out our triple chocolate mousse domes.
Butterscotch Chips: 1 cup (170g) of these orange-hued gems adds a nostalgic, buttery-brown sugar flavor profile that is essential for the classic 7 Layer Bars taste.
Shredded Coconut: 1.33 cups (100g) of sweetened shredded coconut. This layer is responsible for the visual “shag” on top, turning a beautiful crispy white and golden brown in the oven.
Chopped Walnuts: 1 cup (120g) of earthy brown walnuts. These provide a savory counterpoint to the sugar and a much-needed structural crunch.
Pastel Candy Eggs: 0.5 cup (100g) of candy-coated chocolate eggs. These are added during the final minutes of baking or immediately after to maintain their vibrant Easter colors without cracking.
Sea Salt: A foundational “invisible” ingredient. A pinch (approx. 0.5 tsp) of fine sea salt mixed into the crust enhances every other flavor in the bar.
Professional Tools for Precise Layering
To achieve the “handheld smartphone photo” aesthetic seen in high-end food photography, you need the right tools. A standard 9×13 inch (23x33cm) metal baking pan is preferred over glass for sharper, cleaner edges and more even heat distribution. I highly recommend lining your pan with parchment paper, leaving an inch of overhang on the sides. This “sling” method allows you to lift the entire block of 7 Layer Bars out of the pan for perfect rectangular slicing.
You will also need a flat-bottomed measuring cup or a heavy glass. This is used to press the graham cracker crust into a dense, even layer. If the crust is too loose, the condensed milk will soak through and make the bottom soggy rather than crisp.
Architecting Your 7 Layer Bars: Step-by-Step
Foundation and Compression
Preheat your oven to 350°F (175°C). In a medium bowl, combine your 1.5 cups (150g) of graham cracker crumbs, 6 tbsp (85g) of melted butter, and a pinch of salt. Stir until the mixture resembles wet sand.
Transfer the mixture to your lined baking pan. Use the bottom of a heavy glass to press the crumbs firmly into the bottom. Look for a uniform, golden-brown surface with no loose crumbs visible at the edges.
The Translucent Binding Layer
Pour the 14oz (396g) of sweetened condensed milk evenly over the crust. Do not stir it into the crumbs; let it sit as a thick, translucent flood. This layer will eventually bubble up through the other ingredients, creating that signature gooey texture.
The Chip and Nut Distribution
Sprinkle the 1 cup (170g) of semi-sweet chocolate chips and 1 cup (170g) of butterscotch chips over the milk. Follow this with the 1 cup (120g) of chopped walnuts. Ensure you reach the very corners of the pan so every slice is equally loaded.
The Toasted Coconut Crown
Evenly distribute the 1.33 cups (100g) of shredded coconut over the top. It should look like a heavy coating of white flakes. As this bakes, keep an eye on the oven; you are looking for the tips of the coconut to turn a deep, crispy golden-brown.
The Festive Easter Finish
Bake for 25-30 minutes. Around the 20-minute mark, carefully scatter your pastel candy-coated eggs over the top. Press them slightly into the softening coconut and chocolate. Continue baking until the edges are bubbling and the coconut is perfectly toasted.
Expert Tips for Confectionery Success
- The Cooling Rule: You must let these bars cool completely in the pan—ideally for 4 hours or overnight in the fridge. Cutting them while warm will result in a delicious but unorganized mess.
- Knife Hygiene: For those clean, professional edges, use a sharp chef’s knife and wipe it clean with a warm, damp cloth between every single cut.
- Avoid Over-Browning: If your coconut is browning too fast but the center still looks liquid, tent the pan loosely with aluminum foil for the final 10 minutes.
- Nut Alternatives: If you aren’t a fan of walnuts, pecans make an excellent substitute, offering a more buttery, sweet flavor profile similar to our banana bread cobbler (coming soon).
Mastering Storage and Shelf Life
7 Layer Bars are incredibly resilient. They can be stored in an airtight container at room temperature for up to 5 days, though the coconut is crispest in the first 48 hours. For a firmer, fudgy texture, store them in the refrigerator for up to 2 weeks.
If you want to prep ahead for a party, these bars freeze beautifully. Wrap individual squares in plastic wrap and store them in a freezer bag for up to 3 months. Thaw at room temperature for 30 minutes before serving. This convenience makes them a great companion to other prep-friendly treats like no-bake salted caramel pretzel bars.
What to Serve with These Decadent Bars
Because 7 Layer Bars are intensely sweet and rich, they pair best with beverages or sides that offer a bit of acidity or bitterness. A tall glass of cold milk is the classic choice, but a strong espresso or a dark roast coffee provides a sophisticated contrast to the butterscotch and chocolate.
If you are serving these as part of a larger dessert spread, consider adding something fruit-forward to cleanse the palate, such as our chocolate cherry cake. For a full holiday brunch, these bars act as the perfect sweet finish after savory dishes like French toast fried chicken sandwiches.
Frequently Asked Questions
While coconut is a traditional ‘layer,’ you can substitute it with extra chopped nuts, crushed pretzels, or even oats. However, the baking time may vary as coconut protects the chips from burning.
It is not recommended. The fat and sugar content in full-fat sweetened condensed milk is what creates the necessary caramelization and structural ‘glue.’ Low-fat versions often result in a runny or greasy bar.
The secret is temperature and tool maintenance. Chill the bars in the refrigerator for at least 4 hours. Use a long, sharp chef’s knife and wipe it with a hot, damp cloth between every slice to prevent the gooey milk and chocolate from sticking.
Candy-coated eggs can crack under intense heat. To prevent this, add them in the last 5-8 minutes of baking or press them into the bars immediately after they come out of the oven while the surface is still soft.
Soggy bottoms usually occur because the graham cracker crust wasn’t pressed firmly enough or the butter-to-crumb ratio was off. Ensure you use a heavy glass to compress the crumbs into a solid foundation before adding the liquid milk layer.
The Ultimate 7 Layer Bars Recipe
7 Layer Bars: The Ultimate Gooey Easter Magic Bars
Ingredients
Equipment
Instructions
- Preheat your oven to 350°F (175°C). Line a 9x13 inch pan with parchment paper, leaving a slight overhang on the long sides.
- Mix graham cracker crumbs, melted butter, and salt. Press firmly into the pan using a flat-bottomed glass until a solid, golden-brown base is formed.
- Pour the sweetened condensed milk evenly over the crust. Ensure it reaches all edges but do not stir.
- Sprinkle semi-sweet chocolate chips, butterscotch chips, and chopped walnuts over the milk layer.
- Top with an even layer of shredded coconut, covering the chips and nuts completely.
- Bake for 25-30 minutes. At the 20-minute mark, add the pastel candy eggs. Bake until the coconut is crispy and golden-brown.
- Cool completely in the pan for at least 4 hours before lifting the parchment sling and slicing into rectangles.
Notes
Use a warm, damp knife for the best cuts.
Share the Magic!
These 7 Layer Bars are a nostalgic trip in every bite, combining the ease of a traybake with the complexity of a multi-layered pastry. They are the perfect addition to your Easter basket or spring bake sale. If you enjoyed this recipe, please leave a comment below and tell us which layer is your favorite!
Don’t forget to follow us and save this recipe to your boards on Pinterest so you never lose track of this holiday staple. Happy baking!