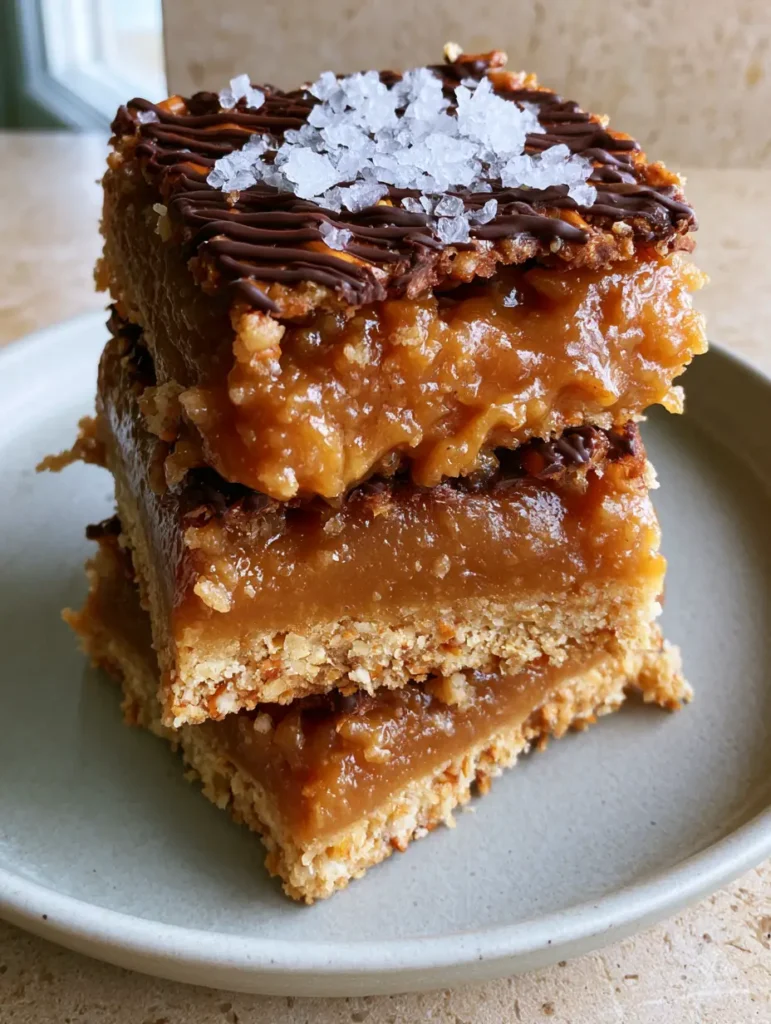
When the craving for a perfect balance of sweet, salty, crunchy, and gooey hits, nothing satisfies quite like these No-Bake Salted Caramel Pretzel Bars. Imagine a thick, compressed foundation of buttery salted pretzels topped with a dense layer of amber caramel that stretches with every bite.
This recipe is designed for the home cook who wants bakery-quality results without ever turning on the oven. We are focusing on high-contrast textures—the sharp snap of semi-sweet chocolate against the soft, velvet-like consistency of homemade salted caramel.
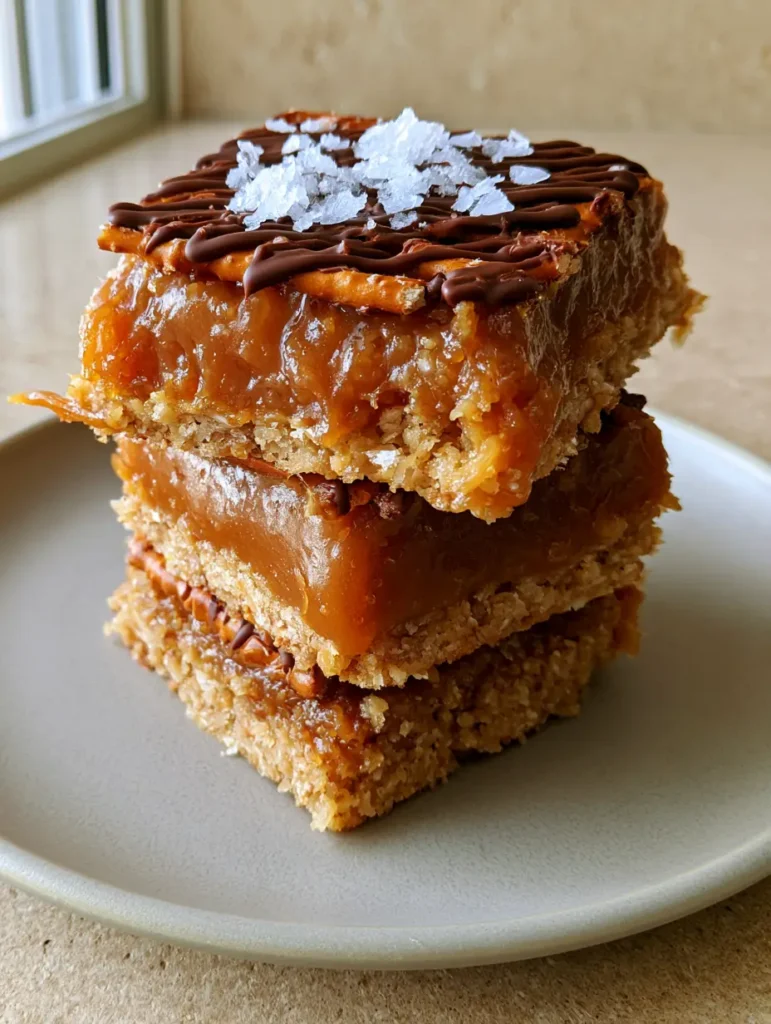
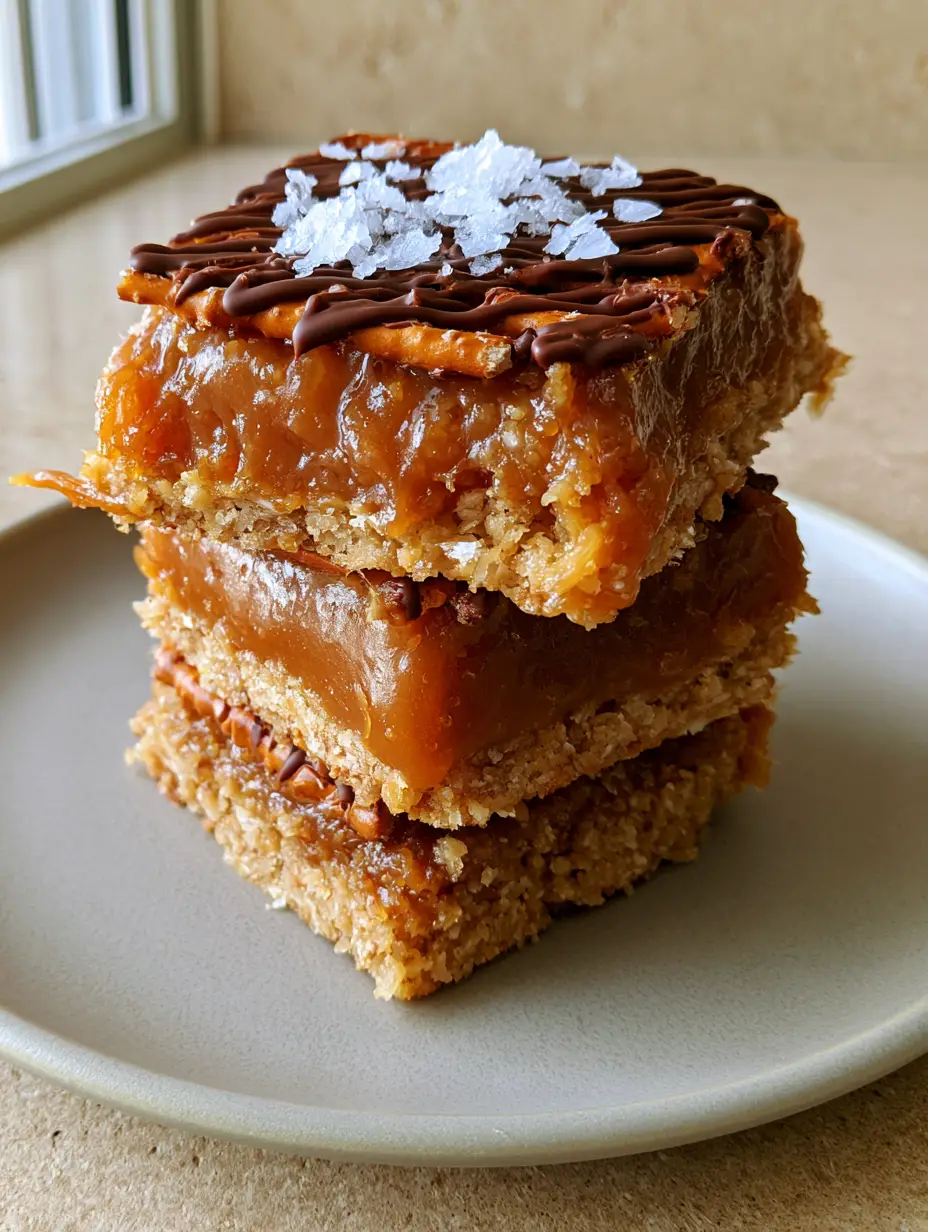
As you can see in the photos, the visual appeal of these bars lies in their rustic, handheld nature. The zigzag drizzle of dark chocolate and the shimmering flakes of sea salt aren’t just for show; they provide the final flavor punch that elevates this from a simple snack to an elite dessert.
Why You Will Obsess Over These Salty-Sweet Dessert Squares
- The Ultimate Texture Play: You get a massive crunch from the compressed pretzels followed immediately by the “pull” of glossy, amber-colored caramel.
- No-Oven Required: This is a true “no-bake” hero, making it the perfect solution for hot summer days or when your oven is occupied by a savory sushi bake.
- Forensic Flavor Balance: By using large flaky sea salt crystals, we ensure the sweetness of the caramel never becomes cloying.
- Visual Showstopper: With the dark semi-sweet chocolate drizzle, these bars look like they belong in a high-end boutique display.
The Anatomy of the Perfect No-Bake Salted Caramel Pretzel Bars
To achieve the specific “dense and glossy” look seen in our professional tests, each ingredient serves a structural and scientific purpose. Do not skip the chilling times, as they are the “invisible” ingredients that hold the bars together.
Salted Pretzels: 3 cups (approx. 250g) of hard sourdough-style pretzels provide the structural integrity for the base. Crushing them into a mix of fine crumbs and small pea-sized chunks ensures the crust is compressed but still has a distinct “snap.”
Unsalted Butter: 3/4 cup (170g) of melted butter acts as the hydraulic cement for our pretzel foundation. We use unsalted butter here because the pretzels already carry a high salt load.
Granulated Sugar: 1/4 cup (50g) of sugar is added to the crust to help the butter bind the pretzels together as it sets in the fridge. This prevents the base from crumbling when you lift a square.
Heavy Cream: 1/2 cup (120ml) of heavy cream (at least 36% fat) is the secret to a caramel that stays soft and gooey even after being refrigerated. It emulsifies with the sugar to create that signature amber gloss.
Light Brown Sugar: 1 cup (200g) packed brown sugar provides the deep, molasses-infused flavor profile necessary for a “thick amber” caramel layer. It offers more depth than white sugar alone.
Dark Semi-Sweet Chocolate: 1/2 cup (90g) of high-quality chocolate chips or a chopped bar. This is used for the zigzag drizzle, providing a bitter contrast to the sweet caramel.
Flaky Sea Salt: This is the final touch. Use a high-quality finishing salt like Maldon to achieve those large, visible crystals that catch the light and provide a localized burst of salinity.
Essential Culinary Tools for High-Level Results
To replicate the stack of bars on the light-grey ceramic plate, you will need a few specific tools to manage the sticky textures. Professional results start with the right gear.
An 8×8 inch (20x20cm) square baking pan is the ideal size for achieving the “thick golden-brown layer” seen in the visual prompt. Anything larger will result in bars that are too thin to stack properly.
Parchment paper is non-negotiable for this recipe. Leave an overhang on two sides (a “sling”) so you can lift the entire block out of the pan once the caramel has set.
A heavy-bottomed saucepan is required for the caramel. Thin pans have “hot spots” that can cause the sugar to burn, ruining the amber color and creating a bitter aftertaste.
The Blueprint: Engineering Your Pretzel Foundation
Step 1: Achieving the Compressed Golden-Brown Crust
Start by crushing your pretzels. You can use a food processor for a quick pulse, but a rolling pin and a sealed bag give you better control over the texture.
In a large bowl, combine the 3 cups (250g) of crushed pretzels with 1/4 cup (50g) of sugar. Pour in the 3/4 cup (170g) of melted butter and stir until every crumb looks like wet sand.
Transfer the mixture to your lined 8×8 pan. Use the bottom of a flat measuring cup to press down with significant force; you want the base to be tightly compressed so it holds the weight of the caramel.
Chill this base in the freezer for at least 15 minutes while you prepare the middle layer. This “flash chill” prevents the warm caramel from seeping too deep into the pretzel layer.
Step 2: Crafting the Glossy Amber Caramel Layer
In your heavy saucepan, combine 1 cup (200g) of brown sugar, 1/2 cup (115g) of butter, and 1/2 cup (120ml) of heavy cream. Set the heat to medium-low, stirring constantly until the butter is fully melted.
Bring the mixture to a gentle boil. Stop stirring and let it bubble for exactly 4 to 5 minutes. You are looking for a “visual cue” of the bubbles becoming slow, thick, and lava-like.
Remove from heat and stir in a half-teaspoon of vanilla and a pinch of salt. The caramel will look thin but will thicken into a “dense, glossy” consistency as it cools.
Pour the warm caramel over the chilled pretzel base. Tilt the pan slightly to ensure it reaches all four corners. Let this sit at room temperature for 20 minutes before moving it to the fridge for 3 hours.
Step 3: The Zigzag Drizzle and Finishing Touches
Once the caramel is firm to the touch, melt your dark chocolate in 30-second bursts in the microwave. Transfer the melted chocolate to a small piping bag or use a spoon for a more “handheld smartphone photo” rustic look.
Create a rapid zigzag motion across the top of the bars. While the chocolate is still wet, sprinkle the large flaky sea salt crystals over the surface.
Return to the fridge for 10 minutes to set the chocolate. Use the parchment paper sling to lift the bars out and cut them into 16 even squares with a sharp, warmed knife.
Expert Tips for Success with No-Bake Bars
- The Clean Cut: For those perfectly defined layers, run your knife under hot water and wipe it dry between every single cut. This prevents the caramel from sticking to the blade and smearing into the pretzel layer.
- Avoid the Crumble: If your pretzel base is falling apart, it usually means the pretzels weren’t crushed fine enough or weren’t pressed hard enough into the pan.
- Caramel Consistency: If your caramel is too runny after 3 hours, you likely didn’t boil it long enough. If it’s too hard (like candy), you boiled it too long. Aim for that 5-minute sweet spot.
- Chocolate Tempering: Add a teaspoon of coconut oil to your chocolate chips before melting. This creates a smoother “drizzle” and prevents the chocolate from cracking when you bite into it.
Storage, Reheating & Freezing
These No-Bake Salted Caramel Pretzel Bars should be stored in an airtight container in the refrigerator. They will stay fresh and hold their structural integrity for up to 7 days.
If you prefer a “gooey” caramel texture, let the bar sit at room temperature for 10 minutes before eating. For a firmer, snappier snack, eat them straight from the fridge.
You can freeze these bars for up to 3 months. Wrap individual squares in plastic wrap and store them in a freezer bag. Thaw in the refrigerator overnight before serving.
What to Pair with Your Salty-Sweet Treats
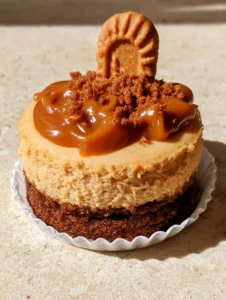
These bars are incredibly rich, so they pair beautifully with a strong cup of black coffee or a cold glass of milk. If you are hosting a dessert party, they complement other “no-bake” items like mini biscoff cheesecakes.
For a full dessert spread, consider serving these alongside a decadent chocolate cherry cake or even some chocolate mousse domes for a study in different chocolate textures.
If you have leftover pretzels, they can be crushed and used as a topping for a brownie-bottom cheesecake, adding a much-needed salt element to the rich cheese filling.
Frequently Asked Questions
You can, but since the caramel is already very sweet, the dark semi-sweet chocolate provides a necessary bitterness that balances the overall flavor profile better.
Most store-bought caramel sauces are too thin and will not set firm enough to hold the weight of the bars. It is highly recommended to make the 5-minute stovetop version included in this recipe.
Yes, because the caramel is made with heavy cream and butter, it will soften significantly at room temperature. For the best texture and safety, keep them chilled until 10 minutes before serving.
Use a small plastic bag with the corner snipped off or a piping bag. Move your hand in a fast, fluid zigzag motion across the entire pan rather than drizzling individual bars.
This usually happens if the pretzels were not crushed finely enough or if they weren’t pressed into the pan with enough force. Ensure you use the bottom of a flat cup to compress the base.
The Ultimate No-Bake Salted Caramel Pretzel Bars Recipe
No-Bake Salted Caramel Pretzel Bars with Gooey Homemade Caramel
Ingredients
Equipment
Instructions
- Combine crushed pretzels, melted butter, and sugar. Press firmly into the bottom of a lined 8x8 pan. Freeze for 15 minutes.
- In a saucepan, melt brown sugar, butter, and cream. Bring to a boil and cook for 4-5 minutes until thickened and amber-colored. Stir in vanilla.
- Pour caramel over the pretzel base. Refrigerate for at least 3 hours until set.
- Zigzag melted chocolate over the set caramel and sprinkle with flaky sea salt. Chill to set the chocolate, then slice into 16 squares.
Notes
Do not over-boil the caramel or it will become too hard to bite.
Closing & Call to Action
These No-Bake Salted Caramel Pretzel Bars are the ultimate “low effort, high reward” dessert. They capture the professional look of a gourmet treat with the simple science of a no-bake base. Whether you’re making these for a potluck or a midnight snack, the combination of amber caramel and salty pretzels is undeniably elite.
If you enjoyed this recipe, please leave a comment below and let me know how your caramel turned out! Don’t forget to share your creations on Pinterest and follow Holly Harvest for more kitchen-tested inspiration.