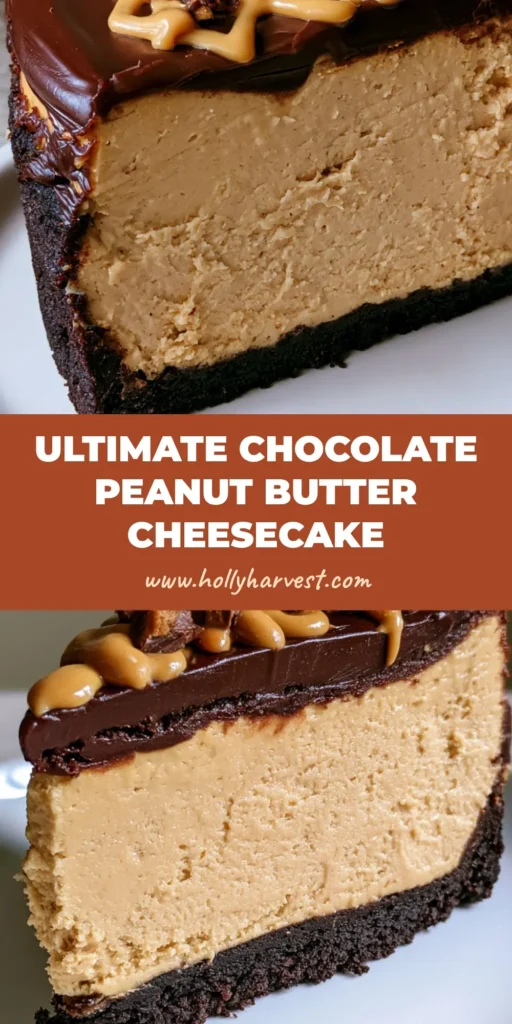
Imagine a Chocolate Peanut Butter Cheesecake so tall, so smooth, and so decadent that it looks like it stepped right out of a high-end patisserie window. This isn’t just a dessert; it is a structural masterpiece featuring a dense, compressed chocolate cookie crust and a pale tan, velvet-textured filling. Every bite delivers a balance of salty-sweet peanut butter and rich, dark chocolate.
Whether you are preparing this for a special occasion or simply satisfying a deep craving, this recipe focuses on the visual and textural details that matter. From the level, glossy dark chocolate ganache to the iconic zig-zag drizzle of melted peanut butter, we are recreating a professional handheld smartphone photo aesthetic in your very own kitchen. This is the definitive guide to achieving that upright, thick slice perfection.
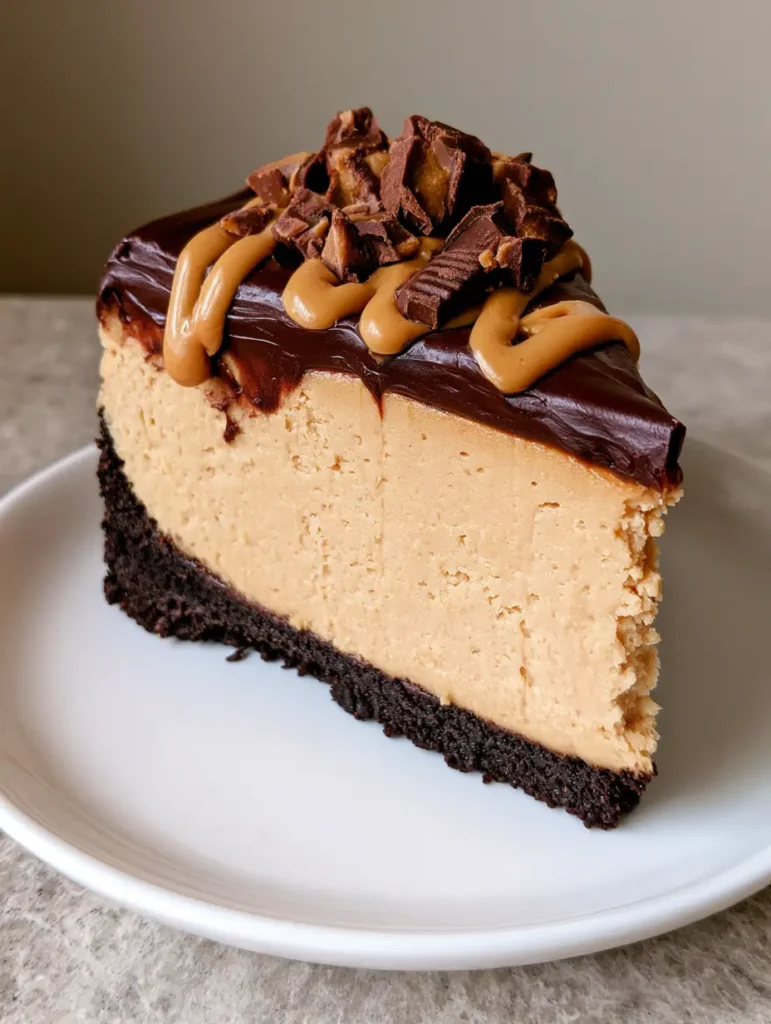
The Anatomy of the Perfect Decadent Slice
- The Foundation: A thick, compressed chocolate cookie crust that provides a crisp, dark contrast to the creamy filling.
- The Body: A tall, uniform peanut butter cheesecake layer with a pale tan color and an ultra-smooth consistency.
- The Finish: A perfectly level coating of glossy dark chocolate ganache that catches the light beautifully.
- The Garnish: Artistic zig-zags of melted creamy peanut butter and a generous scattering of chopped chocolate peanut butter cup chunks for added texture.
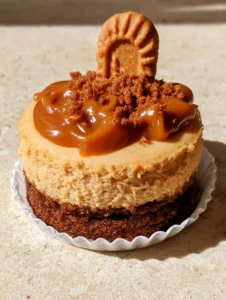
If you love the combination of these flavors, you might also want to explore my thick and chewy peanut butter cookies or these decadent brownie bottom mini cheesecakes for a smaller bite-sized treat.
Essential Ingredients for This Tall Peanut Butter Masterpiece
Chocolate Sandwich Cookies (or Wafers): You will need 24 oz (680g) of finely ground cookies. This high volume ensures we have enough to create a truly thick, compressed base that holds up the tall cheesecake layer.
Unsalted Butter: 6 tbsp (85g) of melted butter acts as the glue for our crust. It binds the crumbs together so the base foundation remains dense and pressed when sliced.
Full-Fat Cream Cheese: 32 oz (907g) at true room temperature. This is the secret to the uniform texture and pale tan color seen in the visual blueprint; cold cheese creates lumps.
Creamy Peanut Butter: 1.5 cups (380g) of standard commercial creamy peanut butter. Avoid “natural” oily versions, as we need the stabilizers to maintain the tall, upright structure of the slice.
Granulated Sugar: 1.25 cups (250g) to provide sweetness without distracting from the roasted peanut flavor. It also helps macerate the cream cheese for a smoother aeration.
Sour Cream: 1 cup (240ml) of full-fat sour cream. This provides the signature tang and contributes to the pale tan color and creamy mouthfeel of the main body.
Large Eggs: 4 large eggs (approx. 200g) added one at a time. Eggs are the structural protein that allows the cheesecake to stand upright on a ceramic plate without sagging.
Dark Chocolate Chips: 1 cup (170g) of high-quality dark chocolate (60% cocoa or higher). This is required for that level, glossy dark chocolate ganache coating.
Heavy Whipping Cream: 3/4 cup (180ml) to emulsify the chocolate. This creates the “glossy” finish described in the Midjourney prompt.
Peanut Butter Cups: 1 cup (approx. 150g) of chopped chocolate peanut butter cups. These provide the visual “chunks” scattered across the top for a professional garnish.
Professional Tools for a Level and Glossy Finish
To achieve the look of a professional Chocolate Peanut Butter Cheesecake, you will need a 9-inch (23cm) springform pan with high sides. A standard cake pan won’t allow for the “tall” profile we are aiming for. You will also need a flat-bottomed measuring cup to compress the crust into a dense foundation.
A roasting pan is essential for the water bath, which prevents cracks and ensures a uniform texture across the pale tan filling. For the ganache, an offset spatula is the best tool to create that perfectly level, glossy surface. Finally, a small piping bag or a simple plastic bag with the corner snipped is needed for the zig-zag peanut butter drizzle.
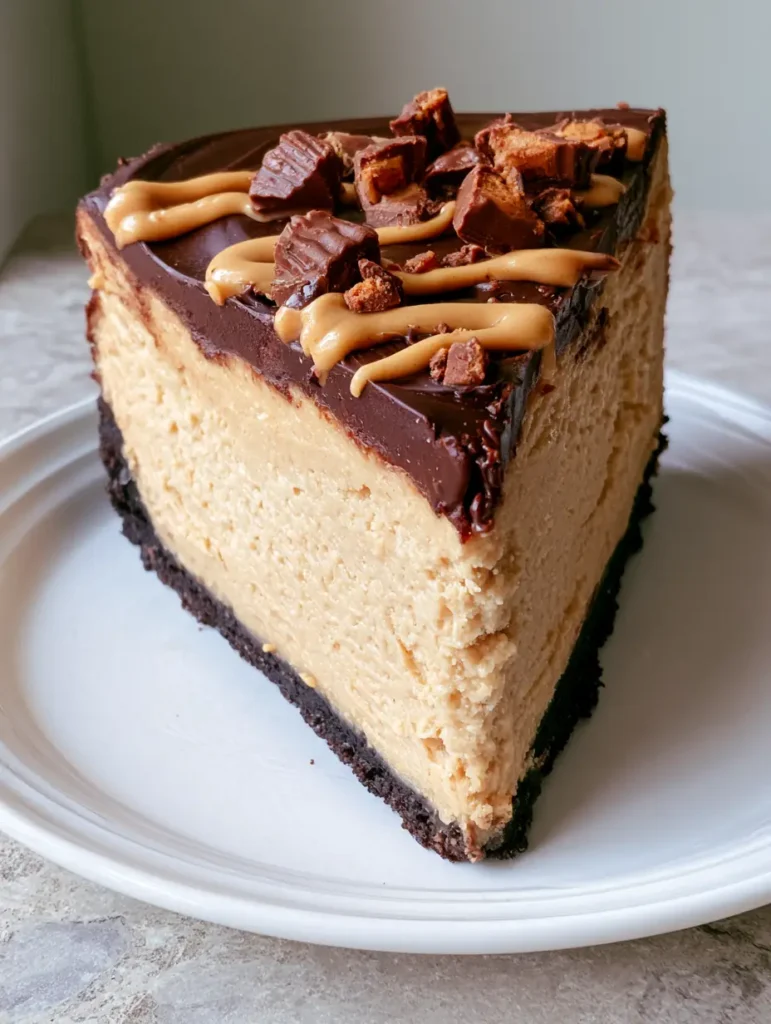
How to Build the Compressed Dark Chocolate Crust
First, preheat your oven to 325°F (163°C). Pulse your chocolate cookies in a food processor until they are fine, sandy crumbs. You want a uniform texture with no large chunks remaining.
In a medium bowl, combine the crumbs with the melted butter. Stir until the mixture resembles wet sand. Pour the mixture into your springform pan.
Use the bottom of a flat glass or measuring cup to press the crumbs firmly into the bottom. The goal is a dense, pressed dark chocolate cookie crust that is roughly 1/2 inch (1.25cm) thick. Bake for 10 minutes to set, then let it cool completely while you prepare the filling.
Whipping Up the Smooth Pale Tan Cheesecake Filling
In a large stand mixer fitted with the paddle attachment, beat the room-temperature cream cheese and sugar on medium-low speed. Do not overmix; we want to avoid incorporating too much air, which causes the cheesecake to rise and fall, ruining the “level” top.
Add the creamy peanut butter and sour cream. Scrape down the sides of the bowl to ensure no white streaks remain. You should see the mixture turn a beautiful, uniform pale tan color.
Add the eggs one at a time, mixing on the lowest speed just until the yellow disappears. Pour this creamy mixture over your cooled crust. The filling should reach almost to the top of the springform pan to achieve that “tall” profile.
Bake in a water bath for 65-75 minutes. You are looking for a visual cue: the edges should be set, but the center should still have a slight “jiggle” like Jello. This ensures the texture remains smooth and creamy rather than chalky.
For more chocolate inspiration, check out my triple chocolate mousse domes or this stunning chocolate cherry cake.
The Secret to a Level and Glossy Ganache Coating
Once your cheesecake has chilled in the refrigerator for at least 6 hours (preferably overnight), it is time for the ganache. Heat the heavy cream until it just begins to simmer, then pour it over the dark chocolate chips in a heat-proof bowl.
Let it sit for 5 minutes, then whisk slowly from the center outward. This slow movement creates a stable emulsion, resulting in a glossy dark chocolate ganache that is free of air bubbles.
Pour the ganache onto the center of the chilled cheesecake. Use your offset spatula to gently push the chocolate to the edges. Because the cheesecake is cold, the ganache will start to set quickly, helping you maintain a level surface.
The Art of the Zig-Zag Drizzle and Peanut Butter Cup Garnish
Warm 1/4 cup (65g) of creamy peanut butter in the microwave for 15-20 seconds until it is fluid. Using a spoon or a small piping bag, create a rapid zig-zag drizzle across the entire surface of the glossy ganache. Speed is key here to keep the lines thin and elegant.
Immediately scatter the chopped peanut butter cup chunks over the top. The slightly tacky ganache and peanut butter drizzle will act as an anchor, holding the chunks in place. This creates the “scattering” look described in our visual blueprint.
Expert Tips for Success
- Room Temperature is Non-Negotiable: Ensure your cream cheese, eggs, and sour cream are at room temperature to achieve the “uniform texture” and “pale tan color.”
- The Water Bath Trick: Wrap the bottom of your springform pan in three layers of heavy-duty aluminum foil to prevent water from seeping into your compressed crust.
- Avoid Over-Baking: A cheesecake continues to cook as it cools. If the top starts to brown, you’ve lost that “pale tan” aesthetic; pull it out when the center still jiggles.
- Clean Slices: For a “thick slice standing upright” like the photo, dip a sharp knife in hot water and wipe it clean between every single cut.
Storage, Reheating & Freezing
This Chocolate Peanut Butter Cheesecake should always be stored in the refrigerator. Keep it in an airtight container or tightly wrapped in plastic wrap to prevent it from absorbing fridge odors. It will stay fresh and creamy for up to 5 days.
If you wish to freeze the cheesecake, do so before adding the peanut butter drizzle and chopped cups. Wrap the chilled, ganache-covered cake in plastic wrap and then foil. It can be frozen for up to 3 months. Thaw overnight in the refrigerator before adding the final garnishes and serving.
What to Serve With This
Because this cheesecake is incredibly rich, it pairs perfectly with a bitter beverage like a dark roast coffee or an espresso. If you are hosting a larger dinner party, consider serving this after a savory main like garlic butter steak bites (coming soon) or a fresh chipotle chicken bowl.
For those looking for a lighter chocolate finish earlier in the day, my high protein chocolate mousse is a great alternative, but for a true showstopper, nothing beats this upright slice of heaven.
Frequently Asked Questions
Yes, place the cookies in a large freezer bag and crush them with a rolling pin until they are very fine and uniform.
It is not recommended. Natural peanut butter often separates, which can make the cheesecake oily and ruin the smooth, pale tan texture.
Pour the ganache while it is slightly warm and the cheesecake is cold. Use an offset spatula to gently smooth it to the edges before it sets.
For the best upright slice, chill the cheesecake for at least 6 hours, or ideally overnight, to allow the structure to fully set.
Cracks are usually caused by over-baking or a lack of moisture. Using a water bath and pulling the cheesecake out when the center still jiggles helps prevent this.
The Ultimate Chocolate Peanut Butter Cheesecake Recipe
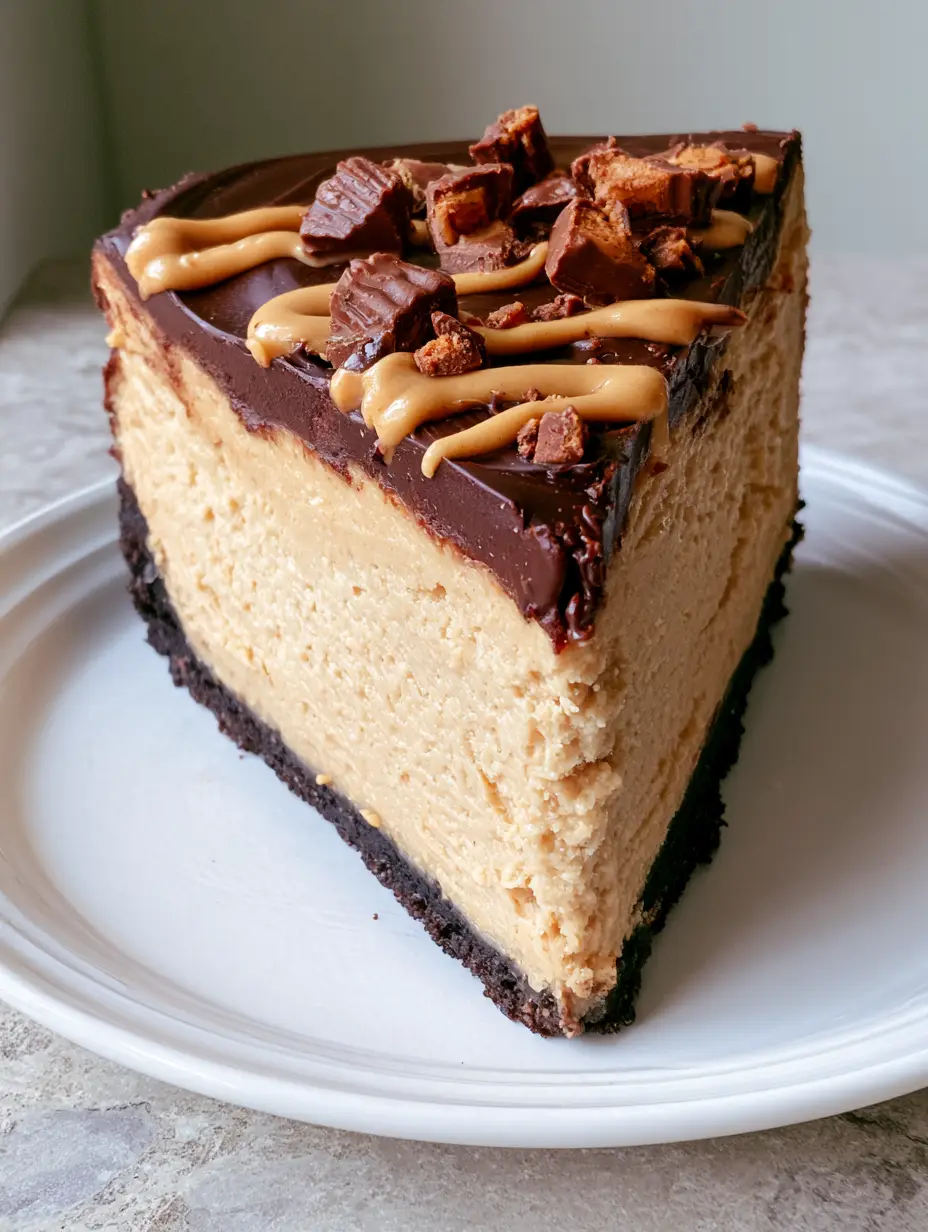
Chocolate Peanut Butter Cheesecake: The Ultimate Tall and Creamy Bakery-Style Recipe
Ingredients
Equipment
Instructions
- Pulse cookies into fine crumbs and mix with melted butter until it resembles wet sand.
- Press firmly into a 9-inch springform pan using a flat-bottomed cup. Bake at 325°F (163°C) for 10 minutes.
- Beat cream cheese and sugar until smooth. Mix in peanut butter and sour cream until a pale tan color is achieved.
- Incorporate eggs one at a time on low speed. Pour over cooled crust.
- Bake in a water bath at 325°F (163°C) for 65-75 minutes until the edges are set but the center jiggles.
- Pour hot cream over chocolate, whisk until glossy, and spread level over the chilled cheesecake.
- Drizzle with melted peanut butter and scatter chopped peanut butter cups on top.
Notes
Use a water bath to prevent the pale tan filling from cracking.
Closing & Call to Action
Mastering the Chocolate Peanut Butter Cheesecake is a rite of passage for any serious home baker. By following these steps to create a compressed crust and a tall, uniform filling, you are ensuring a result that tastes even better than it looks. The combination of glossy ganache and crunchy peanut butter cups is simply irresistible.
Did you try this recipe? I would love to see your results! Leave a comment below and tell me how your “zig-zag drizzle” turned out. Don’t forget to share your photos and pin this recipe to Pinterest so you can find it for your next celebration!